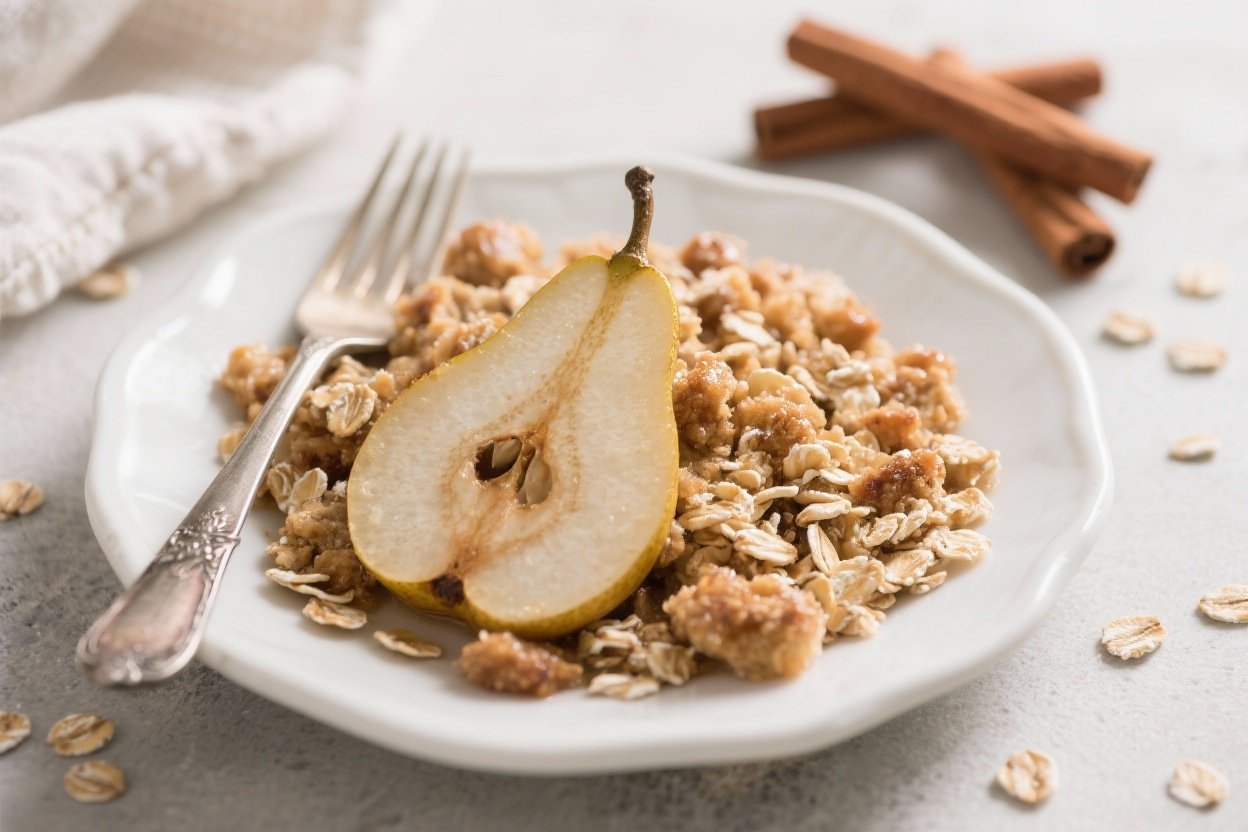
Warm Pear Crisp with Oats and Cinnamon: The Cozy, Crowd-Pleasing Dessert That Basically Makes Itself
Picture this: the kitchen smells like a fall candle, but better—because you can actually eat it. This Warm Pear Crisp with Oats and Cinnamon is the cheap, low-effort, high-reward dessert that turns any random Tuesday into a “we’re not skipping dessert” night. It’s crunchy on top, jammy in the middle, and only needs basic pantry players to win the game.
No pastry degree, no fancy tools, just you and a baking dish. If you can slice fruit and stir, you can pull off a dessert that tastes like a cozy hug.
What Makes This Recipe Awesome
- High flavor, low effort: Pears, cinnamon, and vanilla naturally do the heavy lifting. The oat topping bakes up golden, buttery, and crisp without you babysitting anything.
- Flexible and forgiving: Got pears that are slightly too soft?
Perfect. Want to swap sugar types or add nuts? Go for it.
This recipe plays nice.
- Balanced sweetness: We highlight the fruit, not bury it in sugar. It’s dessert that doesn’t feel like a sugar bomb—unless you add ice cream (which we endorse).
- Make-ahead friendly: Assemble earlier, bake later. Or bake now and reheat—still amazing.
- Season-proof: Pears shine year-round.
When apples hog the spotlight, pears quietly deliver VIP flavor.
Ingredients
- For the Pear Filling:
- 6 medium ripe pears (Bosc or Anjou), peeled, cored, and sliced 1/2-inch thick
- 2 tablespoons lemon juice
- 1/3 cup light brown sugar, packed
- 1 tablespoon cornstarch (or 1 1/2 tablespoons flour)
- 1 1/2 teaspoons ground cinnamon
- 1/4 teaspoon ground nutmeg
- 1 teaspoon vanilla extract
- Pinch of salt
- For the Oat Crisp Topping:
- 3/4 cup old-fashioned rolled oats
- 3/4 cup all-purpose flour (or 1:1 gluten-free blend)
- 1/2 cup light brown sugar, packed
- 1/4 cup granulated sugar
- 1/2 teaspoon ground cinnamon
- 1/4 teaspoon fine sea salt
- 1/2 cup unsalted butter, cold and cubed (8 tablespoons)
- Optional: 1/2 cup chopped toasted pecans or walnuts
- To Serve (optional but highly recommended):
- Vanilla ice cream, lightly sweetened whipped cream, or a drizzle of heavy cream
Cooking Instructions

- Preheat and prep: Heat your oven to 350°F (175°C). Lightly butter a 9×9-inch baking dish (or similar 2-quart dish). No need to be precious about it.
- Slice the pears: Peel, core, and slice pears about 1/2 inch thick.
If they’re very juicy, pat them gently with a paper towel so the filling isn’t soupy.
- Mix the filling: In a large bowl, toss pears with lemon juice, brown sugar, cornstarch, cinnamon, nutmeg, vanilla, and a pinch of salt. Spread evenly in the baking dish.
- Make the topping: In another bowl, combine oats, flour, both sugars, cinnamon, and salt. Add the cold butter cubes and work them in with a pastry cutter or your fingertips until it looks like coarse crumbs with some pea-sized bits.
Stir in nuts if using.
- Top it off: Sprinkle the oat mixture evenly over the pears. Don’t pack it down—let the crumbles stay chunky so they crisp properly.
- Bake: Bake for 35–45 minutes until the topping is golden brown and the pear juices are bubbling around the edges. If the top browns too fast, loosely tent with foil for the last 10 minutes.
- Rest and serve: Let it cool for 10–15 minutes to thicken.
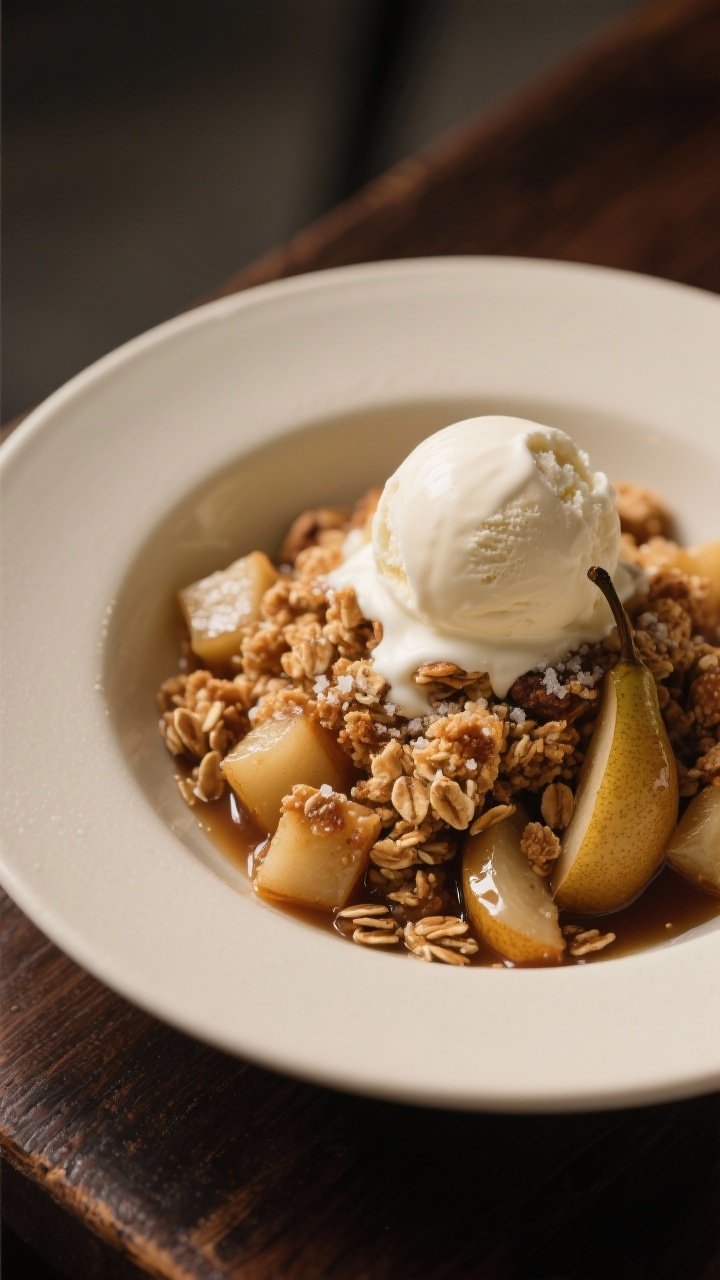
Serve warm with ice cream or whipped cream. You earned it.
Storage Instructions
- Refrigerate: Cool completely, then cover and store up to 4 days. Reheat at 325°F for 10–15 minutes, or microwave individual portions for 30–45 seconds.
- Freeze: Freeze baked crisp (well-wrapped) for up to 2 months.
Reheat from frozen at 350°F, covered for 20 minutes, then uncovered 10–15 minutes to re-crisp.
- Make ahead: Assemble filling and topping separately and refrigerate up to 24 hours. Top and bake when ready. FYI, don’t pre-assemble and refrigerate for too long or the topping can soak up moisture.
Health Benefits
- Fiber-rich fruit: Pears bring soluble fiber (hello, gut health) and natural sweetness, so you’re not relying solely on added sugar.
- Oats for the win: Old-fashioned oats add whole-grain goodness, including beta-glucan, which supports heart health and steady energy.
- Controlled sweetness: Compared to cakes or pies, this crisp is lighter on sugar and heavy on fruit.
Balance without the buzz crash—IMO a major upgrade.
- Customizable fats: Use grass-fed butter for richer flavor and fat-soluble vitamins, or swap in coconut oil if dairy-free is your lane.
Avoid These Mistakes
- Using the wrong oats: Skip quick oats or instant oats—they turn mushy. Rolled oats keep it crispy and textured.
- Too-ripe or too-hard pears: Overripe pears can collapse into mush; rock-hard pears won’t soften. Aim for ripe but slightly firm pears that give with gentle pressure.
- Forgetting thickener: Cornstarch (or flour) matters.
Without it, the filling is watery instead of glossy and jammy.
- Warm butter in the topping: Cold butter = crisp crumbles. Warm butter = greasy blanket. Keep it chilled until mixing.
- Overpacking the topping: Pressing it down prevents crisping.
Sprinkle and leave it craggy.
Variations You Can Try
- Maple-pecan: Replace granulated sugar with maple syrup in the filling (reduce by 1 tablespoon to account for liquid) and add chopped pecans to the topping.
- Ginger-pear zing: Add 1 tablespoon finely chopped crystallized ginger and 1/2 teaspoon ground ginger to the filling for a spicy kick.
- Apple-pear blend: Use half pears, half tart apples (like Granny Smith) for sweet-tart contrast and extra texture.
- Gluten-free: Use certified gluten-free oats and a 1:1 GF flour blend. Texture stays beautifully crisp.
- Dairy-free: Swap butter for solid coconut oil or a quality vegan butter. Expect a slightly different flavor, still epic.
- Brown-butter upgrade: Brown the butter first, chill to firm, then cube and use.
Nutty, toffee-like notes = chef’s kiss.
FAQ
What kind of pears are best for crisp?
Bosc and Anjou hold their shape and don’t turn mushy. Bartletts work too but soften faster, so slice them a bit thicker.
Can I make this without refined sugar?
Yes. Use coconut sugar in both filling and topping, and maple syrup in the filling.
If using liquid sweeteners, keep the cornstarch for thickening.
How do I keep the topping extra crispy?
Use cold butter, avoid overmixing, and don’t compress the topping. If reheating, uncover for the last few minutes to re-crisp.
Do I need to peel the pears?
Peeling gives a smoother texture, but leaving the skin on adds fiber and a rustic vibe. If the skins are thick or blemished, peel them.
Why is my filling watery?
Likely under-baked, under-thickened, or the pears were very juicy.
Bake until you see bubbling and use the full amount of cornstarch. Let it rest 10–15 minutes to set.
Can I halve or double the recipe?
Absolutely. Halve in an 8-inch square dish and start checking at 25 minutes.
Double in a 9×13-inch dish and bake 45–55 minutes.
What can I serve with it besides ice cream?
Lightly sweetened whipped cream, Greek yogurt, or a drizzle of heavy cream. Even a spoon of crème fraîche if you’re feeling fancy-fancy.
The Bottom Line
Warm Pear Crisp with Oats and Cinnamon is the kind of dessert that overdelivers without overcomplicating your life. It’s fragrant, crunchy, and fruit-forward with just enough sweetness to keep everyone happy.
Make it once and it becomes your secret weapon for weeknights, guests, and “I just want something cozy” cravings. Simple ingredients, big comfort, zero regrets—what more do you want?
Printable Recipe Card
Want just the essential recipe details without scrolling through the article? Get our printable recipe card with just the ingredients and instructions.