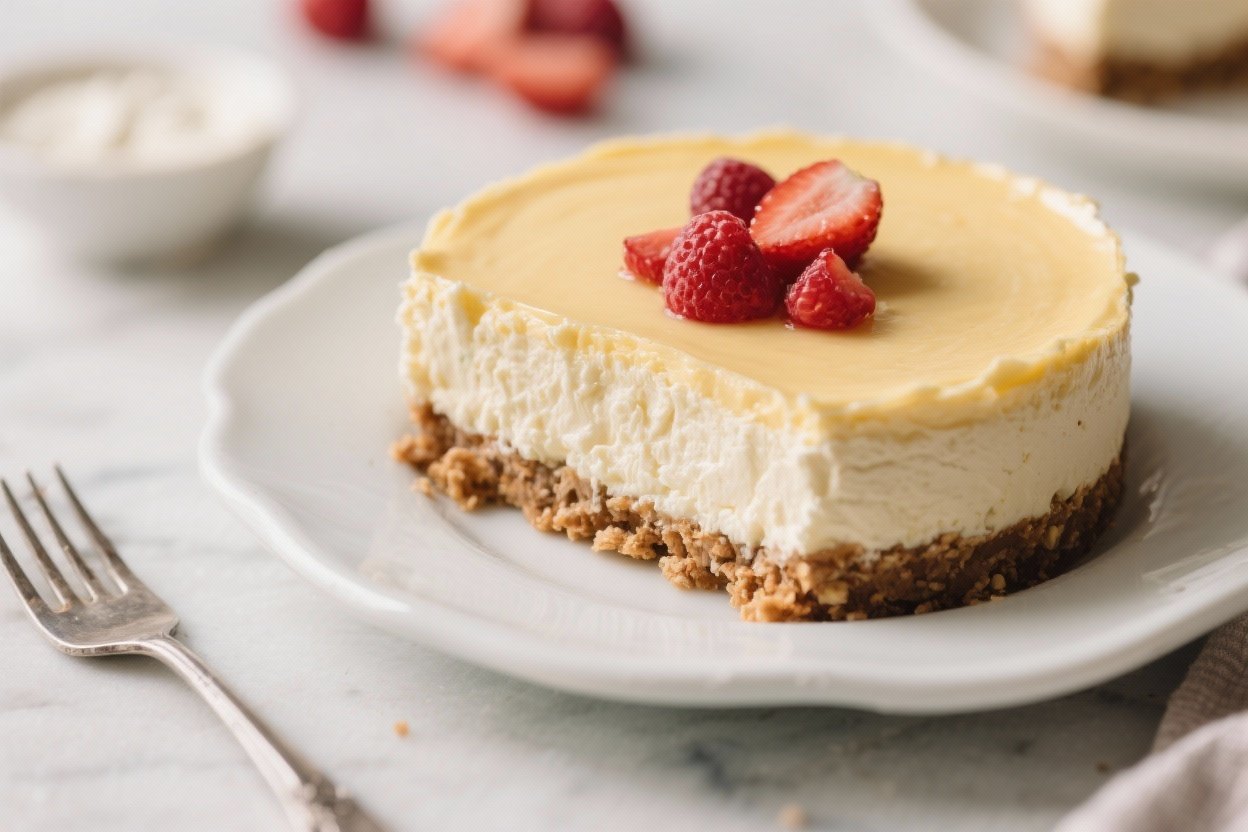
Foolproof No-Bake Cheesecake for Beginners – Simple, Creamy, and Stress-Free
This no-bake cheesecake is the kind of dessert that makes you look like a pro with barely any effort. No oven, no water baths, no sinking centers—just a silky, creamy filling on a crunchy, buttery crust. If you’re new to cheesecake, this recipe is your friendly starting point.
It’s forgiving, quick to assemble, and easy to customize with your favorite toppings. You’ll get a smooth, rich slice every time, and the hardest part is waiting for it to chill.
What Makes This Special
This cheesecake skips the oven and still gives you a classic, creamy texture. The filling sets up in the fridge with the help of whipped cream and cold cream cheese, so it stays light and stable.
The crust is a simple mix of crushed cookies and butter, and it comes together in minutes. You also don’t need special tools—just a bowl, a whisk or mixer, and a pan. Best of all, the flavor is mellow and balanced, ready for fruit, chocolate, or whatever you love.
What You’ll Need
- For the crust:
- 2 cups (200 g) graham cracker crumbs (or digestive biscuits)
- 1/3 cup (70 g) granulated sugar
- 1/2 cup (115 g) unsalted butter, melted
- Pinch of salt
- For the filling:
- 16 oz (450 g) full-fat cream cheese, softened
- 2/3 cup (80 g) powdered sugar
- 1 teaspoon vanilla extract
- 1 tablespoon lemon juice (fresh), plus 1/2 teaspoon lemon zest (optional)
- 1 cup (240 ml) cold heavy cream
- Pinch of salt
- Optional toppings:
- Fresh berries or sliced fruit
- Berry compote or jam
- Caramel or chocolate sauce
- Shaved chocolate, crushed nuts, or cookie crumbs
- Equipment:
- 9-inch (23 cm) springform pan or deep pie dish
- Mixing bowls, whisk or hand mixer
- Spatula and measuring cups/spoons
How to Make It
- Prep the pan. Lightly grease the bottom and sides of a 9-inch springform pan.
Line the bottom with parchment if you have it for easy release.
- Make the crust. Stir graham crumbs, sugar, and a pinch of salt. Pour in melted butter and mix until the crumbs feel like damp sand and hold together when pressed.
- Press and chill. Pour the crumb mixture into the pan. Press firmly across the bottom and about 1 inch up the sides using the bottom of a measuring cup. Chill for 15 minutes to set.
- Whip the cream. In a cold bowl, beat the heavy cream with a pinch of salt until it reaches stiff peaks.
Don’t overbeat. Set aside.
- Beat the cream cheese. In a separate bowl, beat softened cream cheese until smooth and lump-free, scraping the sides. Add powdered sugar, vanilla, and lemon juice (and zest if using).
Beat until silky.
- Fold in the cream. Gently fold the whipped cream into the cream cheese mixture in two additions. Use a spatula and light strokes to keep the mixture airy.
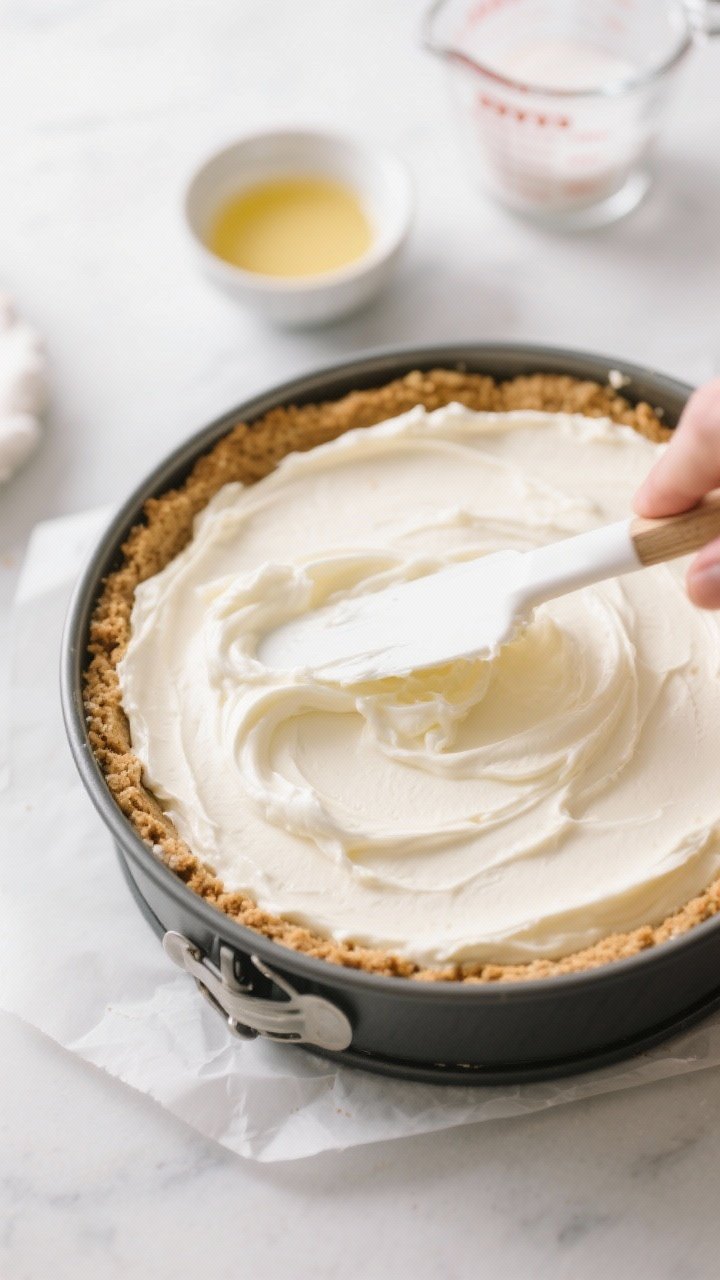
- Fill the crust. Spoon the filling into the chilled crust. Smooth the top with an offset spatula or the back of a spoon.
- Chill to set. Cover and refrigerate for at least 6 hours, preferably overnight.
The longer chill gives a cleaner slice and better texture.
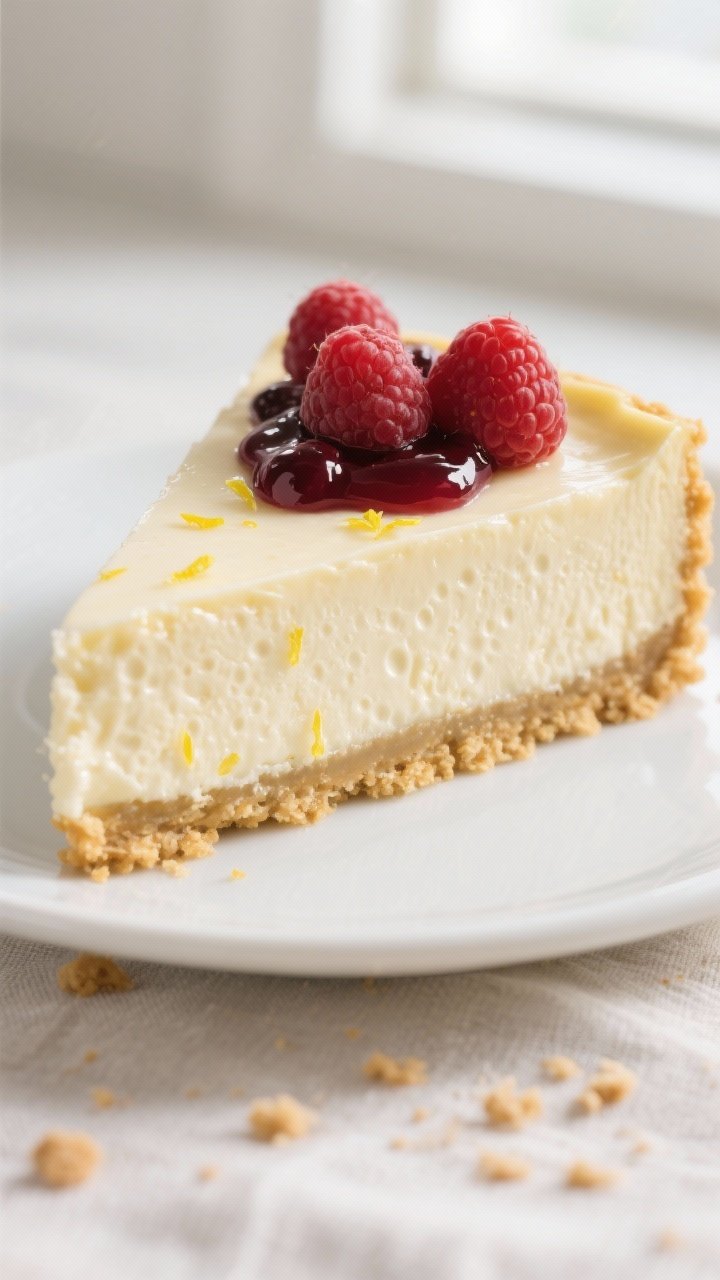
- Release and top. Run a thin knife around the edge, unclasp the springform ring, and transfer to a plate. Add your favorite toppings right before serving.
- Slice cleanly. Use a warm, dry knife for neat slices. Wipe the blade between cuts.
How to Store
Keep the cheesecake covered and refrigerated for up to 4 days.
If adding juicy toppings like berries or sauces, store them separately and add just before serving to keep the top from getting soggy. For longer storage, freeze slices on a sheet pan until firm, wrap tightly, and freeze for up to 2 months. Thaw overnight in the fridge before serving.

Why This is Good for You
This is a comforting dessert that doesn’t require much equipment or skill, so it’s great for building confidence in the kitchen.
The recipe uses simple, familiar ingredients and avoids complicated steps. Because it’s no-bake, you save energy and keep your kitchen cool. You can also lighten it up by reducing sugar slightly or adding fresh fruit on top for brightness and balance.
Common Mistakes to Avoid
- Using cold cream cheese: Cold cream cheese clumps and won’t mix smoothly.
Let it soften at room temperature for 30–45 minutes.
- Overmixing the whipped cream: Overbeaten cream turns grainy. Stop at stiff peaks that hold their shape.
- Skipping the chill time: The filling needs hours to set. Cutting too soon leads to messy slices.
- Loose crust: Press the crumbs firmly and chill before adding filling.
This prevents crumbling.
- Too much liquid flavoring: Extra lemon juice or liquid sweeteners can make the filling runny. Stick to the amounts listed.
- Using low-fat cream cheese: It won’t set as well and can taste chalky. Full-fat gives the best texture.
Variations You Can Try
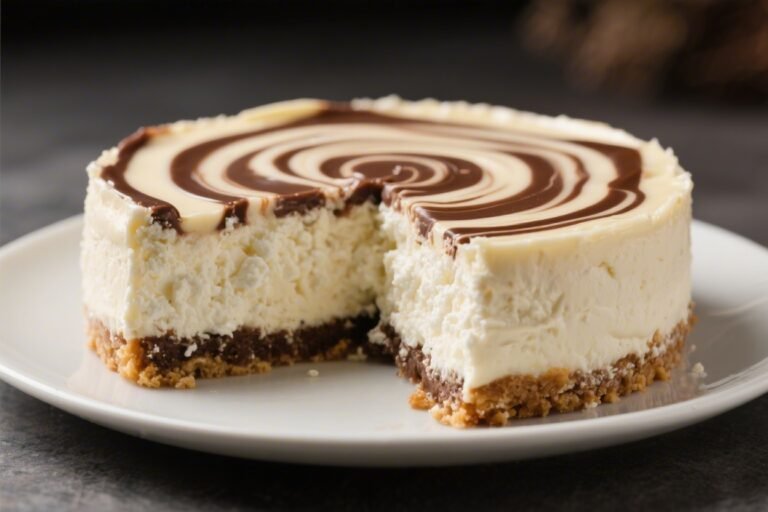
- Chocolate Swirl: Melt 1/3 cup chocolate chips and swirl into the top of the filling before chilling.
- Key Lime: Swap lemon juice for 3 tablespoons lime juice and add more zest.
Top with whipped cream.
- Oreo Crust: Use crushed chocolate sandwich cookies (filling included) instead of graham crackers; reduce added sugar in the crust.
- Berry Burst: Fold 1/2 cup chopped strawberries or raspberries into the filling and top with fresh berries.
- Salted Caramel: Drizzle caramel over the chilled cheesecake and finish with a pinch of flaky salt.
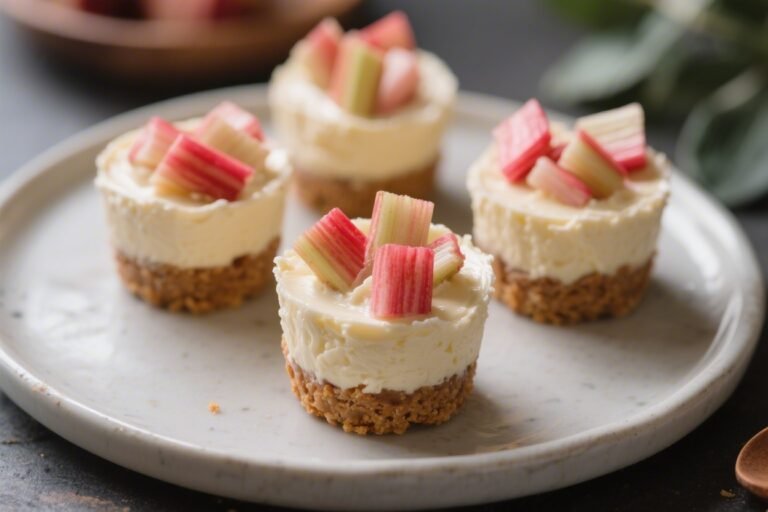
- Mini Cheesecakes: Press crust into a lined muffin tin, add filling, and chill. Great for portion control and parties.
FAQ
Can I make this a day ahead?
Yes. It’s actually better when made a day ahead because it sets more firmly and the flavors meld.
Just keep it covered in the fridge.
What if I don’t have a springform pan?
Use a deep pie dish or an 8×8-inch square pan. You’ll serve it straight from the dish instead of unmolding, but the flavor and texture will be the same.
Can I use store-bought whipped topping instead of heavy cream?
You can, but the flavor is richer with real whipped cream. If using whipped topping, fold in about 2 1/2 cups and reduce the powdered sugar slightly to taste.
How do I keep the crust from crumbling?
Use the right ratio of crumbs to butter and press the mixture firmly.
Chilling before adding the filling is key. If it still seems dry, add 1–2 extra tablespoons of melted butter.
Can I reduce the sugar?
Yes. Reduce powdered sugar to 1/2 cup for a less sweet filling.
The texture will still hold, and you can balance with a sweet topping if needed.
Is there a gluten-free option?
Use gluten-free cookies for the crust. Everything else in the filling is typically gluten-free—just check your labels to be sure.
How long should I soften the cream cheese?
Let it sit at room temperature for 30–45 minutes. It should feel pliable but not warm or oily.
This step prevents lumps and gives you a smooth filling.
Can I freeze the whole cheesecake?
Yes. Chill until firm, wrap the pan well, and freeze. Thaw overnight in the fridge before serving, then add toppings.
In Conclusion
This Foolproof No-Bake Cheesecake for Beginners is all about ease and great results.
With a buttery crust, a creamy filling, and just a little patience while it chills, you’ll get a dessert that impresses every time. Keep the base recipe handy, then have fun with toppings and variations. Once you make it once, you’ll keep coming back to it for holidays, birthdays, and any night that needs something sweet.