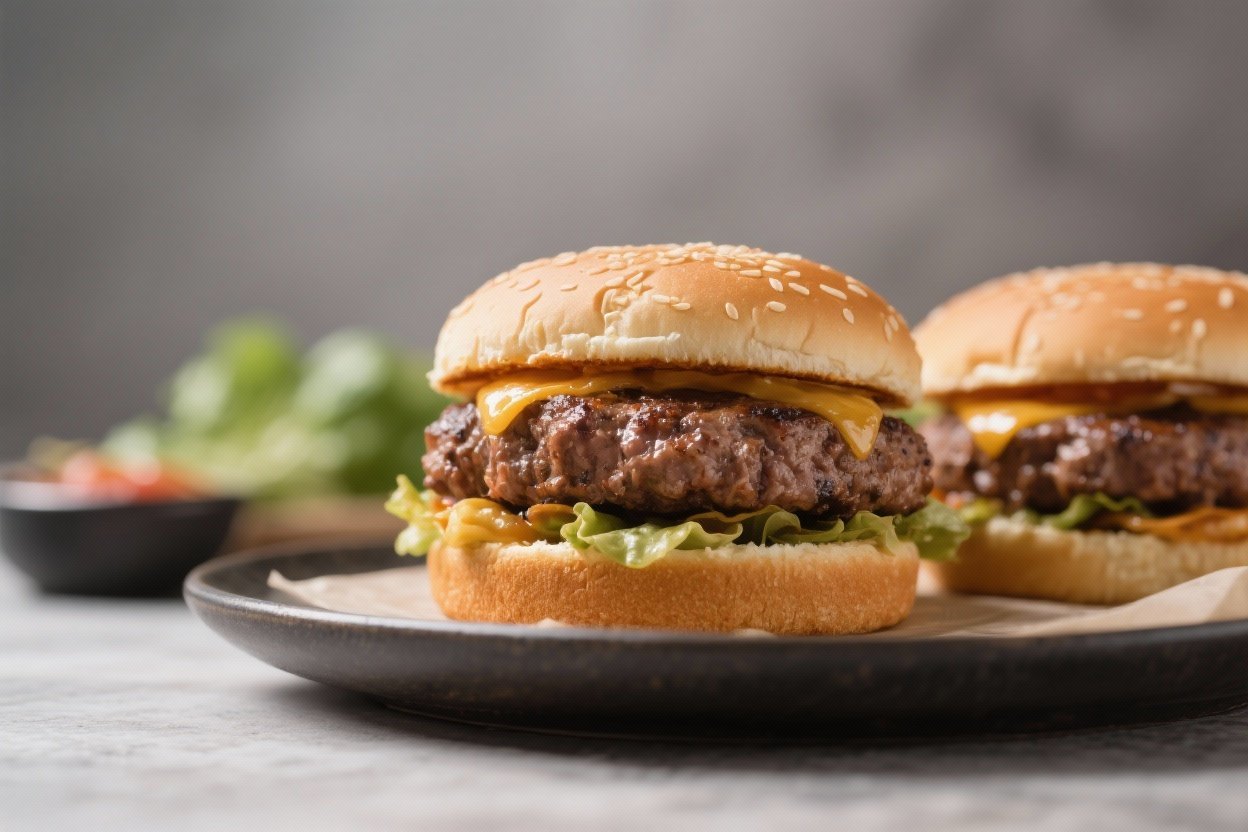
Juicy Homemade Beef Burgers That Drip Flavor (And Might Ruin Restaurant Burgers Forever)
You know that burger you remember from childhood that tasted like summer, confidence, and smoke? This is that—except bigger, juicier, and engineered to slap with every bite. No mystery ingredients, no chefy drama—just smart technique and outrageous flavor.
The secret isn’t fancy toppings; it’s what you do to the meat. Make these once and you’ll side-eye every $18 gastropub burger like, “Really? That’s it?”
Why This Recipe Works
Great burgers are about fat, structure, and heat management.
We use 80/20 ground beef because fat equals flavor and moisture. Overmixing turns burgers into meatloaf, so the mix is minimal for a tender bite. A two-zone heat strategy—sear then finish—creates a charred crust and a juicy center, not a gray hockey puck.
Finally, resting the patties for a few minutes keeps the juices where they belong: inside your burger, not on your plate.
What You’ll Need (Ingredients)
- 1.5 pounds ground beef (80/20) – the sweet spot for juiciness
- 1.5 teaspoons kosher salt
- 1 teaspoon freshly ground black pepper
- 1 teaspoon garlic powder
- 1 teaspoon onion powder
- 1 teaspoon Worcestershire sauce
- 1 teaspoon Dijon mustard (optional but recommended)
- 4 brioche or potato buns
- 4 slices cheese (American, cheddar, Swiss—your call)
- 2 tablespoons butter (for toasting buns)
- Toppings: sliced tomato, iceberg or romaine lettuce, pickles, thinly sliced red onion
- Sauce: mayo, ketchup, mustard, or your favorite burger sauce
- Neutral oil with high smoke point (canola, avocado) for the pan or grill
Let’s Get Cooking – Instructions
- Prep the patties: Divide the beef into 4 equal portions (about 6 ounces each). Gently form into patties about 3/4-inch thick, slightly wider than your buns. Press a shallow dimple in the center with your thumb to prevent puffing.
- Season smart: In a small bowl, combine salt, pepper, garlic powder, and onion powder.
Sprinkle both sides of each patty evenly. Drizzle Worcestershire and smear a whisper of Dijon on one side. Do not knead the seasoning into the meat—keep your touch light.
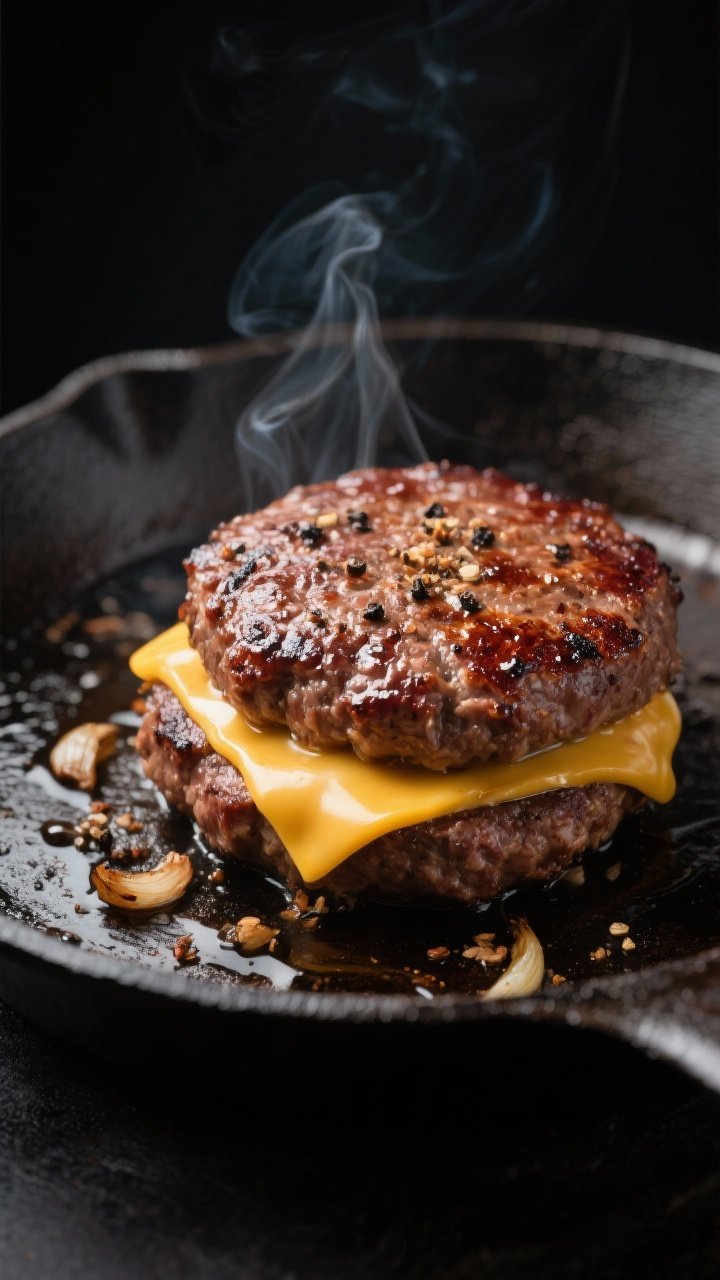
- Preheat like you mean it: Heat a cast-iron skillet over medium-high until smoking, or prepare a grill with a hot zone and a cooler zone.
Add a thin film of oil to the skillet or oil the grates.
- Sear for crust: Place patties on the hot surface. Don’t touch them for 2–3 minutes. When edges darken and the underside is crusty, flip.
- Finish gently: After flipping, reduce heat to medium (or move to the cooler grill zone).
Cook 2–4 minutes more for medium, adjusting based on thickness. Use an instant-read thermometer if you want precision: 135°F for medium-rare, 145°F for medium, 160°F for well-done.
- Cheese it: Add cheese in the last minute. Cover the pan or close the grill lid to melt.
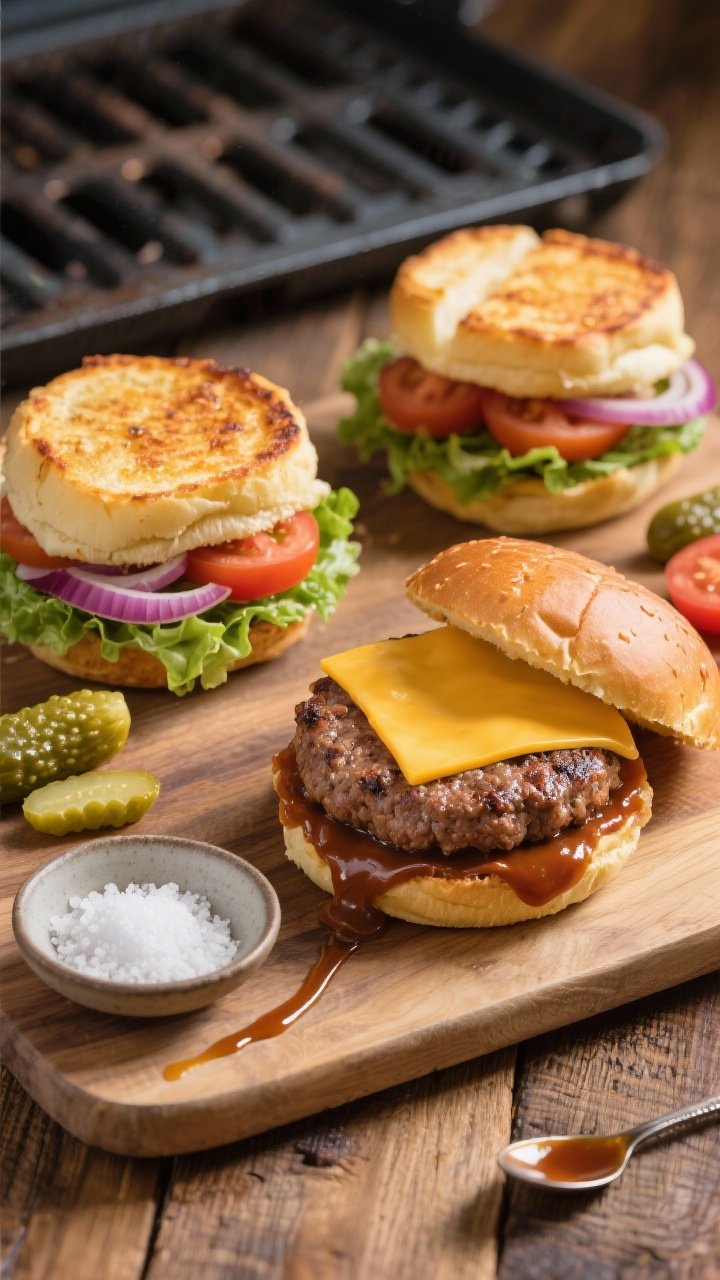
- Toast the buns: While burgers cook, melt butter on a separate skillet or the grill.
Toast buns cut-side down until golden and crisp at the edges.
- Let them rest: Transfer patties to a plate and rest 3–4 minutes. This keeps the juices locked in. Worth the wait—promise.
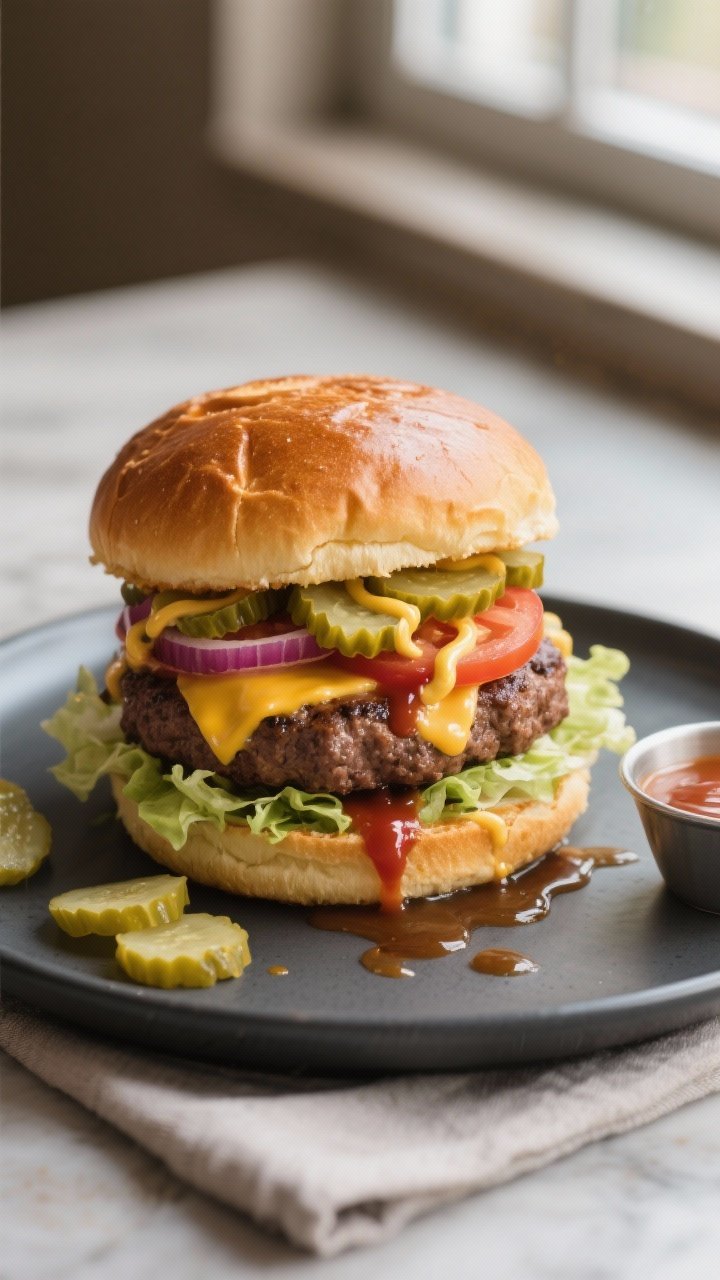
- Assemble like a pro: Spread sauce on both buns.
Stack lettuce on the bottom (it acts as a juice barrier), then patty, pickles, tomatoes, onions. Cap with the top bun and press gently.
- Serve immediately: Juicy burgers don’t get better as they sit. Plate and conquer.
How to Store
- Cooked patties: Cool, wrap individually, and refrigerate up to 3–4 days.
Reheat gently in a covered skillet with a splash of water to steam and revive juiciness.
- Raw patties: Form, wrap, and refrigerate up to 24 hours. For longer storage, freeze on a sheet tray, then bag. Use within 2 months for best flavor.
- Buns and toppings: Store buns at room temp for 2–3 days or freeze.
Keep sliced toppings separate to avoid sogginess.
- Reheating hack: Add a slice of cheese during reheat to mask dryness and bring back that melty magic.
Why This is Good for You
These burgers deliver high-quality protein for muscle recovery and satiety—translation: you’ll stay full and energized. Choosing 80/20 beef provides fats that carry flavor and help absorb fat-soluble vitamins. Pair with leafy lettuce, tomatoes, and onions for fiber, antioxidants, and crunch that feel indulgent, not “health food.” Balance is the goal, not perfection—this meal nails it without trying too hard.
What Not to Do
- Don’t overwork the meat: The more you mash, the tougher it gets.
Gentle hands only.
- Don’t skip the dimple: Without it, patties balloon into meatballs. Cute? Maybe.
Practical? Nope.
- Don’t cook cold: Ice-cold patties seize and cook unevenly. Give them 10–15 minutes at room temp before cooking.
- Don’t press the patties: That sizzling sound?
It’s your juice leaving. Pressing is for paninis, not burgers.
- Don’t use lean beef: 90/10 means dry. You’re not making turkey burgers here.
- Don’t forget to rest: Cutting in immediately equals a juice flood.
Patience pays.
Recipe Variations
- Smashburger Style: Use 2–3 oz portions. Smash on a ripping-hot skillet for 10 seconds, cook 1–2 minutes per side. Paper-thin, lacy edges, crispy bliss.
- Caramelized Onion Burger: Slowly cook sliced onions in butter until jammy.
Add a swipe of Dijon and Gruyère for steakhouse vibes.
- Bacon-Blue: Crumble blue cheese on top with crispy bacon. Add arugula and a touch of pepper jelly if you’re feeling fancy.
- Green Chile Cheeseburger: Top with roasted Hatch chiles and American cheese. A little mayo-lime-cilantro sauce?
Unreal.
- BBQ Burger: Brush patties with BBQ sauce in the last minute and top with sharp cheddar and pickled onions. Sweet heat, big win.
- Herb-Garlic Upgrade: Mix 1 tablespoon finely chopped parsley and chives into the seasoning (not the meat) for a fresh hit.
FAQ
What fat ratio is best for juicy burgers?
80/20 ground beef is the gold standard. It delivers moisture and flavor without excessive flare-ups or greasiness.
Leaner grinds dry out faster and need extra sauce to compensate.
How do I prevent burgers from falling apart?
Start with cold meat, form gently, and make that center dimple. A solid sear creates structure. If your patties are crumbling, they’re either overhandled or too lean.
Do I need breadcrumbs or eggs?
No.
That’s for meatloaf. Proper fat ratio, light handling, and a good sear keep burger patties intact without binders, IMO.
Can I cook these in the oven?
Yes, but you’ll miss some crust. Sear in a skillet first, then finish in a 375°F oven for 5–8 minutes until your desired temp.
It’s a reliable weeknight move.
What cheese melts best?
American melts like a dream, cheddar brings sharpness, and Swiss adds nutty flavor. Pepper jack if you want heat. Pick your vibe and commit.
How do I know when they’re done without a thermometer?
Press the center gently: soft and springy is medium-rare; slightly firmer is medium.
Clear juices help, but a thermometer is the real MVP for consistency.
Can I make them ahead?
Form patties up to a day ahead, keep them cold, and season right before cooking. If freezing, separate with parchment and thaw overnight in the fridge.
What’s the best bun?
Brioche for buttery sweetness, potato for structure and softness. Toasted is non-negotiable—texture is flavor’s best friend.
Is Worcestershire necessary?
Not strictly, but it adds umami depth.
If you skip it, consider a tiny splash of soy sauce. Not too much—this is a burger, not a stir-fry.
How do I avoid flare-ups on the grill?
Keep a two-zone setup. If flames jump, move patties to the cooler side and close the lid briefly.
Clean, oiled grates and a calm cook make a big difference.
The Bottom Line
“Juicy Homemade Beef Burgers” aren’t about complicated tricks—they’re about smart fat, minimal handling, hot sear, and brief rest. Nail those and you’ll build a burger that’s loud with flavor and dripping with confidence. Make it your weeknight staple or your cookout flex.
Either way, you’ll be the reason everyone stops ordering burgers out. FYI: extra napkins recommended.
Printable Recipe Card
Want just the essential recipe details without scrolling through the article? Get our printable recipe card with just the ingredients and instructions.