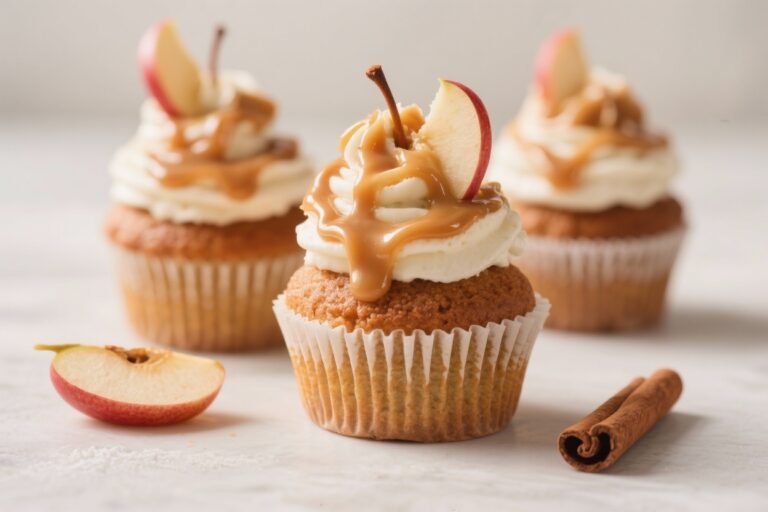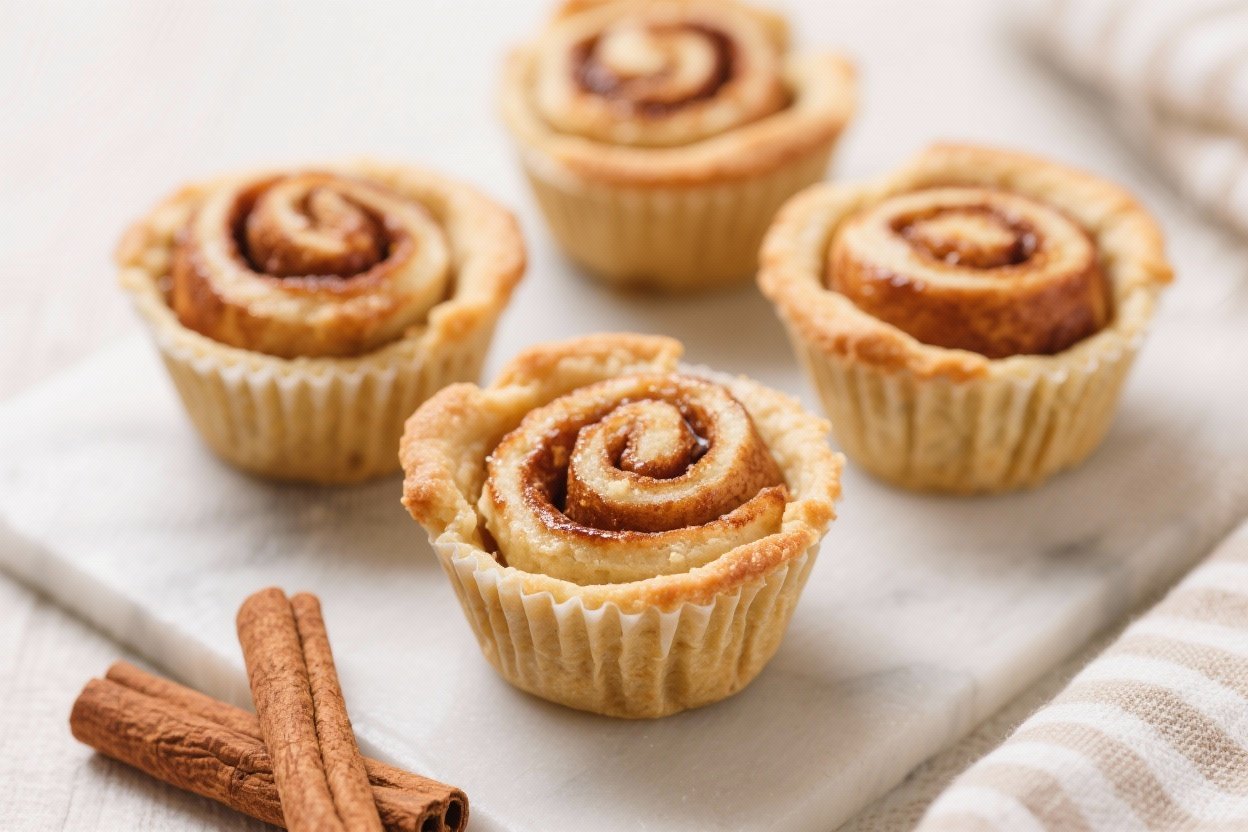
Cinnamon Roll Apple Pie Cups: The 2-Bite Dessert That Will Outsmart Your Sweet Tooth
Imagine a dessert that tastes like your grandma’s apple pie and your favorite mall cinnamon roll had a genius baby. That’s Cinnamon Roll Apple Pie Cups—tiny, sticky, golden bites of buttery cinnamon dough loaded with caramelized apples and a glossy glaze. They look bakery-level fancy but take less effort than finding a parking spot on a Saturday.
These aren’t “just desserts”; they’re crowd-silencing, face-lighting little wins. If you can open a can of dough and chop an apple, you can make these dangerously addictive cups at home.
What Makes This Recipe Awesome
- Mini size, major flavor: Each cup packs nostalgic apple pie flavor inside a cinnamon roll crust. Think handheld comfort with zero forks required.
- Fast from pantry to plate: Using refrigerated cinnamon roll dough keeps prep under 15 minutes.
Weeknight dessert? Yes, please.
- Flexible for any skill level: Beginner-friendly, but with room to flex your creativity—add nuts, caramel, or browned butter glaze.
- Perfect for sharing (or not): Bake a dozen. Bring to a brunch, office potluck, or keep them at home and pretend it’s “quality control.”
- Bakery look without the drama: Glossy glaze, golden edges, and a tender apple center.
Zero rolling pins or lattice tops required.
Ingredients Breakdown
- 1 tube (8–12 count) refrigerated cinnamon rolls with icing: The crust and built-in flavor boost.
- 2 medium apples (Honeycrisp, Granny Smith, or Pink Lady): Sweet-tart structure that doesn’t turn mushy.
- 2 tablespoons unsalted butter: For sautéing the apples and making everything taste like fall.
- 2 tablespoons brown sugar (light or dark): Deep caramel notes.
- 1 tablespoon granulated sugar: Balances tart apples and helps with slight caramelization.
- 1 teaspoon ground cinnamon: Amplifies the roll’s flavor.
- 1/8 teaspoon ground nutmeg (optional): Adds warmth and complexity.
- 1 teaspoon lemon juice: Brightens and keeps apples lively.
- 1 teaspoon cornstarch + 1 teaspoon water (optional): For thicker, jammy filling.
- Pinch of salt: Makes everything pop.
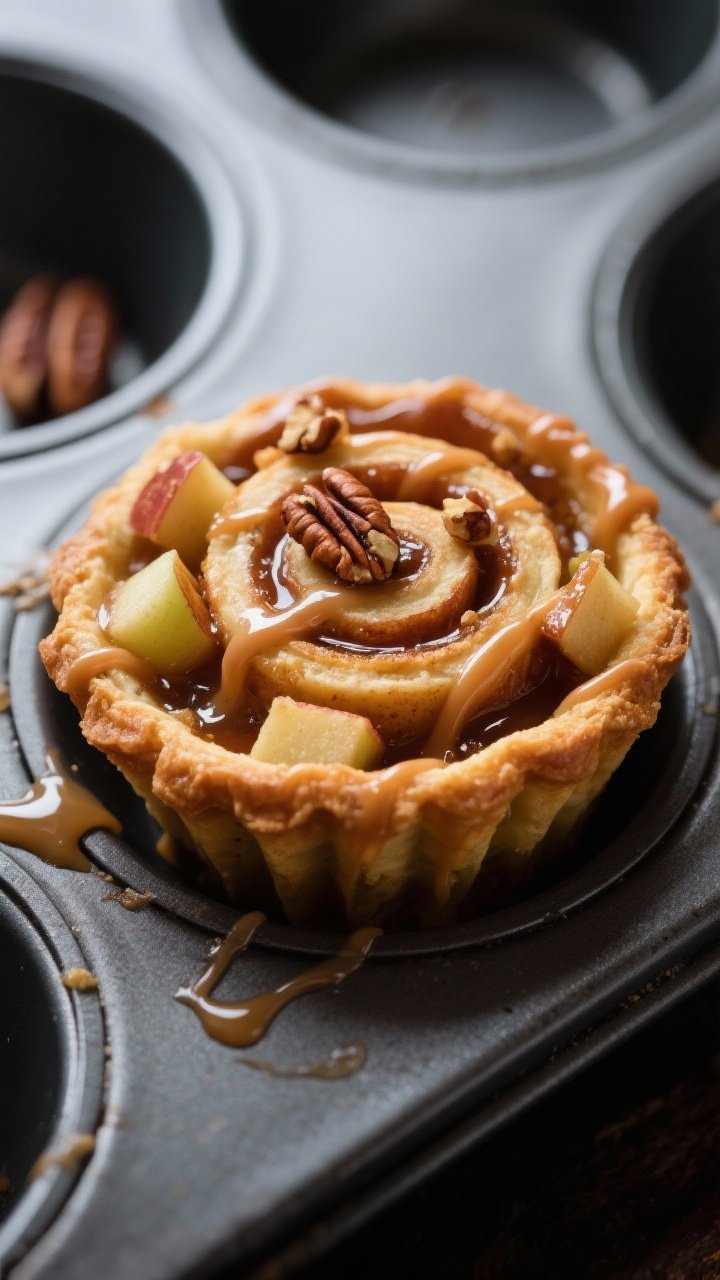
- Optional toppings: Toasted pecans or walnuts, store-bought caramel sauce, extra cinnamon sugar for dusting.
Step-by-Step Instructions
- Preheat and prep: Heat the oven to 375°F (190°C). Lightly grease a standard 12-cup muffin tin or line with paper liners.
- Chop the apples: Peel (optional) and dice apples into small 1/4-inch cubes. Smaller pieces nest better in the cups and cook evenly.
- Sauté the filling: In a skillet over medium heat, melt butter.
Add apples, brown sugar, granulated sugar, cinnamon, nutmeg, and a pinch of salt. Cook 4–6 minutes, stirring, until apples soften and juices start to bubble.
- Thicken (optional but recommended): Stir lemon juice into the apples. Mix cornstarch with water to make a slurry, then add to the pan.
Cook 30–60 seconds more until glossy and slightly thickened. Remove from heat to cool slightly.
- Shape the cups: Open the cinnamon roll tube (brace yourself). Separate rolls.
Press each roll into a flat disk, then gently press into each muffin cavity, creating a cup with a little overhang. Reserve the icing packet.
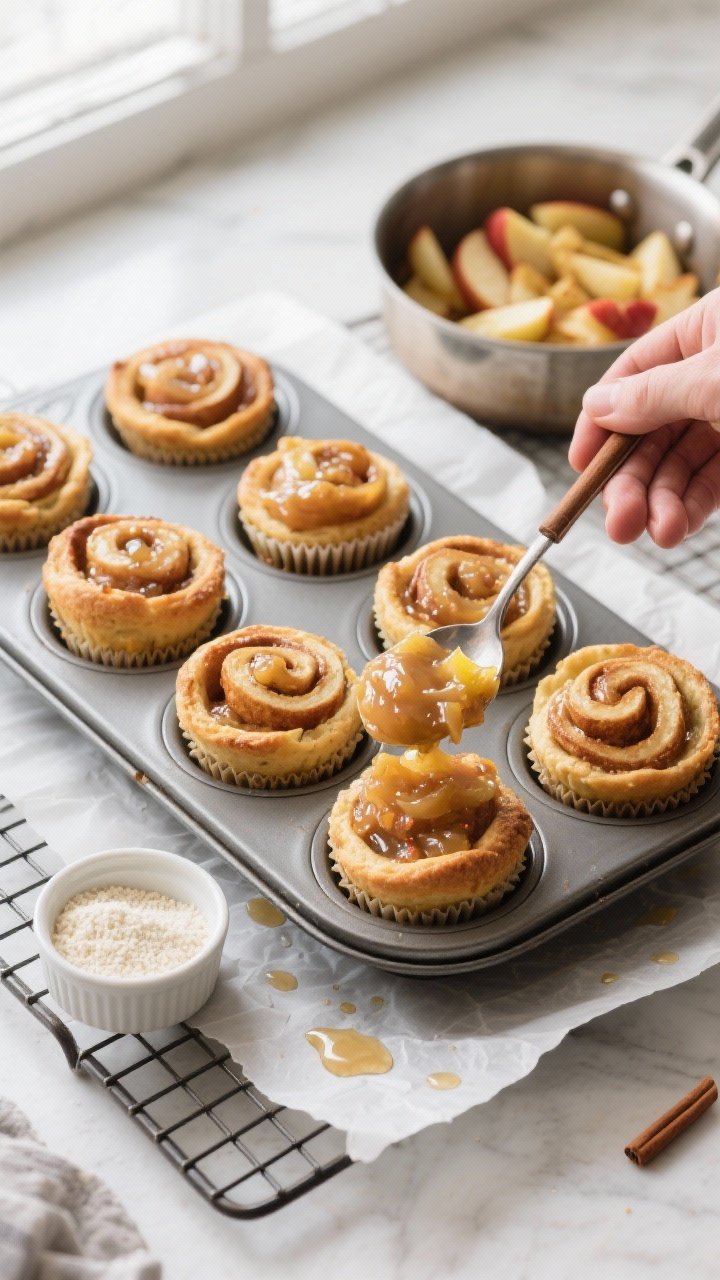
- Fill generously: Spoon the warm apple mixture into each cinnamon roll cup, mounding slightly. Don’t flood—aim for about 2 tablespoons per cup.
- Bake: Place on the center rack and bake 12–15 minutes, until cinnamon roll edges are golden and the centers are set.
- Cool briefly: Let cups rest in the pan for 5–7 minutes.
This helps the structure firm up so they release cleanly.
- Glaze: Warm the icing packet in your hands or a warm water bath for 30 seconds. Drizzle over the cups. Add nuts or a kiss of caramel if you’re feeling bougie.
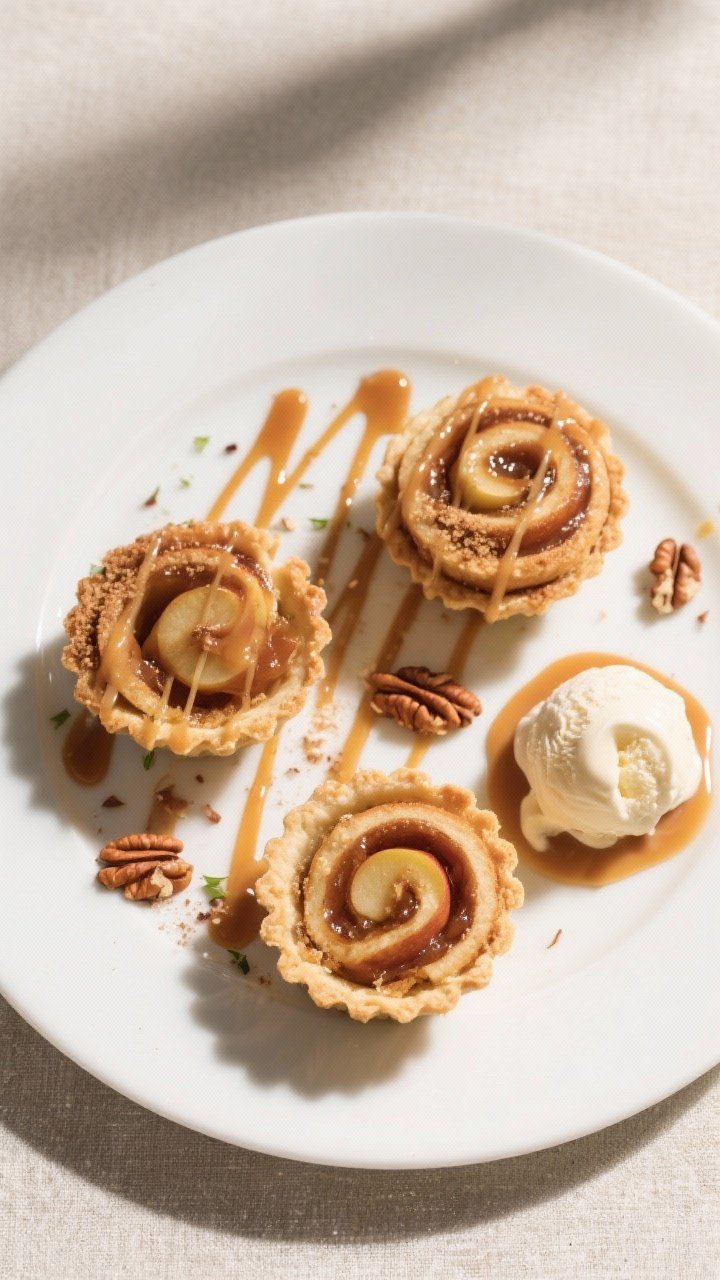
- Serve: Best enjoyed warm.
Pair with vanilla ice cream or whipped cream if you’re playing to win.
Preservation Guide
- Room temperature: Store in an airtight container for up to 24 hours. The glaze may absorb slightly—still great.
- Refrigerator: Keeps 3–4 days. Reheat in a 300°F (150°C) oven for 6–8 minutes or microwave 10–15 seconds to revive the softness.
- Freezer: Freeze unglazed cups for up to 2 months.
Wrap individually, then place in a freezer bag. Thaw overnight in the fridge and reheat before glazing.
- Make-ahead option: Cook the apple filling up to 3 days ahead; assemble and bake day-of.
Health Benefits
- Fiber from apples: Apples bring soluble fiber (hello, pectin) that supports digestion and helps you feel satisfied.
- Antioxidants: Apples offer quercetin and vitamin C, which support immune health and reduce oxidative stress. Not a salad, but not nothing.
- Portion control built-in: Mini cups make it easier to enjoy dessert mindfully.
One cup now, one later—discipline optional but appreciated.
- Customizable sugar: You control the sweetness—reduce added sugar in the filling or choose a lighter glaze to fit your goals.
Avoid These Mistakes
- Overfilling the cups: Too much apple mixture can cause overflow and soggy bottoms. Keep it heaped but contained.
- Skipping the thickener: If your apples are extra juicy, the filling can get runny. The cornstarch step takes 30 seconds and saves the day.
- Underbaking: Pale edges = doughy centers.
Bake until the rims are golden brown and the centers look set.
- Rushing the cool time: Popping them out immediately can cause tearing. Give them 5–7 minutes to firm up.
- Using mealy apples: Red Delicious is a no. Choose firm, baking-friendly apples for the best texture, IMO.
Recipe Variations
- Caramel Pecan Dream: Add 1/3 cup chopped toasted pecans to the filling and drizzle with caramel sauce before serving.
- Maple Browned Butter Glaze: Replace the included icing with 2 tablespoons browned butter whisked with 1/2 cup powdered sugar and 1–2 tablespoons maple syrup.
- Salted Apple Crumble: Sprinkle a quick streusel (2 tablespoons melted butter + 1/4 cup flour + 2 tablespoons brown sugar + pinch of salt) on top before baking.
- Boozy Upgrade (adults only): Stir 1 tablespoon bourbon or spiced rum into the apple filling off-heat.
- Gluten-free-ish: Use a gluten-free cinnamon roll dough if available, or swap for GF pie crust pressed into the muffin tin and add a cinnamon sprinkle.
- Extra Apple Pie: Add 1/4 teaspoon apple pie spice to the filling for more warmth and depth.
FAQ
Can I use homemade cinnamon roll dough?
Yes.
Roll it to about 1/4-inch thick, cut into 3–3.5-inch rounds, and press into the muffin tin. You’ll get an even richer, bakery-style result.
Which apples work best?
Granny Smith for tartness and structure; Honeycrisp for balanced sweetness and crunch; Pink Lady for a floral tang. Mix varieties for best flavor.
Do I need to peel the apples?
No.
Peeling gives a softer, more classic texture; leaving the skin adds color, fiber, and a slight chew. It’s purely preference.
How do I prevent sticking?
Grease the muffin tin well, especially the top rims where caramelized sugars can glue the cups down. A thin offset spatula helps lift them out cleanly.
Can I make them dairy-free?
Absolutely.
Use plant-based butter and a dairy-free cinnamon roll dough or pie crust. For the glaze, mix powdered sugar with a splash of almond milk and vanilla.
Why did my cups collapse?
Likely underbaked centers or an overly wet filling. Bake until golden and thicken the apple mixture.
Let them cool a few minutes before removing from the pan.
Can I scale this for a crowd?
Yes—double or triple the batch. Bake in multiple muffin tins or in waves. Keep finished cups warm in a 200°F (95°C) oven while the rest bake.
Final Thoughts
Cinnamon Roll Apple Pie Cups are the dessert hack that makes you look like you planned ahead—even if you started 30 minutes ago.
They’re fast, customizable, and wildly satisfying, with just the right mix of gooey, crisp, and cozy. Make them for brunch, bake sales, or those nights when “just one more” mysteriously becomes three. FYI: they vanish quickly, so you might want to stash a couple for yourself.
Consider it chef’s tax.
Printable Recipe Card
Want just the essential recipe details without scrolling through the article? Get our printable recipe card with just the ingredients and instructions.