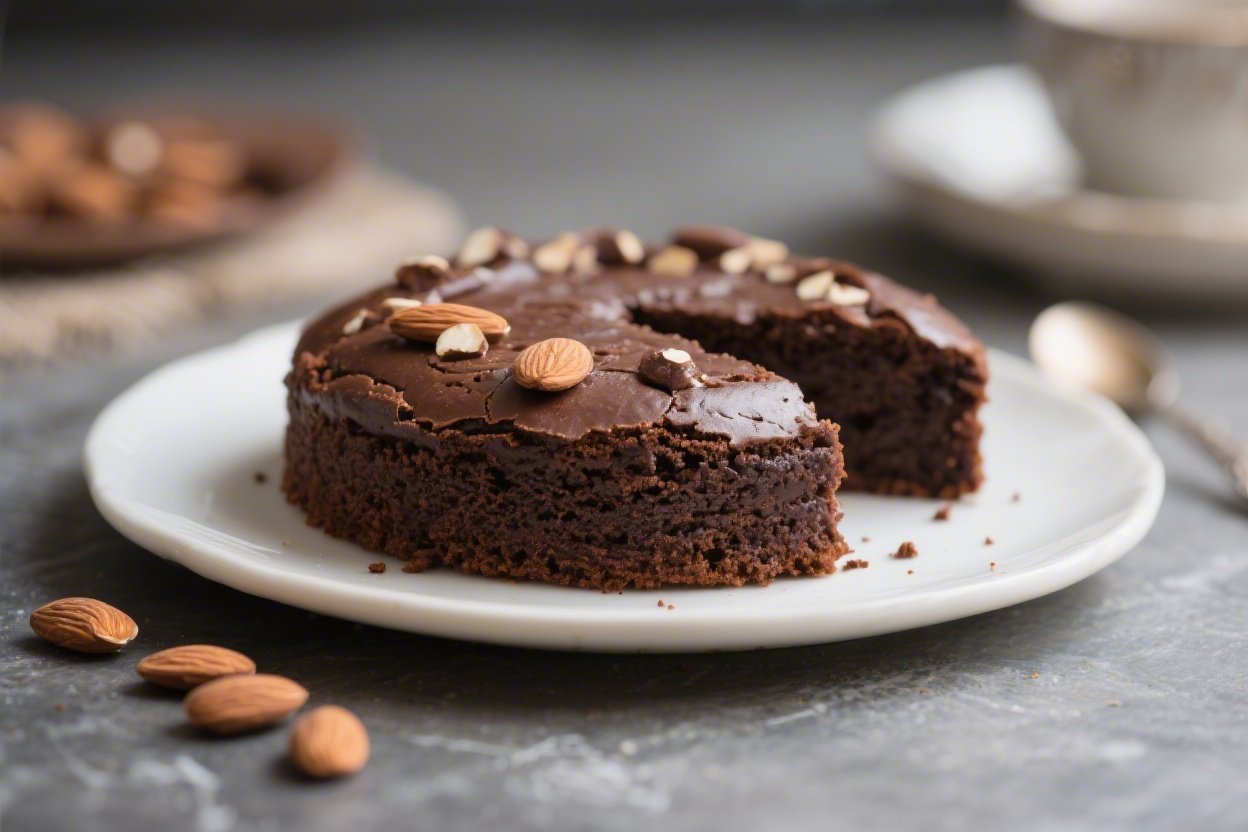
Flourless Dark Chocolate Almond Cake – Rich, Fudgy, and Naturally Gluten-Free
This cake is a chocolate lover’s dream: deep, dark, and intensely fudgy with a gentle almond warmth. It’s the kind of dessert that feels special without demanding a pastry school diploma. With no flour and simple pantry ingredients, it’s naturally gluten-free and comes together in under an hour.
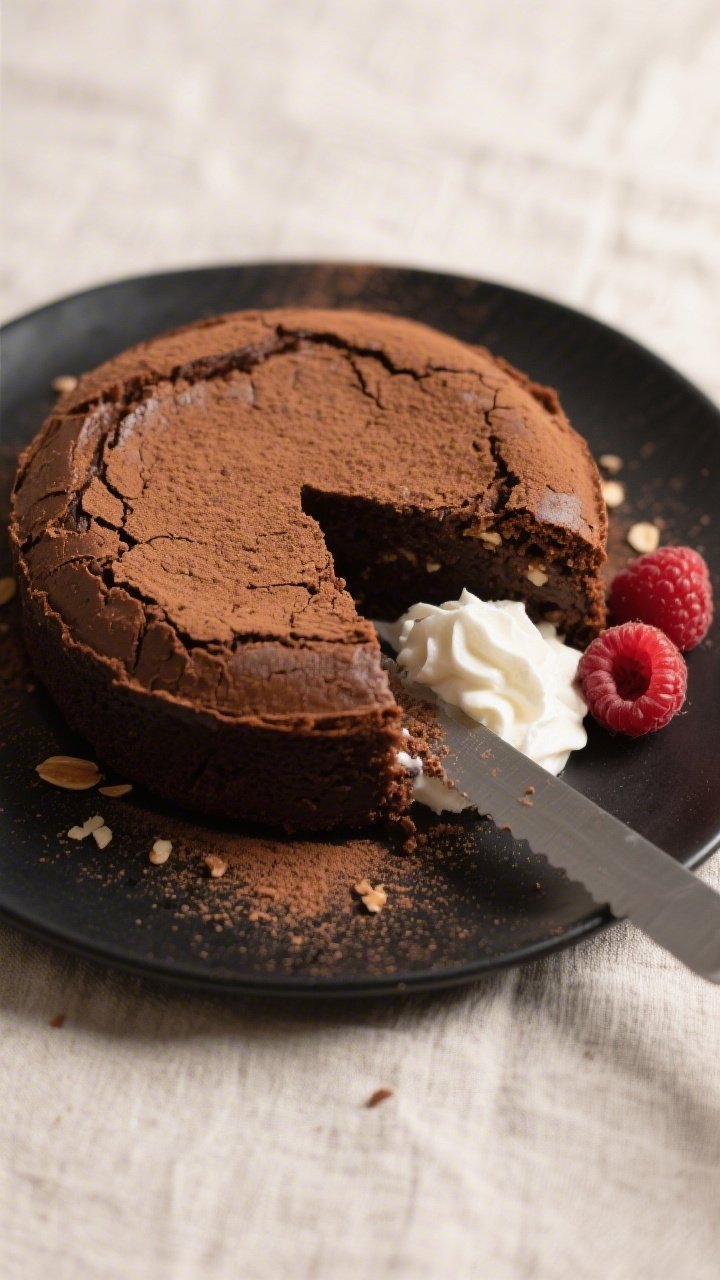
Serve it plain, dusted with cocoa, or topped with a cloud of whipped cream. However you slice it, this cake delivers a rich, elegant finish to any meal.
What Makes This Special

This cake leans on ground almonds instead of flour, which means a tender, moist crumb and a subtly nutty flavor that pairs perfectly with dark chocolate. It’s also a one-bowl-friendly recipe that uses melted chocolate and butter for a glossy, truffle-like texture.
You don’t need fancy equipment—just a whisk and a pan. It holds beautifully at room temperature, making it a great make-ahead dessert for dinner parties or holidays. And because it’s naturally gluten-free, it’s an easy crowd-pleaser for mixed-diet gatherings.
What You’ll Need
- Dark chocolate (70% cocoa), 8 ounces (225 g) – The star ingredient; choose a brand you enjoy eating on its own.
- Unsalted butter, 1/2 cup (115 g) – Adds richness and a silky texture.
- Granulated sugar, 3/4 cup (150 g) – Balances the bitterness of dark chocolate.
- Light brown sugar, 1/4 cup (50 g) – Adds moisture and a hint of caramel depth.
- Large eggs, 4 – Provide structure and help achieve that fudgy interior.
- Fine sea salt, 1/2 teaspoon – Sharpens the chocolate flavor.
- Pure vanilla extract, 1 1/2 teaspoons – Rounds out the flavors.
- Almond flour or very finely ground almonds, 1 cup (100 g) – Gives body without heaviness.
- Unsweetened cocoa powder, 2 tablespoons (optional) – For dusting the top after baking.
- Optional garnishes: Whipped cream, crème fraîche, fresh berries, or shaved chocolate.
Step-by-Step Instructions
- Prep the pan. Heat the oven to 350°F (175°C).
Line the bottom of an 8-inch (20 cm) round cake pan with parchment. Grease the sides and parchment lightly with butter or nonstick spray.
- Melt chocolate and butter. In a heatproof bowl set over a pot of barely simmering water, gently melt the chocolate and butter, stirring until smooth. Alternatively, microwave in 20–30 second bursts, stirring in between.
Remove from heat and let cool for 3–4 minutes.
- Whisk in sugars. Add the granulated and brown sugars to the warm chocolate mixture. Whisk until glossy and well combined. The mixture will thicken slightly—this is good.
- Add eggs one at a time. Whisk in the eggs, one by one, mixing fully after each addition.
Keep the motion steady to avoid whipping in too much air. The batter should look shiny and cohesive.
- Season and flavor. Whisk in the salt and vanilla. Taste a tiny bit if you like—it should be pleasantly bittersweet.
- Fold in almond flour. Switch to a spatula and gently fold in the almond flour until no dry pockets remain.
Avoid overmixing to keep the crumb tender.
- Fill the pan. Pour the batter into the prepared pan and smooth the top. Tap the pan lightly on the counter to pop any large air bubbles.
- Bake. Bake for 22–28 minutes, until the edges are set and a thin, papery crust forms on top. The center should still look slightly soft and will wobble just a bit when you jiggle the pan.
- Cool. Let the cake cool in the pan on a rack for 10–15 minutes.
Run a thin knife around the edges, then invert onto a plate and peel off the parchment. Flip again onto a serving platter so the crackly top faces up.
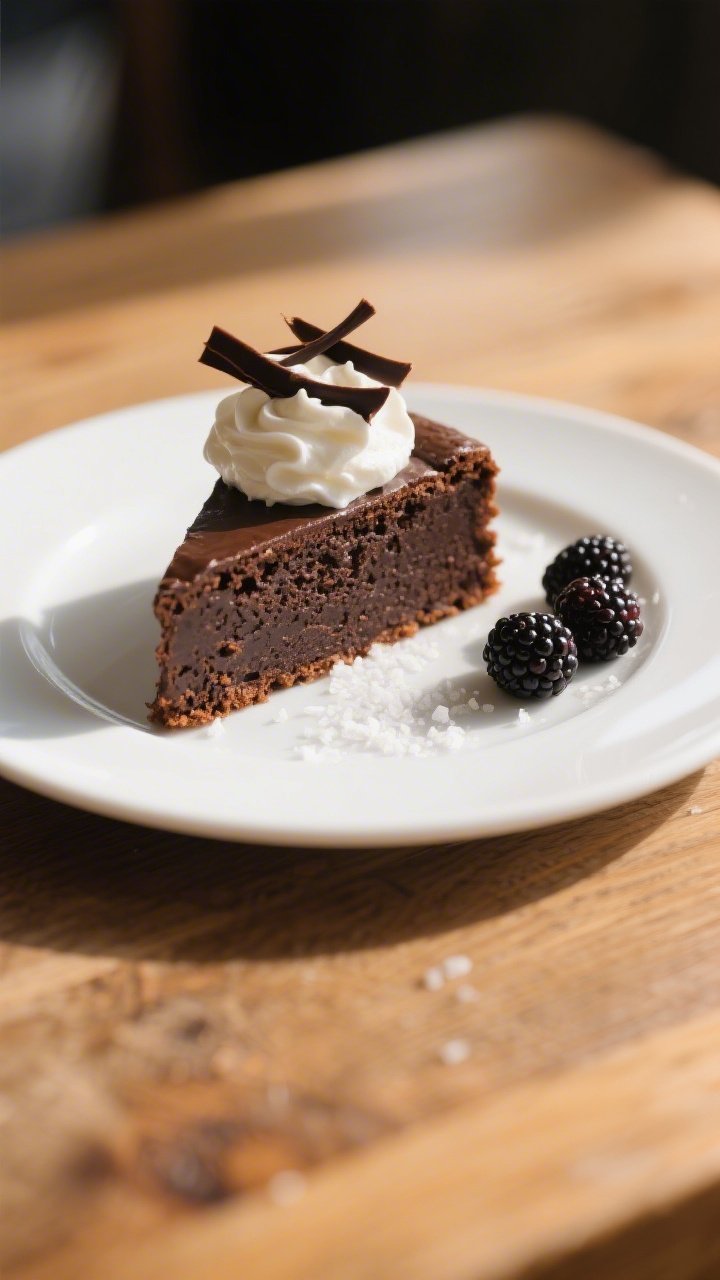
- Finish and serve. Once fully cool, dust with cocoa powder if desired. Slice with a warm, clean knife for neat edges.
Serve plain or with a dollop of whipped cream and berries.
Storage Instructions
Room temperature: Keep the cake covered at room temperature for up to 2 days. It actually tastes even better the day after baking as the flavors meld.
Refrigerator: Store airtight for up to 5 days. The texture will become denser and truffle-like.
Let slices sit at room temperature for 20–30 minutes before serving for the best texture.
Freezer: Wrap the whole cake or individual slices tightly in plastic, then foil. Freeze for up to 2 months. Thaw overnight in the fridge, then bring to room temperature before serving.
Benefits of This Recipe
- Gluten-free by design: No specialty swaps—this cake is naturally flourless.
- Deep chocolate flavor: High-cocoa chocolate and almond flour keep the taste intense and satisfying.
- Simple method: One bowl for wet ingredients, one pan, no mixer required.
- Make-ahead friendly: Flavor improves after a rest, making it ideal for entertaining.
- Versatile serving options: Dress it up with berries and cream or keep it minimal with a dusting of cocoa.
Pitfalls to Watch Out For
- Overbaking: The cake should be set at the edges with a slightly soft center.
If you bake until fully firm, it can turn dry and crumbly.
- Too-hot batter when adding eggs: If the chocolate is piping hot, it can scramble the eggs. Let it cool for a few minutes first.
- Using low-quality chocolate: The flavor rests on your chocolate. Pick something you love to eat straight.
- Coarse almond meal: Very coarse meal leads to a gritty texture.
Use fine almond flour for a smoother crumb.
- Skipping the parchment: This cake is delicate when warm. Lining the pan helps it release cleanly.
Alternatives
- Dairy-free: Swap butter for a neutral-tasting dairy-free butter or refined coconut oil. Expect a slightly firmer set if using coconut oil.
- Espresso twist: Add 1 teaspoon instant espresso powder to the batter to deepen the chocolate notes without making it taste like coffee.
- Orange-almond version: Stir in 1 tablespoon finely grated orange zest and 1 tablespoon orange liqueur for a bright, aromatic variation.
- Nut-free (not traditional, but possible): Replace almond flour with an equal weight of sunflower seed flour.
Note the color may tint slightly green due to a natural reaction with baking soda—harmless but noticeable.
- Extra luxe topping: Pour a thin layer of warm ganache (equal parts hot cream and chopped dark chocolate) over the cooled cake for a glossy finish.
FAQ
Can I use milk chocolate instead of dark chocolate?
You can, but the cake will be much sweeter and less intense. If you swap to milk chocolate, reduce the granulated sugar by 2–3 tablespoons to keep it balanced, and expect a softer set.
What size pan works best?
An 8-inch round pan gives ideal height and a fudgy center. A 9-inch pan will also work but will bake faster and result in a slightly thinner cake.
Start checking for doneness around the 18–20 minute mark if using a larger pan.
Do I need to separate the eggs and whip the whites?
No. This recipe uses whole eggs for simplicity. If you want a lighter, more souffle-like texture, you can separate the eggs, whip the whites to soft peaks, and fold them in at the end—but it’s optional.
Why did my cake crack on top?
That delicate, crackly top is normal and part of the charm of a flourless chocolate cake.
It signals a fudgy interior with a slightly crisp surface. If you prefer a perfectly smooth finish, cover it with a thin layer of ganache or a generous dusting of cocoa.
How do I know when it’s done?
Look for set edges and a soft, slightly wobbly center. A toothpick should come out with a few moist crumbs, not wet batter.
Remember, the cake continues to set as it cools.
Can I make this refined-sugar free?
You can use coconut sugar in place of both white and brown sugar for a deeper caramel note. The texture will be a touch denser, but still moist and rich. Liquid sweeteners aren’t recommended here as they can throw off the structure.
Can I double the recipe?
Yes.
Bake in a 9×13-inch pan and start checking around 25 minutes. The edges may bake a bit faster than the center, so pull it when the middle is just set with a gentle wobble.
In Conclusion
This Flourless Dark Chocolate Almond Cake is simple to make, irresistibly fudgy, and endlessly adaptable. With basic ingredients and a straightforward method, it’s a reliable dessert that tastes like far more effort than it takes.
Whether you’re hosting guests or treating yourself, this cake hits that sweet spot between elegant and easy. Keep the ingredients on hand—you’ll want to make it more than once.
Printable Recipe Card
Want just the essential recipe details without scrolling through the article? Get our printable recipe card with just the ingredients and instructions.