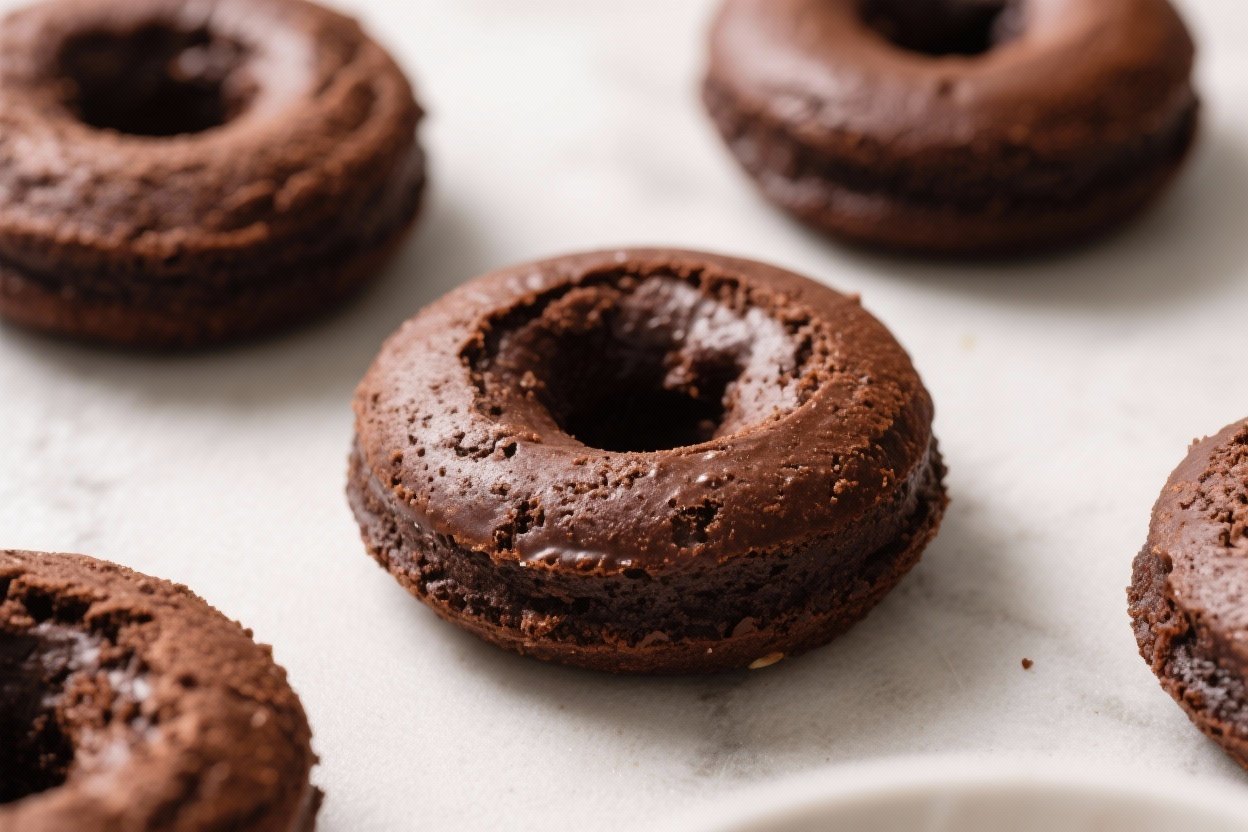
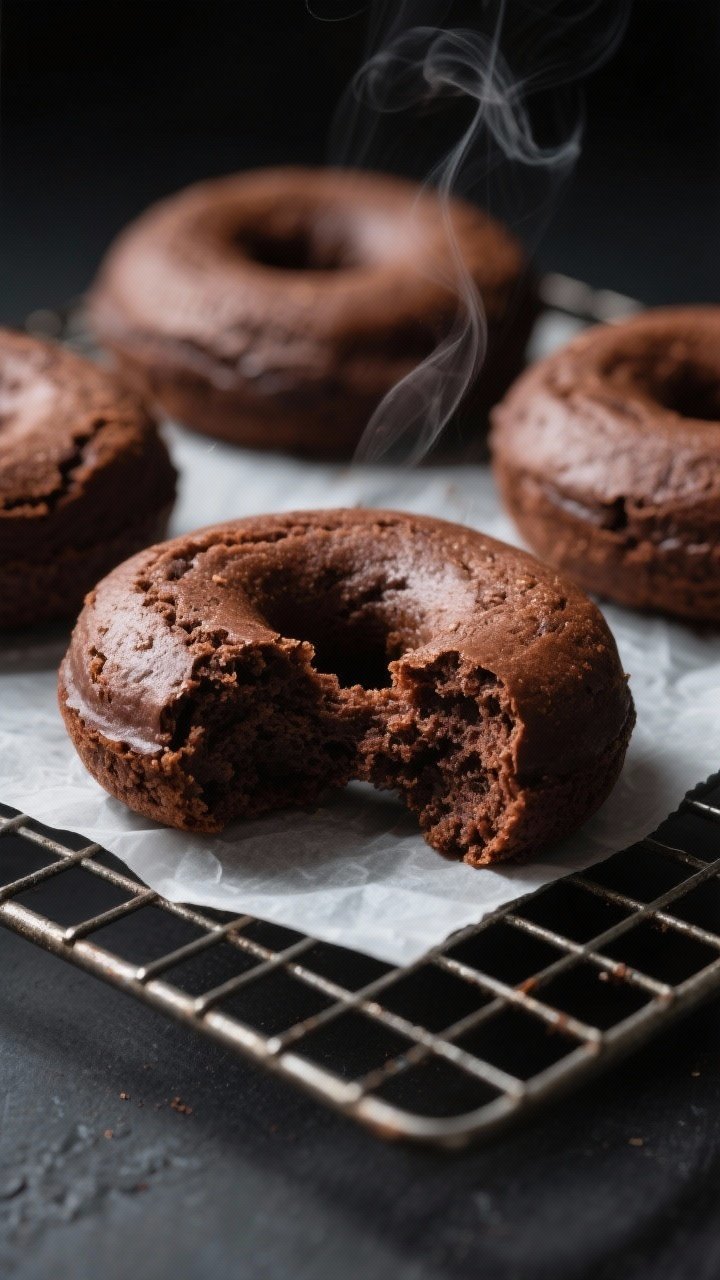
Baked Chocolate Cake Donuts – Soft, Chocolaty, and Easy
Skip the fryer and make rich, tender chocolate donuts right in your oven. These baked chocolate cake donuts are soft, moist, and full of cocoa flavor without being heavy or overly sweet. You’ll get that classic chocolate donut vibe with a smooth glaze that sets just right.
They’re simple enough for a weekday treat and special enough for weekend brunch. If you’ve got a donut pan and 30 minutes, you’re set.
What Makes This Special
These donuts deliver all the satisfaction of a bakery-style chocolate donut without deep-frying. The batter mixes up in one bowl, and it’s forgiving even if you’re new to baking.
A touch of sour cream keeps the crumb tender and moist, while espresso powder quietly boosts the chocolate flavor without tasting like coffee. The glaze is silky, sets with a gentle sheen, and takes just a minute to whisk together.
Shopping List
- All-purpose flour – for structure
- Unsweetened cocoa powder – natural or Dutch-process
- Granulated sugar
- Baking powder
- Baking soda
- Fine salt
- Espresso powder (optional) – enhances chocolate flavor
- Eggs
- Milk – dairy or unsweetened non-dairy
- Sour cream or plain Greek yogurt
- Vegetable oil – or melted butter
- Vanilla extract
- For the glaze: powdered sugar, cocoa powder, a pinch of salt, vanilla, and milk
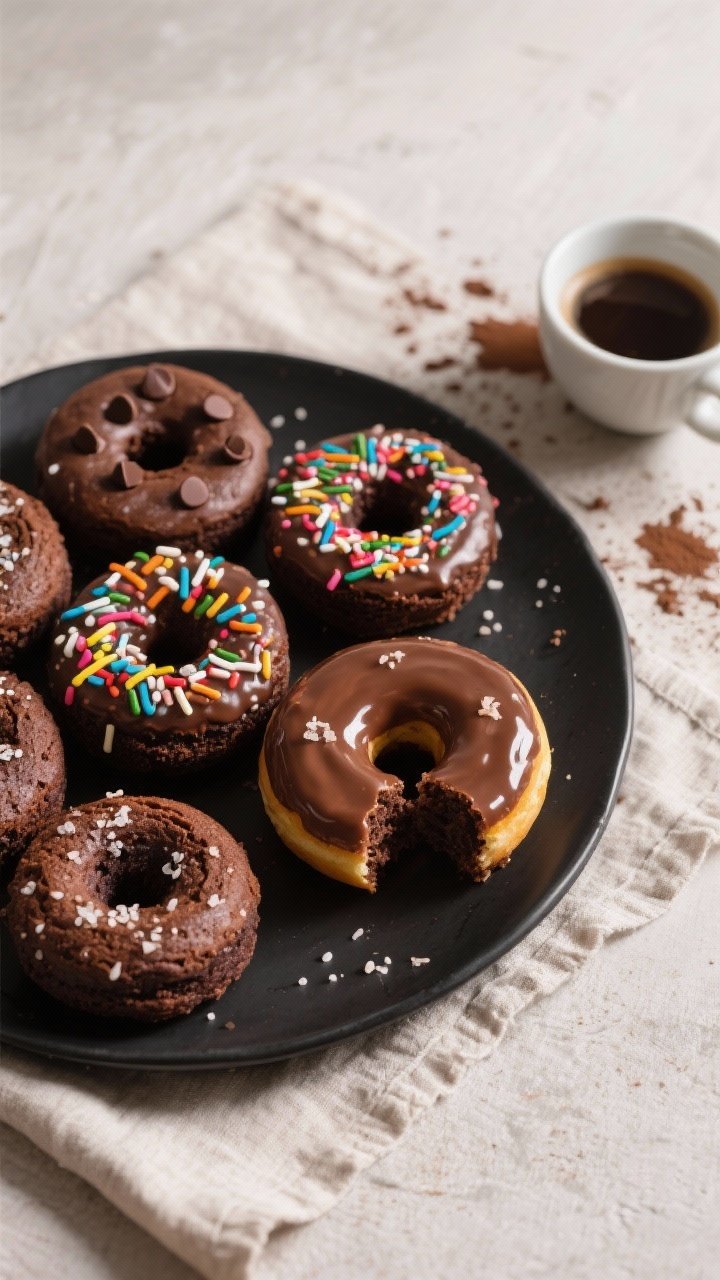
- Optional toppings: sprinkles, mini chocolate chips, toasted coconut, or flaky sea salt
Instructions
- Preheat your oven to 350°F (175°C). Lightly grease a standard donut pan or spray it with nonstick spray.
If you have two pans, prep both; this recipe makes about 10–12 donuts.
- In a large bowl, whisk together 1 cup (125 g) all-purpose flour, 1/2 cup (45 g) unsweetened cocoa powder, 3/4 cup (150 g) granulated sugar, 1 teaspoon baking powder, 1/2 teaspoon baking soda, 1/2 teaspoon fine salt, and 1 teaspoon espresso powder (optional). Break up any cocoa lumps with the whisk.
- In a separate bowl or large measuring cup, whisk 2 large eggs, 1/2 cup (120 ml) milk, 1/3 cup (80 g) sour cream, 1/4 cup (60 ml) vegetable oil, and 1 teaspoon vanilla extract until smooth.
- Pour the wet ingredients into the dry. Whisk gently until just combined.
The batter should be thick but pourable. Do not overmix or the donuts can turn tough.
- Transfer the batter to a piping bag or a large zip-top bag and snip the corner. Pipe into each donut cavity, filling about 2/3 full. This helps the donuts rise evenly without spilling over.
- Bake for 9–11 minutes, until the tops spring back lightly when touched or a toothpick comes out mostly clean with a few moist crumbs.
- Cool in the pan for 5 minutes, then turn out onto a wire rack.
Let the donuts cool completely before glazing so the glaze sets nicely.
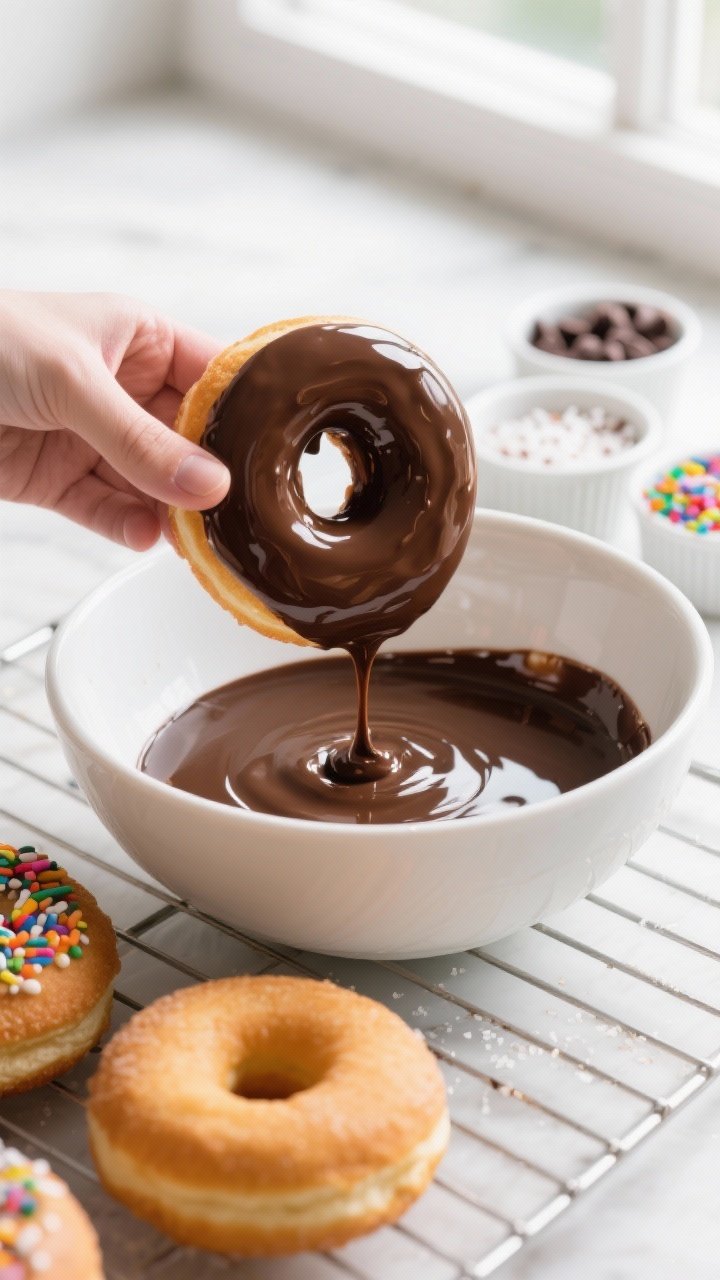
- Make the glaze: In a bowl, whisk 1 cup (120 g) powdered sugar, 2 tablespoons unsweetened cocoa powder, and a pinch of salt. Add 1/2 teaspoon vanilla and 2–3 tablespoons milk, one at a time, whisking until smooth and spoonable. It should coat the donut and slowly drip back into the bowl.
- Dip the cooled donuts face-down into the glaze, lift, and let excess drip off.
Return to the rack. Add sprinkles or toppings while the glaze is wet. Let set for 15–20 minutes.
- Serve fresh, or store as directed below.
Enjoy the soft crumb and deep chocolate flavor.
Keeping It Fresh
These donuts stay soft for 2–3 days at room temperature in an airtight container. If your kitchen is warm, keep them in the fridge and bring to room temp before eating. To freeze, skip the glaze, wrap the cooled donuts individually, and freeze for up to 2 months.
Thaw at room temperature and glaze before serving. If they dry a little, a quick 8–10 seconds in the microwave refreshes the texture.
Why This is Good for You
- Portion-friendly: Individual donuts help with mindful portions, especially compared to slicing cake.
- Lighter method: Baking cuts down on oil and heaviness you’d get from frying.
- Cocoa perks: Cocoa provides flavanols, which are antioxidants. Dutch-process or natural both work; use what you have.
- Balanced sweetness: These are sweet but not cloying, making them satisfying without the sugar crash.
Common Mistakes to Avoid
- Overmixing the batter: Stir until just combined.
Overmixing develops gluten and leads to dense donuts.
- Overfilling the pan: More than two-thirds full causes mushroom tops and uneven baking.
- Skipping the cool-down: Glazing warm donuts makes the glaze slide off. Cool completely for a neat finish.
- Using old leaveners: Baking powder and soda lose power over time. Check dates to ensure a good rise.
- Too thick or thin glaze: Add milk by teaspoons until it drips slowly.
If it runs off, whisk in more powdered sugar.
Alternatives
- Dairy-free: Use almond, oat, or soy milk and a dairy-free yogurt in place of sour cream.
- Gluten-free: Swap in a 1:1 gluten-free baking flour blend with xanthan gum. Let the batter rest 5 minutes before piping.
- No espresso powder: Skip it or replace with 1 teaspoon instant coffee dissolved in the milk.
- Chocolate-on-chocolate: Fold in 1/2 cup mini chocolate chips for extra richness.
- Cinnamon sugar finish: Skip the glaze. Brush warm donuts lightly with melted butter and toss in cinnamon sugar.
- Ganache glaze: Warm 1/3 cup cream and pour over 1/2 cup chocolate chips; rest 2 minutes, whisk, and dip.
FAQ
Can I make these without a donut pan?
Yes.
Spoon the batter into a greased mini muffin pan and bake 8–9 minutes for chocolate donut holes. You’ll get the same flavor with a different shape.
What’s the difference between natural and Dutch-process cocoa here?
Both work. Dutch-process is smoother and darker; natural is a bit brighter in flavor.
Because this recipe uses both baking powder and baking soda, the leavening balance handles either type.
Why add sour cream or Greek yogurt?
They add moisture, tenderness, and a subtle tang that rounds out the chocolate. If you skip it, the donuts can turn drier and crumbly.
How do I keep the donuts from sticking?
Use a good nonstick pan, lightly grease every cavity, and let the donuts cool 5 minutes before turning out. If they still stick, run a thin offset spatula around the edges.
Can I reduce the sugar?
You can reduce granulated sugar by about 2 tablespoons without hurting texture.
Any more and the donuts may lose moisture and softness. Consider keeping the glaze for sweetness balance.
How do I know they’re done?
Look for tops that spring back when lightly pressed and a toothpick that comes out with a few moist crumbs, not wet batter. Overbaking dries them quickly, so start checking at 9 minutes.
Can I double the recipe?
Yes.
Mix in two separate batches to avoid overmixing or use a very large bowl and fold gently. Bake in rounds, and refill the pan after a quick wipe and re-grease.
How do I get a thicker glaze layer?
Dip once, let set for 5–10 minutes, then dip again. Use a slightly thicker glaze by adding less milk for each coat.
Wrapping Up
These baked chocolate cake donuts bring bakery-level satisfaction with simple pantry ingredients and a quick bake.
The crumb is soft, the chocolate flavor is bold, and the glaze gives that classic finish. Keep a batch on hand for breakfasts, birthdays, or just because you’re craving something sweet without the mess of frying. Once you try them, you’ll have a new go-to chocolate treat.
Printable Recipe Card
Want just the essential recipe details without scrolling through the article? Get our printable recipe card with just the ingredients and instructions.