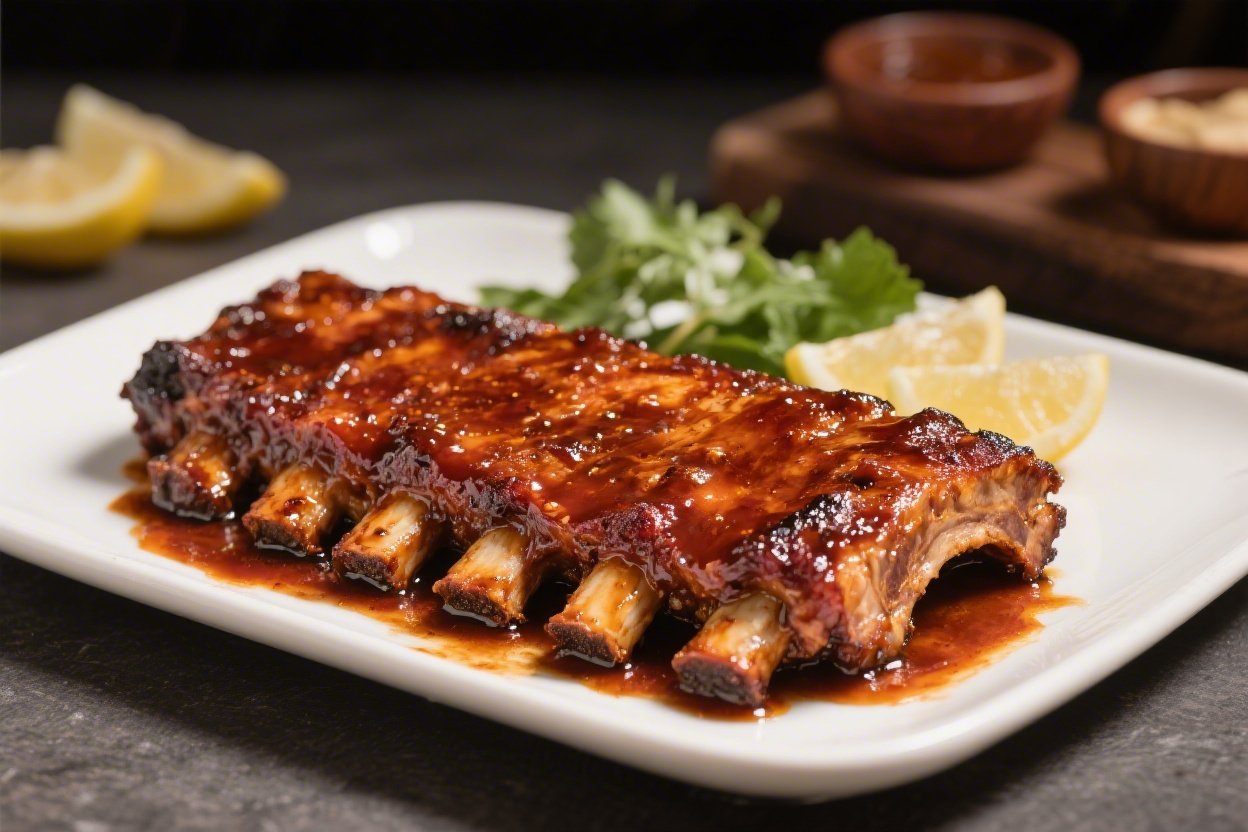
Classic Smoky BBQ Pork Ribs – Tender, Juicy, and Full of Flavor
Pork ribs might look like a project, but they’re surprisingly simple once you know the rhythm. With a good rub, low heat, and patient cooking, you get meat that’s tender, smoky, and deeply satisfying. This recipe keeps things classic: a savory-sweet rub, steady smoke, and a sticky glaze at the end.
Whether you’re cooking for a weekend crowd or just want leftovers for days, these ribs deliver. Grab a rack, fire up the grill or smoker, and let the aroma do the rest.
What Makes This Recipe So Good
- Low and slow method: Gentle heat breaks down tough fibers, giving you tender ribs without boiling or fuss.
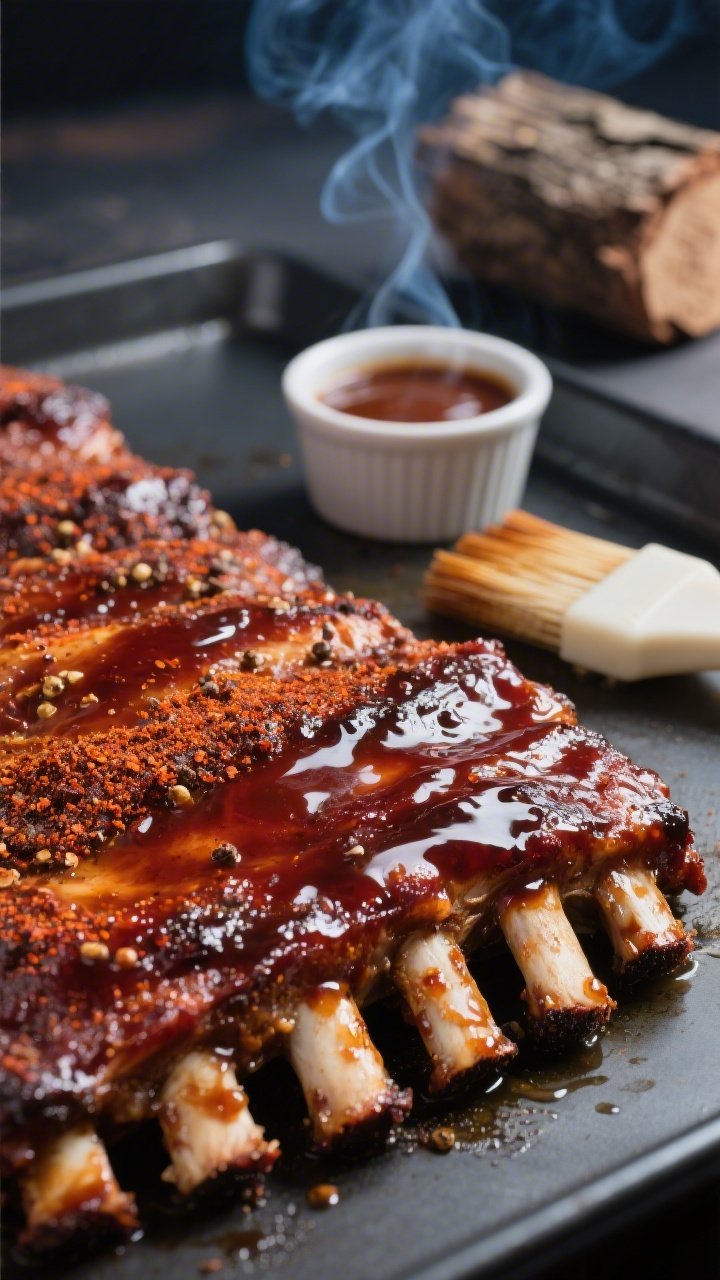
- Balanced dry rub: A mix of sweet, smoky, savory, and a little heat creates layers of flavor before the sauce even hits.
- Clean, classic smoke: Hardwood like hickory or applewood gives a deep, nostalgic BBQ vibe without overpowering the pork.
- Sticky finish: A quick glaze sets the sauce, making every bite glossy, caramelized, and finger-licking good.
- Foolproof steps: Clear timing and simple checkpoints mean you’ll know exactly when your ribs are ready.
Shopping List
- Pork ribs: 2 racks baby back or 1–2 racks St. Louis–style (about 4–6 pounds total)
- Wood chunks or chips: Hickory, apple, or cherry
- Yellow mustard: For binding the rub
- Apple cider vinegar: For spritzing and brightness
- Apple juice or water: For spritzing
- Foil and butcher paper: For wrapping (optional but helpful)
For the dry rub:
- 1/4 cup brown sugar
- 2 tablespoons smoked paprika
- 1 tablespoon kosher salt
- 1 tablespoon black pepper
- 1 tablespoon garlic powder
- 1 tablespoon onion powder
- 1 teaspoon mustard powder
- 1 teaspoon cayenne pepper (adjust to taste)
- 1 teaspoon ground cumin
For the BBQ sauce (store-bought or homemade):
- 1 cup ketchup
- 1/4 cup apple cider vinegar
- 1/4 cup brown sugar or honey
- 1 tablespoon Worcestershire sauce
- 1 teaspoon smoked paprika
- 1/2 teaspoon black pepper
- Pinch of cayenne or hot sauce (optional)
Step-by-Step Instructions
- Prep the ribs: Pat the ribs dry.
On the bone side, slide a butter knife under the thin silver membrane at one end, grip it with a paper towel, and pull it off. This helps tenderize and lets the rub sink in.
- Mix the rub: Combine brown sugar, smoked paprika, salt, pepper, garlic powder, onion powder, mustard powder, cayenne, and cumin. Stir well to break up clumps.
- Season generously: Brush a thin layer of mustard on both sides of the ribs.
Coat with the rub, pressing it in. Let the ribs rest while you heat the grill or smoker—15 to 30 minutes is plenty.
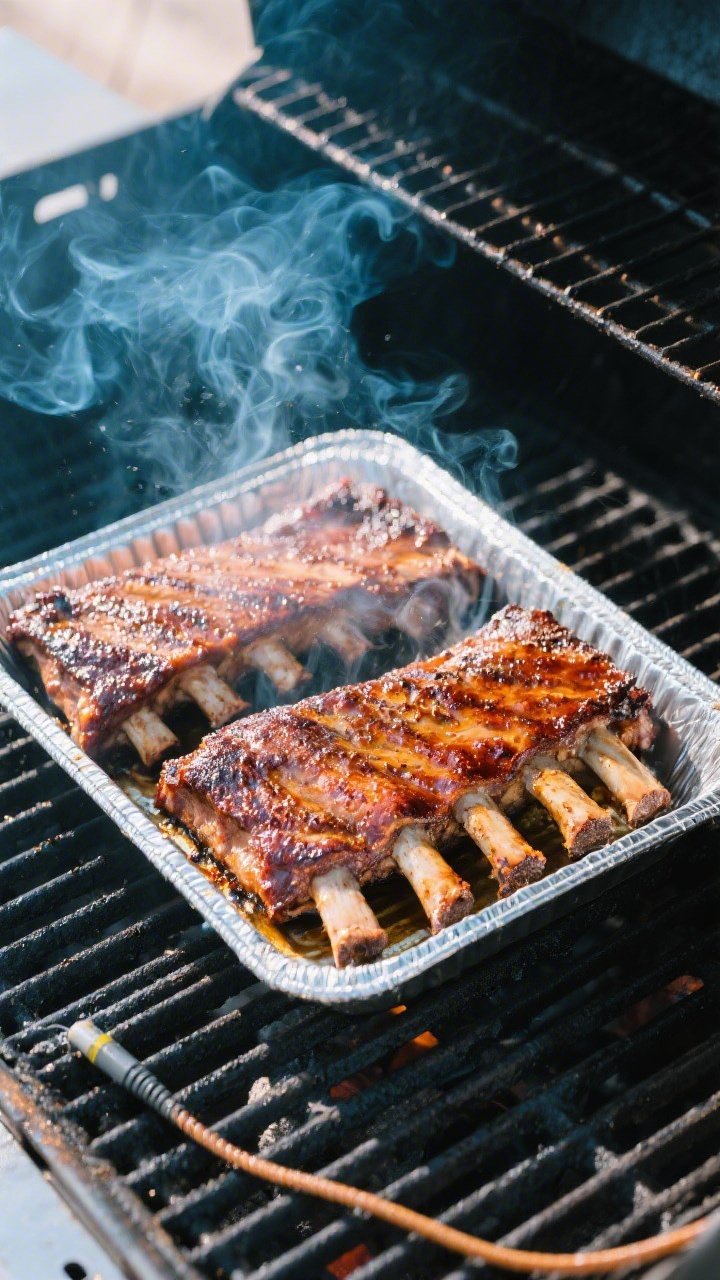
- Set up your cooker: Aim for 225–250°F indirect heat. Add a couple of wood chunks (or soaked chips) to the coals or smoker box.
You want clean, thin blue smoke, not billowing white smoke.
- Start the cook: Place ribs bone-side down away from direct heat. Close the lid. Maintain steady temperature.
Plan on 4.5–6 hours depending on rib type and thickness.
- Spritz for moisture: After 90 minutes, mix equal parts apple cider vinegar and apple juice (or water) in a spray bottle. Lightly spritz the ribs every 45–60 minutes to keep the bark from drying out.
- Optional wrap (Texas crutch): Around the 3-hour mark, if the bark looks set and the color is a deep mahogany, wrap the ribs tightly in foil or butcher paper with a light spritz. This can speed tenderness.
If you prefer a firmer bark, skip this step.
- Check for doneness: Look for bones starting to peek out 1/4 inch and a slight bend when you lift the rack with tongs. Internal temp typically lands between 195–203°F. The meat should feel supple, not tight.
- Glaze and set: Brush warm BBQ sauce on both sides.
Return ribs to the grill unwrapped for 10–15 minutes to set the glaze and get that shiny finish. Avoid scorching by keeping indirect heat and closing the lid.
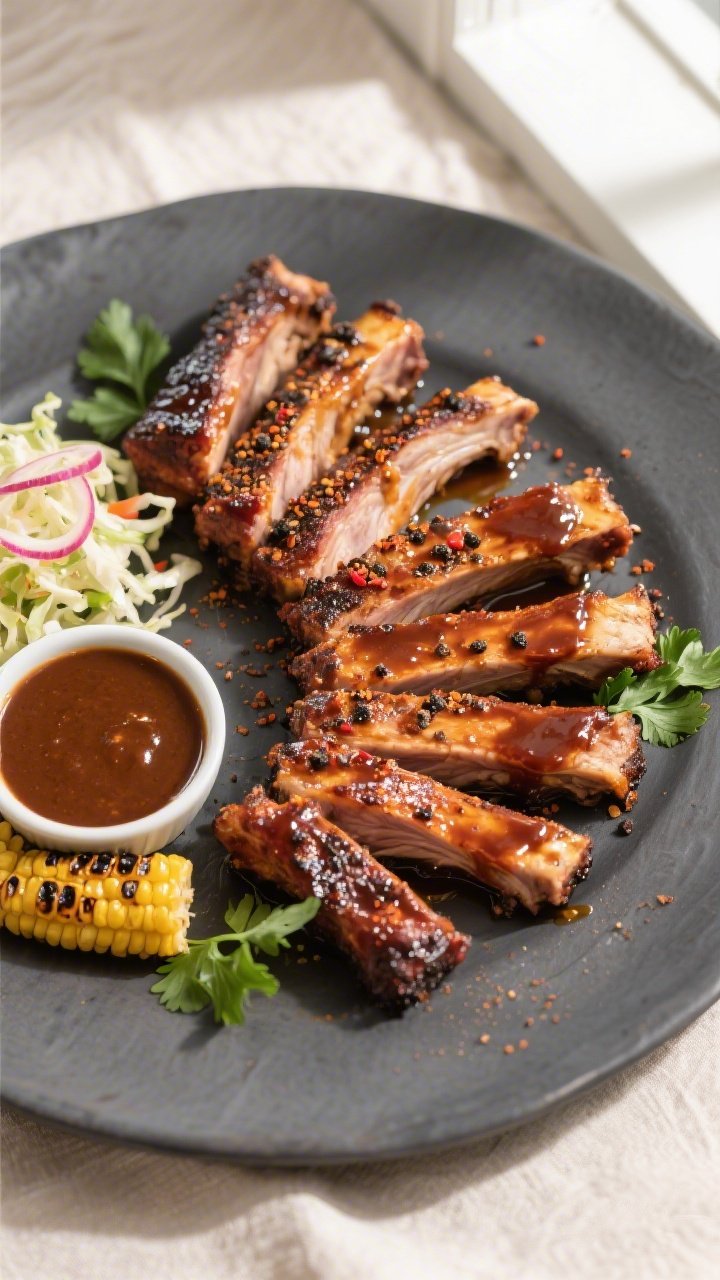
- Rest and slice: Let the ribs rest 10 minutes. Flip bone-side up so you can see the bones, then slice between them with a sharp knife.
Serve with extra sauce on the side.
Keeping It Fresh
- Storage: Cool ribs to room temp, then refrigerate in an airtight container for up to 4 days. Keep sauce separate if possible.
- Reheating: Wrap ribs in foil with a splash of apple juice or water and warm at 275°F for 20–30 minutes. Unwrap and broil 2–3 minutes if you want a sticky surface.
- Freezing: Wrap portions tightly in plastic and foil, then freeze up to 2 months.
Thaw overnight in the fridge before reheating.
- Leftover magic: Shred and use in tacos, baked potatoes, grilled cheese, or fried rice. The smoky flavor carries through beautifully.
Health Benefits
- Protein-rich: Pork ribs provide high-quality protein that supports muscle repair and satiety.
- Iron and B vitamins: Ribs contain heme iron and B vitamins, especially B12 and niacin, which help energy metabolism.
- Controlled ingredients: Making your own rub and sauce lets you reduce added sugar and sodium compared to many store-bought options.
- Balanced approach: Pair ribs with fiber-rich sides like slaw, beans, or grilled vegetables to round out the meal.
What Not to Do
- Don’t rush the cook: High heat will toughen the meat and scorch the sugar in the rub and sauce.
- Don’t over-smoke: Too much or dirty smoke turns bitter. Use a small amount of hardwood and keep the smoke thin and steady.
- Don’t skip membrane removal: Leaving it on creates a chewy layer and blocks flavor.
- Don’t sauce too early: Sugary sauces burn.
Glaze near the end and let it set gently.
- Don’t forget to rest: Resting helps juices redistribute, so your slices stay moist.
Variations You Can Try
- Sweet heat: Add chipotle powder to the rub and finish with a honey-chile glaze.
- Memphis-style dry ribs: Skip the sauce and finish with a light dusting of rub right before serving.
- Kansas City classic: Use a thicker, molasses-forward sauce for a sweeter, stickier finish.
- Carolina tang: Brush a vinegar-based sauce on the ribs instead of a tomato-based glaze for a bright, zippy bite.
- Oven-only method: Cook at 275°F on a rack over a foil-lined sheet for 2.5–3 hours, wrap for 45–60 minutes, then sauce and broil briefly to set.
- Spice swap: Use ancho chili powder, coriander, or a hint of cinnamon for a different flavor profile.
FAQ
Baby back or St. Louis–style ribs—what’s better?
Both are great. Baby backs are a bit leaner and cook slightly faster.
St. Louis–style ribs have more fat and connective tissue, which means more flavor and a meatier bite. Choose based on your preference and time.
How much smoke should I use?
Start with 2–3 chunks for a charcoal smoker or a couple of small handfuls of chips for a gas grill.
You want a steady, light smoke for the first 2–3 hours. Too much wood can overwhelm the meat.
Do I have to wrap the ribs?
No. Wrapping speeds tenderness and can help keep moisture in, but it softens the bark.
If you love a firmer, crustier outside, skip the wrap and let them ride unwrapped the whole way.
What temperature are ribs done?
Look for 195–203°F in the thickest meat between bones, but also use feel: the rack should bend easily, and the bones should show a little. Temperature is a guide; tenderness is the goal.
Can I make them ahead?
Yes. Cook until tender, cool, then refrigerate.
Reheat wrapped with a splash of liquid at 275°F until warmed through. Glaze and set the sauce right before serving so the finish stays fresh and glossy.
What if I don’t have a smoker?
Use a grill with a two-zone fire. Place the ribs on the cool side with a drip pan underneath, add wood chips to the hot side, and keep the lid closed.
Adjust vents to maintain 225–250°F.
My ribs turned out dry—what went wrong?
Common culprits are running too hot, not spritzing during a long cook, or overshooting the finish time. Next round, keep temps steady, consider a wrap, and check doneness by bend and bone pullback rather than the clock alone.
Final Thoughts
These Classic Smoky BBQ Pork Ribs are all about patience, balance, and a few smart techniques. Keep the heat steady, trust your senses, and finish with a gentle glaze.
The result is tender meat, a smoky bark, and that satisfying tug from the bone. Once you master this method, you’ll have a go-to rib recipe that never disappoints—perfect for weekends, cookouts, and anyone who loves real barbecue.
Printable Recipe Card
Want just the essential recipe details without scrolling through the article? Get our printable recipe card with just the ingredients and instructions.