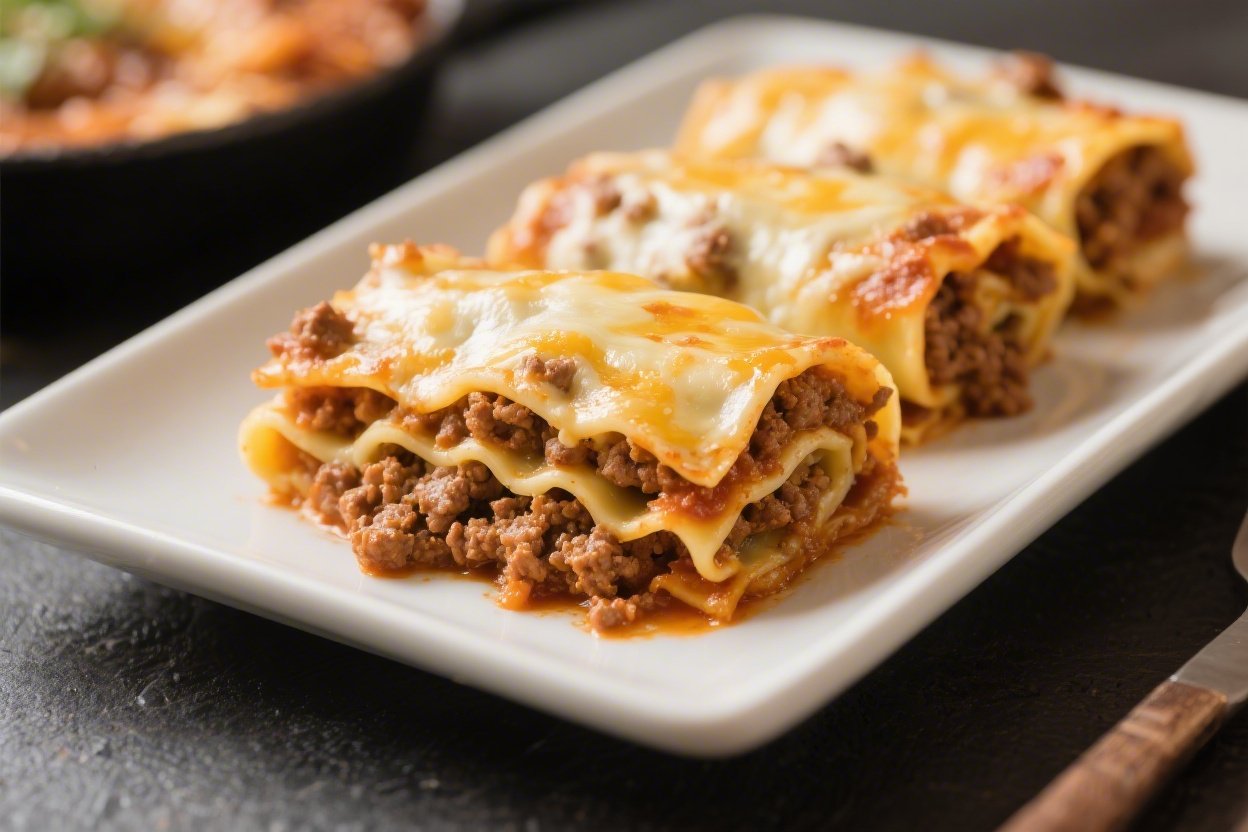
Cheesy Ground Beef Lasagna Roll-Ups – Comforting, Easy, and Crowd-Pleasing
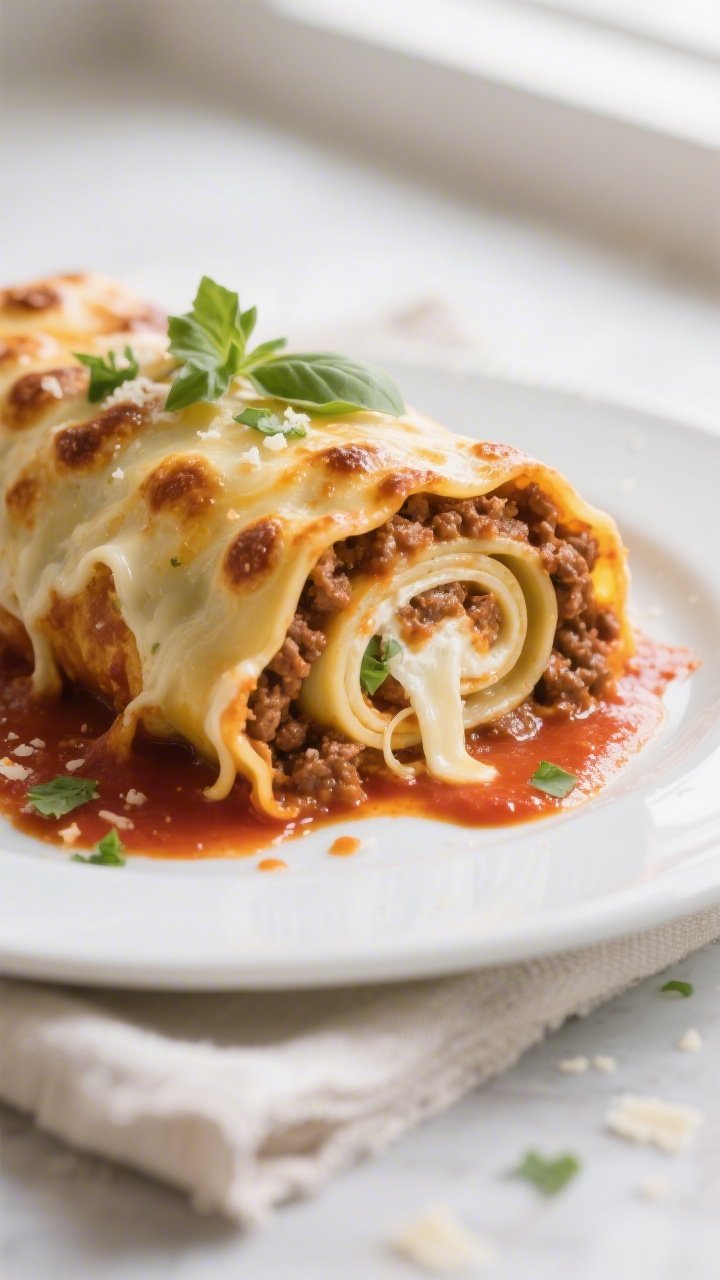
These lasagna roll-ups bring all the cozy flavors of traditional lasagna without the fuss of stacking layers. Tender pasta noodles are rolled with a rich ground beef sauce and a creamy cheese filling, then baked under a blanket of melty mozzarella. It’s the kind of meal that makes your kitchen smell amazing and your table feel welcoming.
Perfect for weeknights, dinner parties, or meal prep. If you love cheesy, saucy comfort food, this one’s a keeper.
What Makes This Recipe So Good
- All the flavor, less hassle: Rolling individual noodles is simpler than layering a full lasagna, and it bakes evenly.
- Extra cheesy: A trio of ricotta, mozzarella, and Parmesan gives you that classic, creamy-cheesy pull.
- Hearty and satisfying: Savory ground beef and tomato sauce make this a complete, stick-to-your-ribs meal.
- Great for freezing: You can assemble and freeze for later, or bake and reheat beautifully.
- Easy to customize: Add spinach, swap meats, or use your favorite sauce without changing the core method.
Shopping List
- Lasagna noodles: 12–14 sheets (regular, not no-boil)
- Ground beef: 1 pound (80–90% lean)
- Olive oil: 1–2 tablespoons
- Yellow onion: 1 small, finely diced
- Garlic: 3–4 cloves, minced
- Crushed tomatoes or marinara sauce: 3–4 cups (a 24–28 oz jar works)
- Tomato paste: 1 tablespoon (optional, for richness)
- Italian seasoning: 1–2 teaspoons
- Red pepper flakes: Pinch (optional)
- Ricotta cheese: 15 ounces
- Mozzarella cheese: 2–3 cups, shredded and divided
- Parmesan cheese: 1/2 cup, grated
- Egg:
- Fresh parsley or basil: 2–3 tablespoons, chopped
- Salt and black pepper: To taste
Step-by-Step Instructions
- Preheat the oven: Set to 375°F (190°C). Lightly oil a 9×13-inch baking dish.
- Cook the noodles: Boil lasagna noodles in well-salted water until just shy of al dente (usually 1–2 minutes less than package directions).
Drain and lay them flat on parchment or lightly oiled baking sheets so they don’t stick.
- Brown the beef: Heat olive oil in a large skillet over medium heat. Add onion and cook until softened, about 3–4 minutes. Stir in garlic and cook 30 seconds.
Add ground beef, season with salt and pepper, and cook until browned, breaking it up as it cooks. Drain excess fat if needed.
- Make the sauce: Stir in crushed tomatoes or marinara, tomato paste (if using), Italian seasoning, and a pinch of red pepper flakes. Simmer 5–8 minutes to thicken slightly.
Taste and adjust seasoning. You want a well-seasoned, slightly thick sauce.
- Mix the cheese filling: In a bowl, combine ricotta, 1 1/2 cups shredded mozzarella, Parmesan, egg, chopped parsley or basil, 1/2 teaspoon salt, and a few grinds of black pepper. Stir until smooth and creamy.
- Prep the baking dish: Spread a thin layer of sauce over the bottom of the dish.
This prevents sticking and keeps the roll-ups moist.
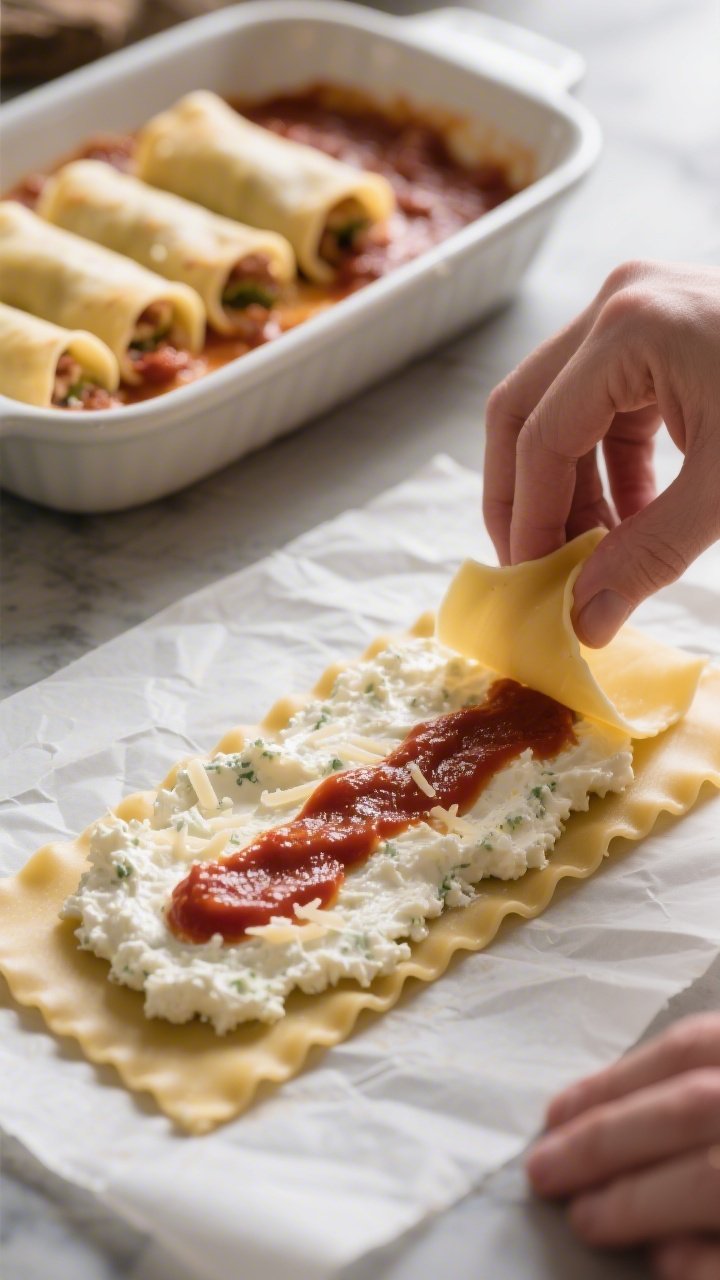
- Assemble the roll-ups: Lay a noodle flat. Spread 2–3 tablespoons of the ricotta mixture evenly from edge to edge. Spoon 2 tablespoons of the beef sauce over the ricotta, then gently roll from one short end to the other.
Place seam-side down in the baking dish. Repeat with remaining noodles.
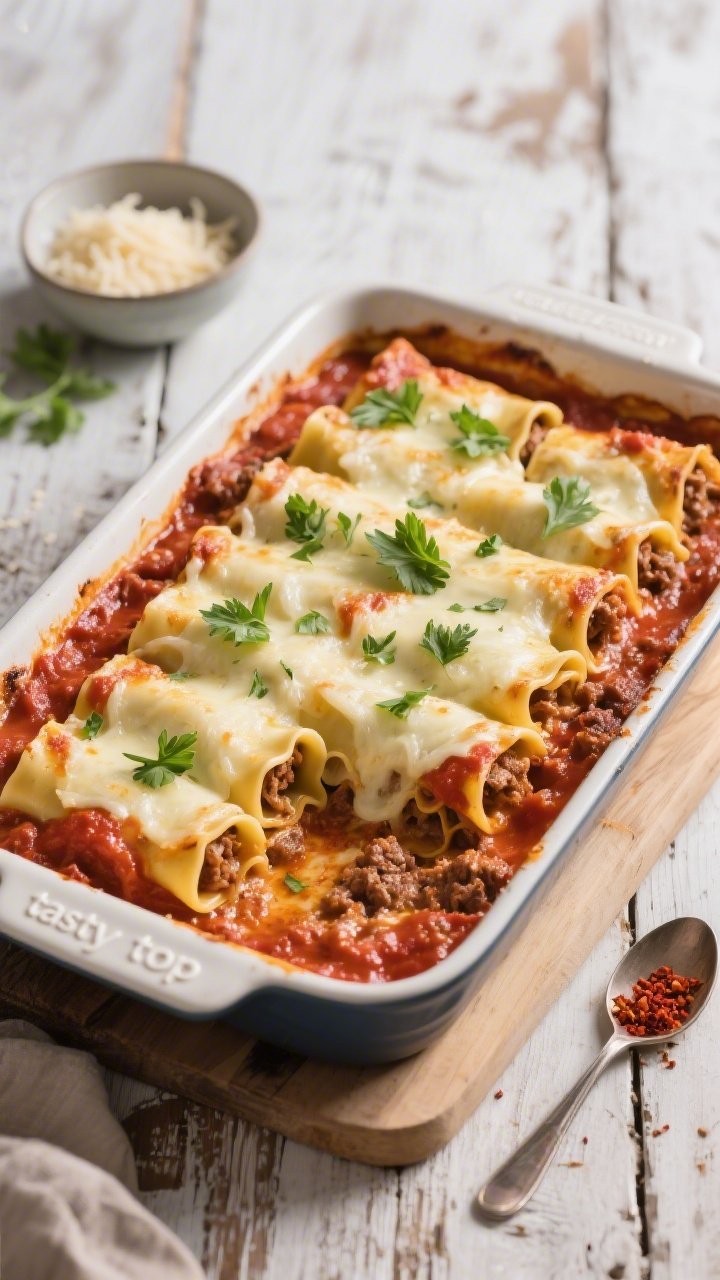
- Top with sauce and cheese: Spoon the remaining meat sauce over the roll-ups. Sprinkle the top with the remaining mozzarella.
- Bake: Cover loosely with foil (tent it so it doesn’t touch the cheese).
Bake for 20 minutes. Remove foil and bake another 10–15 minutes, until bubbly and the cheese is melted with golden spots.
- Rest and serve: Let the roll-ups rest 5–10 minutes so they set. Garnish with fresh parsley or basil.
Serve warm.
Storage Instructions
- Refrigerator: Store leftovers in an airtight container for 3–4 days. Reheat covered at 350°F until warmed through, or microwave in 60–90 second bursts.
- Freezer (unbaked): Assemble roll-ups, place in a freezer-safe dish, cover tightly, and freeze up to 2 months. Bake from frozen at 350°F, covered, for 40–50 minutes, then uncover and bake 10–15 more minutes.
- Freezer (baked): Cool completely, wrap well, and freeze up to 2 months.
Reheat covered at 350°F until hot, then uncover to re-crisp the cheese.
- Make-ahead tip: You can cook noodles, make sauce, and mix the filling a day in advance. Store separately and assemble before baking.
Why This is Good for You
- Protein-packed: Ground beef and cheese deliver steady energy and help keep you satisfied.
- Calcium and vitamins: Dairy adds calcium, and tomato sauce brings lycopene, an antioxidant linked to heart health.
- Balanced comfort: Pair with a bright salad or steamed veggies to round out the meal with fiber and freshness.
What Not to Do
- Don’t overcook the noodles: They should be flexible but still slightly firm. Overcooked noodles tear and turn mushy.
- Don’t skip draining the beef: Excess grease makes the sauce oily and heavy.
- Don’t skimp on seasoning: Taste the sauce.
A pinch more salt or herbs can make a big difference.
- Don’t overload each noodle: Too much filling will squeeze out and make rolling messy. Keep layers even and thin.
- Don’t bake uncovered the whole time: Start covered to keep moisture in, then uncover to brown the cheese.
Variations You Can Try
- Spinach and beef: Stir 1 cup thawed, well-drained frozen spinach into the ricotta mixture for extra greens.
- Three-cheese vegetarian: Skip the beef and add sautéed mushrooms and zucchini to the sauce.
- Turkey or chicken: Swap ground beef with ground turkey or chicken for a lighter option. Add a splash of Worcestershire for depth.
- Spicy Italian: Use half beef and half hot Italian sausage.
Add extra red pepper flakes for heat.
- White sauce twist: Replace red sauce with a light béchamel or Alfredo and add shredded rotisserie chicken.
- Gluten-free: Use gluten-free lasagna noodles and confirm your sauce is gluten-free.
FAQ
Can I use no-boil lasagna noodles?
For roll-ups, regular boiled noodles work best because they’re flexible and less likely to crack. Some no-boil noodles can soften if soaked in hot water until pliable, but results vary by brand.
How do I keep the noodles from sticking after boiling?
Drain them and immediately lay flat on parchment or lightly oiled baking sheets. You can also drizzle a tiny bit of olive oil over the noodles and gently toss to coat before laying them out.
What’s the best ricotta texture for this?
Whole-milk ricotta gives the creamiest results.
If your ricotta is very wet, strain it through a fine mesh sieve or cheesecloth for 15–20 minutes to avoid a watery filling.
Can I make this ahead for a party?
Yes. Assemble the roll-ups up to a day in advance. Cover and refrigerate.
Add 5–10 extra minutes to the covered bake time since they’ll be cold going into the oven.
How do I prevent watery lasagna?
Thicken the sauce slightly by simmering, strain wet ricotta if needed, and don’t over-sauce the bottom of the dish. Rest the baked roll-ups for at least 5 minutes before serving so everything sets.
What sides go well with these roll-ups?
A crisp green salad with a tangy vinaigrette, garlic bread, roasted broccoli, or sautéed green beans balance the richness perfectly.
Can I add more vegetables?
Absolutely. Sautéed bell peppers, mushrooms, or spinach fold in nicely.
Just cook off excess moisture before adding, so the roll-ups stay sturdy.
Is there a way to reduce the fat?
Use part-skim ricotta and mozzarella, and choose lean ground turkey or extra-lean beef. You’ll still get great flavor with a lighter profile.
In Conclusion
These Cheesy Ground Beef Lasagna Roll-Ups deliver everything you crave in classic lasagna with a friendlier, fuss-free method. They’re saucy, comforting, and easy to make ahead or freeze.
Whether you’re feeding a crowd or stocking your freezer, this recipe is reliable, flexible, and always satisfying. Serve with a simple salad, and you’ve got dinner everyone will be excited about.