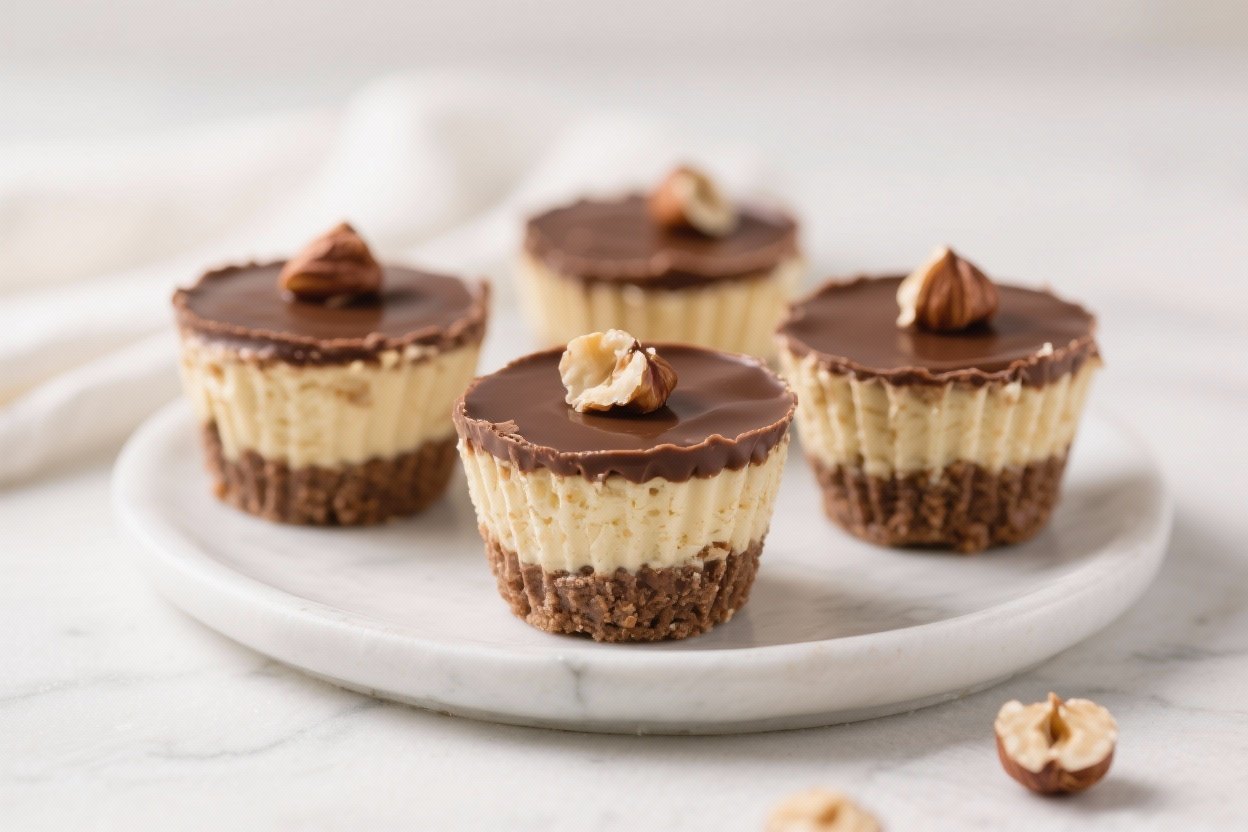
No Bake Chocolate Hazelnut Cheesecake Cups – Creamy, Easy, and Crowd-Pleasing
No oven, no stress, and all the flavor—these cheesecake cups check every box. They’re rich and creamy with a silky chocolate hazelnut swirl, and they come together in minutes. The crust is buttery and crunchy, the filling is light and lush, and each cup feels like a tiny dessert gift.
They’re perfect for parties, weeknight cravings, or when you want something special without turning on the oven. Make a batch, chill, and enjoy whenever the sweet tooth calls.
What Makes This Recipe So Good
- No bake convenience: You get a classic cheesecake texture without heating the kitchen.
- Balanced sweetness: The chocolate hazelnut spread brings sweetness and depth, while a hint of tang from cream cheese keeps it from being heavy.
- Perfect portions: Individual cups are easy to serve, share, and store. No slicing or fussing.
- Textural contrast: Crunchy cookie crust plus airy, velvety filling equals true dessert satisfaction.
- Make-ahead friendly: They set in the fridge and actually taste better after a few hours.
What You’ll Need
- For the crust:
- 1 1/2 cups chocolate cookie crumbs (like Oreos without the cream, or chocolate graham crackers)
- 5 tablespoons unsalted butter, melted
- 1 tablespoon granulated sugar (optional, for extra sweetness)
- Pinch of fine sea salt
- For the filling:
- 12 ounces full-fat cream cheese, softened
- 1/2 cup chocolate hazelnut spread (like Nutella), plus more for drizzling
- 1/3 cup powdered sugar, sifted
- 1 teaspoon pure vanilla extract
- 1 cup cold heavy whipping cream
- 1 teaspoon instant espresso powder (optional, enhances chocolate flavor)
- Pinch of fine sea salt
- For topping (optional):
- Chopped toasted hazelnuts
- Shaved dark chocolate or mini chocolate chips
- Fresh berries
- Sea salt flakes
- Equipment:
- Muffin tin or small dessert cups/ramekins
- Paper or silicone liners (if using a muffin tin)
- Mixing bowls, hand mixer or stand mixer
- Spatula and spoon
How to Make It
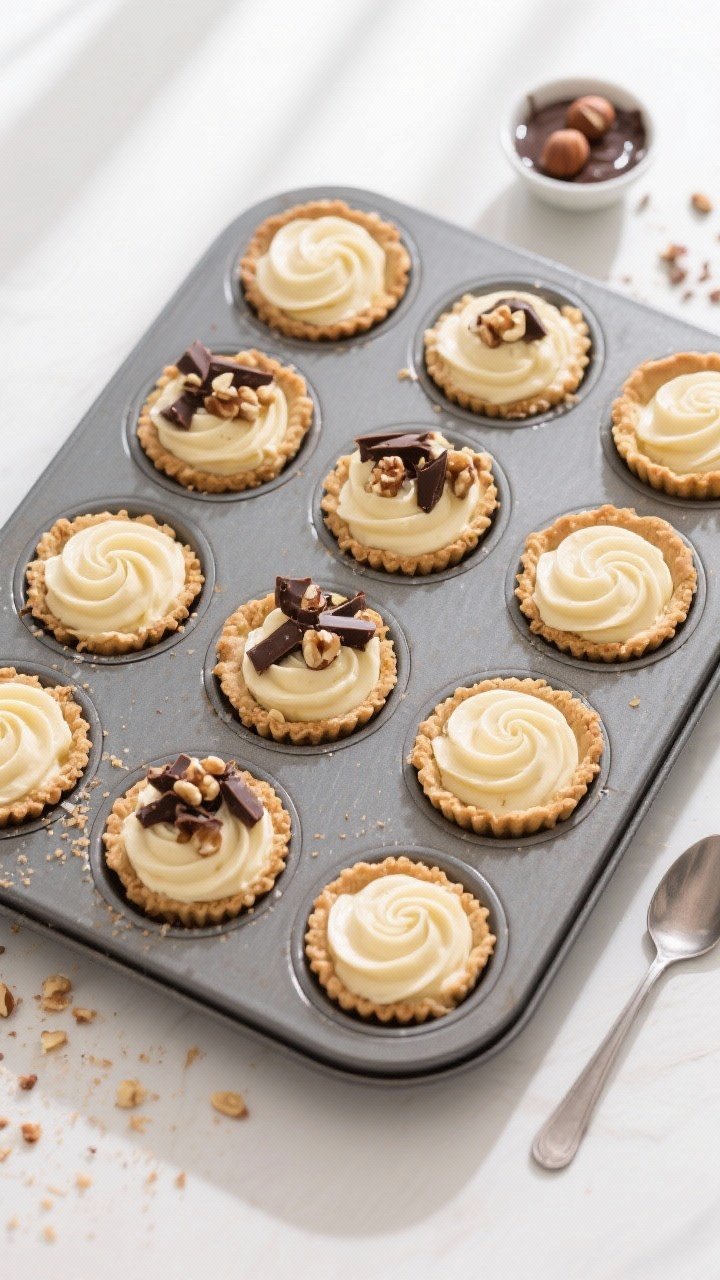
- Prep your cups: Line a muffin tin with 10–12 liners, or set out small dessert cups.
This recipe makes about 10 standard cups.
- Make the crust: Stir cookie crumbs, melted butter, sugar, and a pinch of salt until the mixture resembles damp sand. It should hold together when pinched.
- Press the crust: Spoon 1–2 tablespoons of crumbs into each cup. Press firmly with the back of a spoon or a small glass to compact the crust.
Chill while you make the filling.
- Whip the cream: In a cold bowl, beat the heavy cream to medium-stiff peaks. Don’t overbeat. Set aside.
- Beat the cream cheese: In another bowl, beat softened cream cheese until smooth and fluffy, about 1–2 minutes.
Add powdered sugar, vanilla, espresso powder (if using), and salt. Beat until velvety with no lumps.
- Add chocolate hazelnut spread: Mix in 1/2 cup of the spread until fully integrated and the mixture is silky.
- Fold in whipped cream: Gently fold the whipped cream into the cream cheese mixture in two additions. Keep it airy—don’t deflate.
- Fill the cups: Divide filling among the crusts.
Tap the tray lightly to settle the filling.
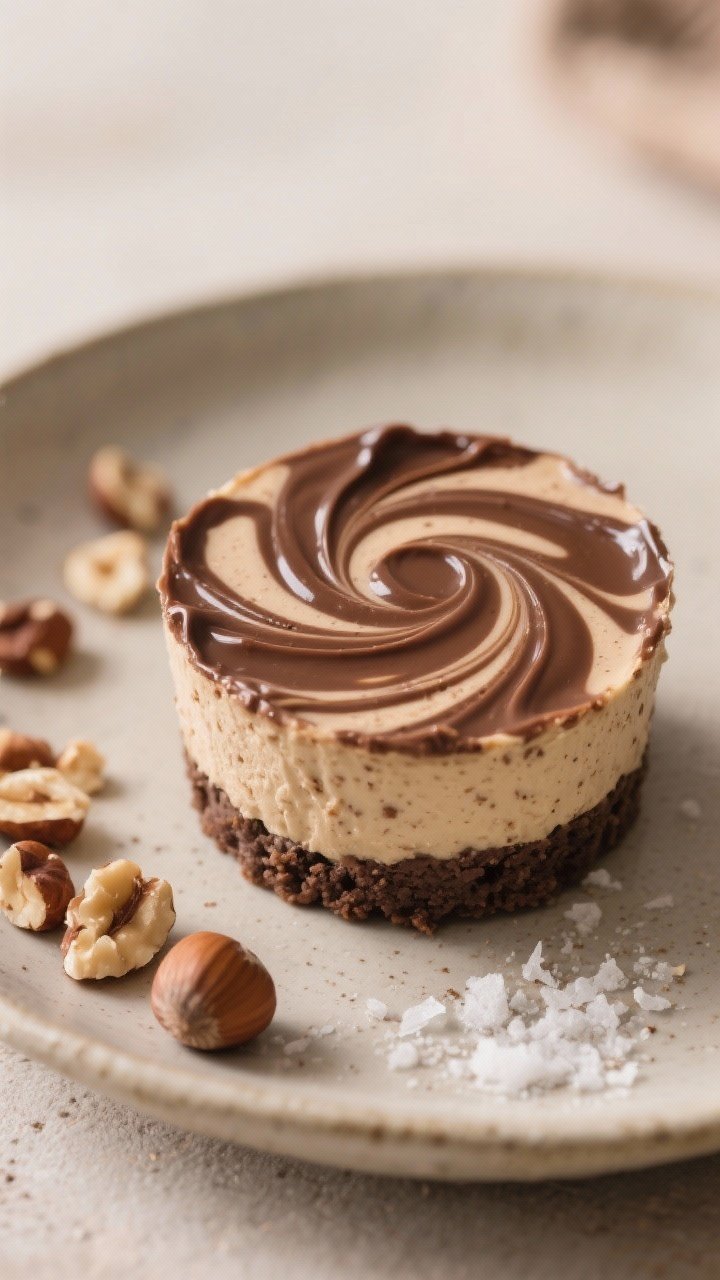
- Optional swirl: Warm 2–3 tablespoons of chocolate hazelnut spread until pourable. Drizzle over the tops and swirl with a toothpick.
- Chill to set: Refrigerate for at least 3 hours, ideally 4–6, until firm enough to unmold and hold shape. Overnight is great.
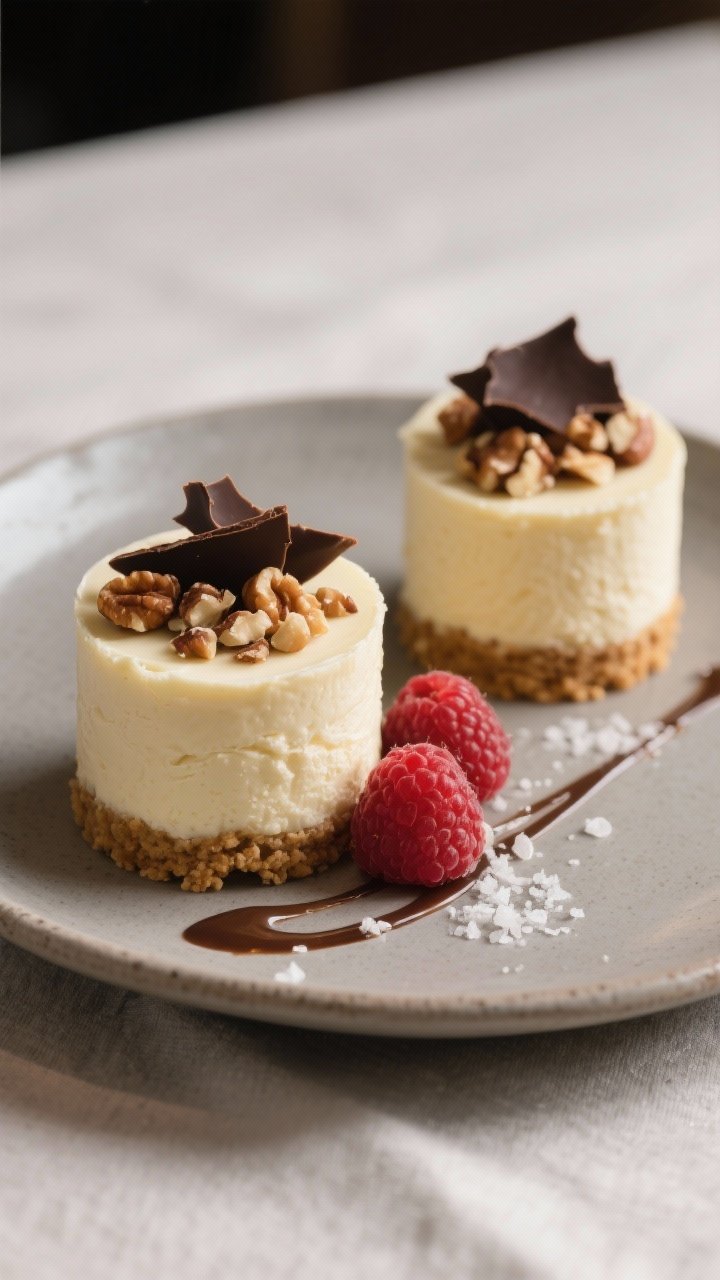
- Finish and serve: Top with chopped hazelnuts, chocolate shavings, berries, or a pinch of sea salt flakes.
Serve chilled.
How to Store
- Refrigerator: Cover and refrigerate for up to 4 days. Keep toppings like berries separate until serving.
- Freezer: Freeze without fresh fruit toppings for up to 2 months. Thaw in the fridge for several hours or overnight before serving.
- Transport tips: Keep chilled with an ice pack if traveling.
The filling softens at warm room temps.
Why This Is Good for You
- Portion control built in: Individual cups help you enjoy a rich dessert mindfully.
- Protein and calcium: Cream cheese and cream provide some protein and calcium alongside indulgence.
- Hazelnut benefits: Hazelnuts add healthy fats, fiber, and vitamin E. Toasted nuts also boost satisfaction and crunch.
- Less sugar than you think: With the sweetness mainly from the spread and a modest amount of powdered sugar, it’s sweet but not cloying. You can easily adjust to taste.
Common Mistakes to Avoid
- Using cold cream cheese: Cold cream cheese clumps and won’t blend smoothly.
Let it soften at room temperature.
- Overwhipping the cream: If the cream turns grainy, your filling can split. Aim for medium-stiff peaks.
- Skipping the chill time: The cups need time to set. Rushing this step leads to soft, messy portions.
- Crust too dry or too wet: If it crumbles, add a bit more butter.
If greasy, add a spoonful more crumbs.
- Heavy hand while folding: Stirring aggressively deflates the filling. Fold gently with a spatula.
Alternatives
- Cookie swaps: Try graham crackers, Biscoff, or plain digestive biscuits. Add 1 tablespoon cocoa powder if you want a deeper chocolate note.
- Dairy-free: Use dairy-free cream cheese and coconut cream (whipped) instead of heavy cream.
Choose a dairy-free chocolate hazelnut spread.
- Low-sugar: Use a lower-sugar hazelnut spread and reduce powdered sugar to 2–3 tablespoons. Add a splash of vanilla for balance.
- Nut-free: Use chocolate spread without nuts, and top with chocolate curls or seeds for crunch.
- Flavor twists: Add orange zest, a splash of hazelnut liqueur, or a layer of raspberry compote under the filling.
FAQ
Can I make these a day ahead?
Yes. They’re even better the next day because the crust hydrates and the filling firms up.
Make them up to 24 hours ahead and add toppings before serving.
What if I don’t have a muffin tin?
Use small glasses, ramekins, or jars. You can also make a larger no-bake pie in a 9-inch dish and slice it once set.
How do I toast hazelnuts?
Spread hazelnuts on a baking sheet and toast at 350°F (175°C) for 8–10 minutes, shaking once. Rub in a clean towel to remove skins, then chop.
Can I reduce the sweetness?
Absolutely.
Cut the powdered sugar to 2 tablespoons and use a darker chocolate shaving on top. A pinch of salt also tempers sweetness.
Why add espresso powder?
It doesn’t taste like coffee. A small amount deepens the chocolate flavor, making the filling taste richer.
How do I make clean swirls on top?
Warm the spread until fluid, drizzle thin lines, and swirl lightly with a toothpick.
Don’t overmix or the pattern will muddy.
Can I use whipped topping instead of cream?
Yes, fold in about 2 cups of whipped topping. The texture will be slightly sweeter and more stable, with a lighter feel.
How many does this serve?
About 10 standard cups. For mini cups, you’ll get around 18–20, and they set a bit faster.
In Conclusion
No Bake Chocolate Hazelnut Cheesecake Cups deliver big flavor with minimal effort.
The crust is snappy, the filling is smooth, and the hazelnut-chocolate combo never misses. They’re reliable for gatherings, easy to customize, and simple to make ahead. Keep a tray chilled and you’ll always have a polished dessert ready when the craving hits.