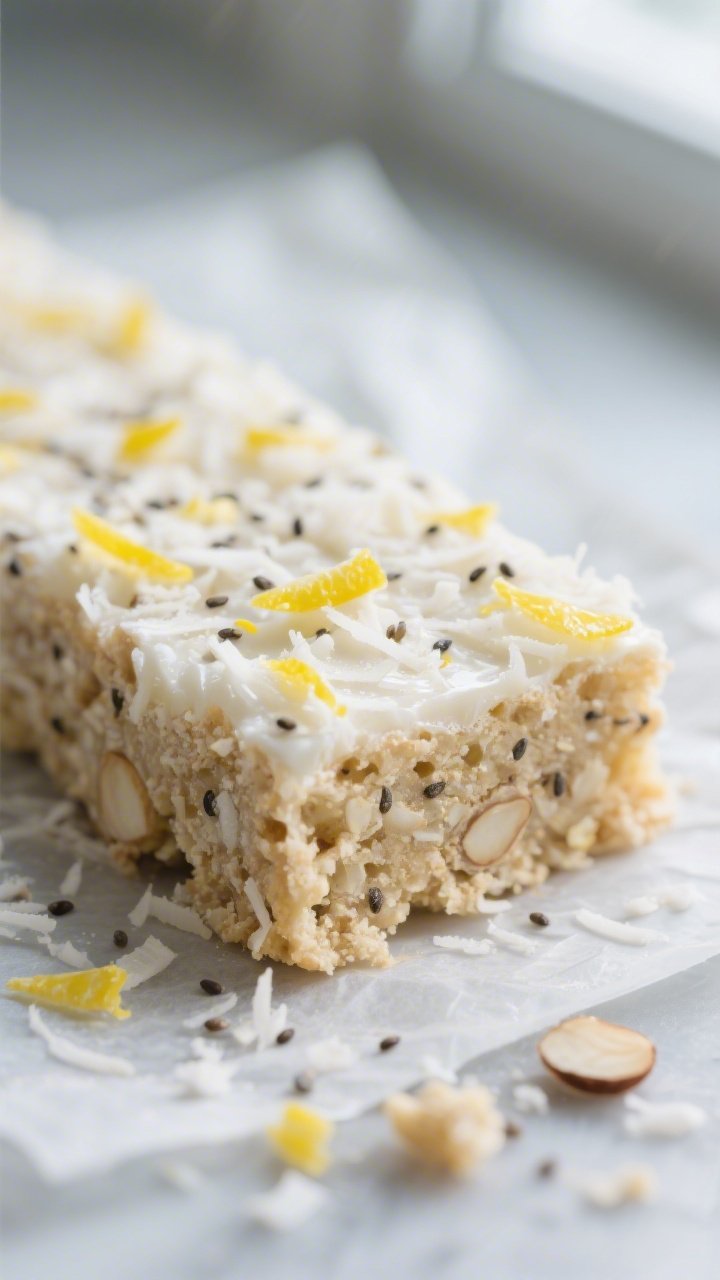
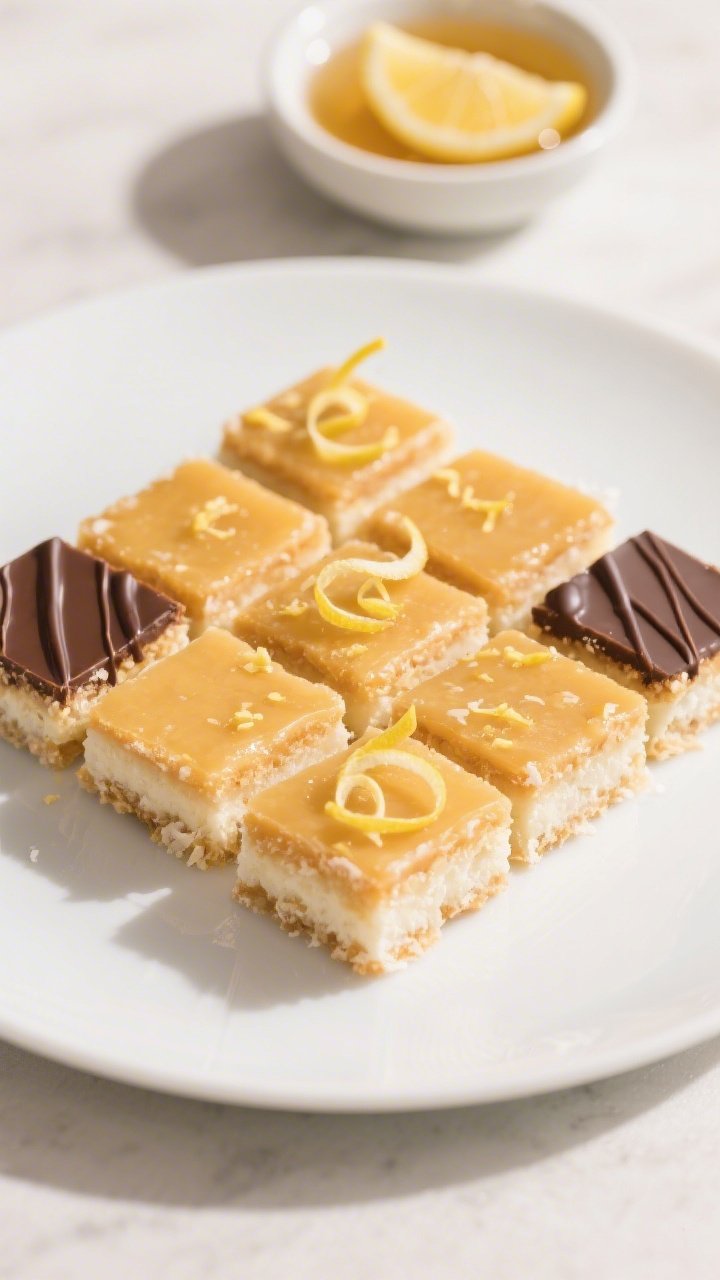
No-Bake Lemon Coconut Bars (Honey Sweetened) – Bright, Easy, and Naturally Sweet
These no-bake lemon coconut bars are the kind of treat you want in your fridge all week. They’re bright, creamy, and full of real lemon flavor, with just the right amount of natural sweetness from honey. The texture lands somewhere between a firm fudge and a soft macaroon bar.
Best of all, they come together quickly, with no oven required. If you love simple, wholesome desserts that still taste indulgent, this recipe is for you.
What Makes This Recipe So Good
- No baking required: Perfect for warm days or quick prep. Everything sets in the fridge.
- Honey-sweetened: No refined sugar.
Honey adds floral notes that pair beautifully with lemon.
- Fresh citrus punch: Lemon juice and zest make these bars pop without tasting sour.
- Short ingredient list: Simple pantry staples and a couple of fresh lemons.
- Great texture: Chewy coconut with a creamy, melt-in-your-mouth base.
- Easy to customize: Add seeds, nuts, or a chocolate drizzle if you want to switch it up.
What You’ll Need
- Unsweetened shredded coconut (3 cups) – For that chewy, coconut-forward base.
- Almond flour (1 cup) – Adds body without baking; blanched works best for smooth texture.
- Coconut oil (1/2 cup, melted) – Helps everything set and adds richness.
- Honey (1/3 to 1/2 cup) – Start with 1/3 cup and add more to taste.
- Fresh lemon juice (1/3 cup) – Bottled won’t taste the same; go fresh.
- Lemon zest (1–2 tablespoons) – Zest two lemons for bold flavor.
- Vanilla extract (1 teaspoon) – Rounds out the citrus.
- Fine sea salt (1/4 teaspoon) – Balances sweetness and brightens lemon.
- Optional add-ins: 2 tablespoons chia seeds for extra firmness, or 1/4 cup unsweetened coconut flakes for texture on top.
How to Make It
- Prep your pan: Line an 8×8-inch square pan with parchment paper, leaving overhang on two sides to lift the bars out later. Lightly grease the exposed sides for easy release.
- Mix the dry base: In a large bowl, combine shredded coconut, almond flour, and sea salt. If using chia seeds, add them now so they can hydrate evenly.
- Whisk the wet ingredients: In a small bowl or measuring cup, whisk melted coconut oil, honey, lemon juice, lemon zest, and vanilla until smooth.
Make sure the coconut oil is fully melted and the honey is dissolved.
- Combine: Pour the wet mixture over the dry ingredients. Stir with a spatula until everything is evenly coated and the mixture looks thick and slightly sticky. It should hold together when pressed between your fingers.
- Taste and adjust: Try a small pinch.
Add a bit more honey if you want sweeter bars, or a little extra zest for more zing.
- Press into the pan: Transfer the mixture to your lined pan. Use a piece of parchment or the back of a spoon to pack it down firmly and evenly. Really press—this helps the bars set without crumbling.
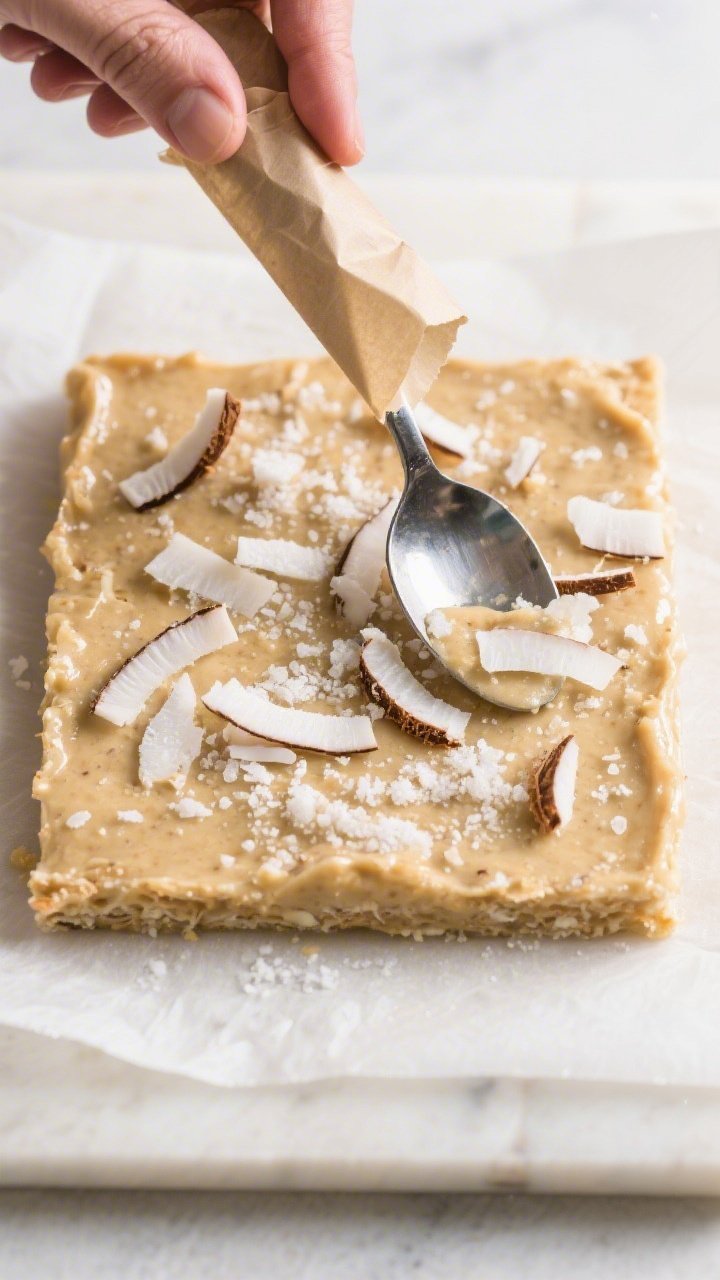
- Optional topping: Sprinkle coconut flakes on top and press them in gently.
- Chill to set: Refrigerate for at least 2 hours, or freeze for 45–60 minutes, until firm enough to slice cleanly.
- Slice and serve: Lift the slab out using the parchment overhang.
Cut into 16 small squares or 9 larger bars with a sharp knife. Wipe the knife between cuts for neat edges.
Storage Instructions
- Refrigerator: Store bars in an airtight container for up to 1 week. Layer with parchment to prevent sticking.
- Freezer: Freeze for up to 2 months.
Thaw at room temperature for 10–15 minutes before eating, or enjoy slightly chilled for a firmer bite.
- Travel tip: These soften if left out in warm weather. Keep them chilled until serving for best texture.
Why This is Good for You
- Naturally sweetened: Honey provides sweetness without the sharp spike you might get from refined sugar, and it brings trace enzymes and antioxidants.
- Healthy fats: Coconut and almond flour offer satisfying fats that help keep you full and support steady energy.
- Citrus benefits: Fresh lemon juice and zest deliver vitamin C and bright flavor without heavy add-ins.
- Gluten-free by design: No wheat flour needed, and the texture is still rich and satisfying.
Common Mistakes to Avoid
- Using bottled lemon juice: It can taste dull or bitter. Fresh lemons make a real difference.
- Not pressing the mixture firmly: If it’s loosely packed, bars can crumble.
Take a minute to really compress it.
- Skipping the chill time: These need time to set. If you cut too soon, they’ll be messy and soft.
- Over-sweetening: Remember that honey tastes sweeter than sugar. Start with less and adjust.
- Using coarse salt: Stick with fine sea salt for even seasoning without salty pockets.
Alternatives
- Nut-free: Swap almond flour for finely ground sunflower seed meal or oat flour.
Texture will be slightly different but still delicious.
- Dairy-free “frosting” layer: Blend 1/2 cup coconut cream with 1 tablespoon honey and 1 teaspoon lemon zest. Spread on top before chilling for a creamy finish.
- Extra protein: Replace 1/4 cup almond flour with 1/4 cup unflavored or vanilla protein powder. Add an extra tablespoon of lemon juice if it gets too dry.
- Flavor twist: Add 1/2 teaspoon ground ginger or cardamom to the dry mix for a warm spice note.
- Chocolate moment: Drizzle melted dark chocolate over the chilled bars, then set in the fridge for 10 minutes.
FAQ
Can I use maple syrup instead of honey?
Yes.
Maple syrup works well and adds a deeper, caramel-like flavor. Use the same amount, but note the bars may be slightly softer. Chill a bit longer if needed.
What can I use instead of coconut oil?
Refined coconut oil gives a neutral taste, but you can use melted butter or ghee if you’re not dairy-free.
For a neutral dairy-free option, try cacao butter for a firmer set and subtle white-chocolate aroma.
Do I need a food processor?
No. This recipe comes together easily in a mixing bowl. If you want a smoother texture, you can pulse the shredded coconut briefly in a processor, but it’s optional.
How do I make the lemon flavor stronger?
Add more zest, not just juice.
Zest carries the aromatic oils that amp up lemon flavor without extra liquid. You can also add a drop or two of pure lemon extract if you have it.
Will desiccated coconut work?
Yes, but it’s drier and finer than shredded. If the mixture looks crumbly, add 1–2 teaspoons extra lemon juice or a touch more melted coconut oil to help it bind.
Can I double the recipe?
Absolutely.
Use a 9×13-inch pan and increase chill time by 20–30 minutes. Press very firmly to keep the larger batch cohesive.
How sweet are these bars?
They’re lightly to moderately sweet, depending on your honey amount. Start with 1/3 cup honey, taste, and add up to 1/2 cup if you prefer dessert-level sweetness.
In Conclusion
These no-bake lemon coconut bars are bright, simple, and genuinely satisfying.
With a short ingredient list and a quick chill, they’re an easy win for snacks, dessert, or a sunny addition to brunch. Keep a batch in the fridge for that sweet-tart bite whenever you need it. Fresh, zesty, and naturally sweetened—this is the kind of treat you’ll make again and again.
Printable Recipe Card
Want just the essential recipe details without scrolling through the article? Get our printable recipe card with just the ingredients and instructions.