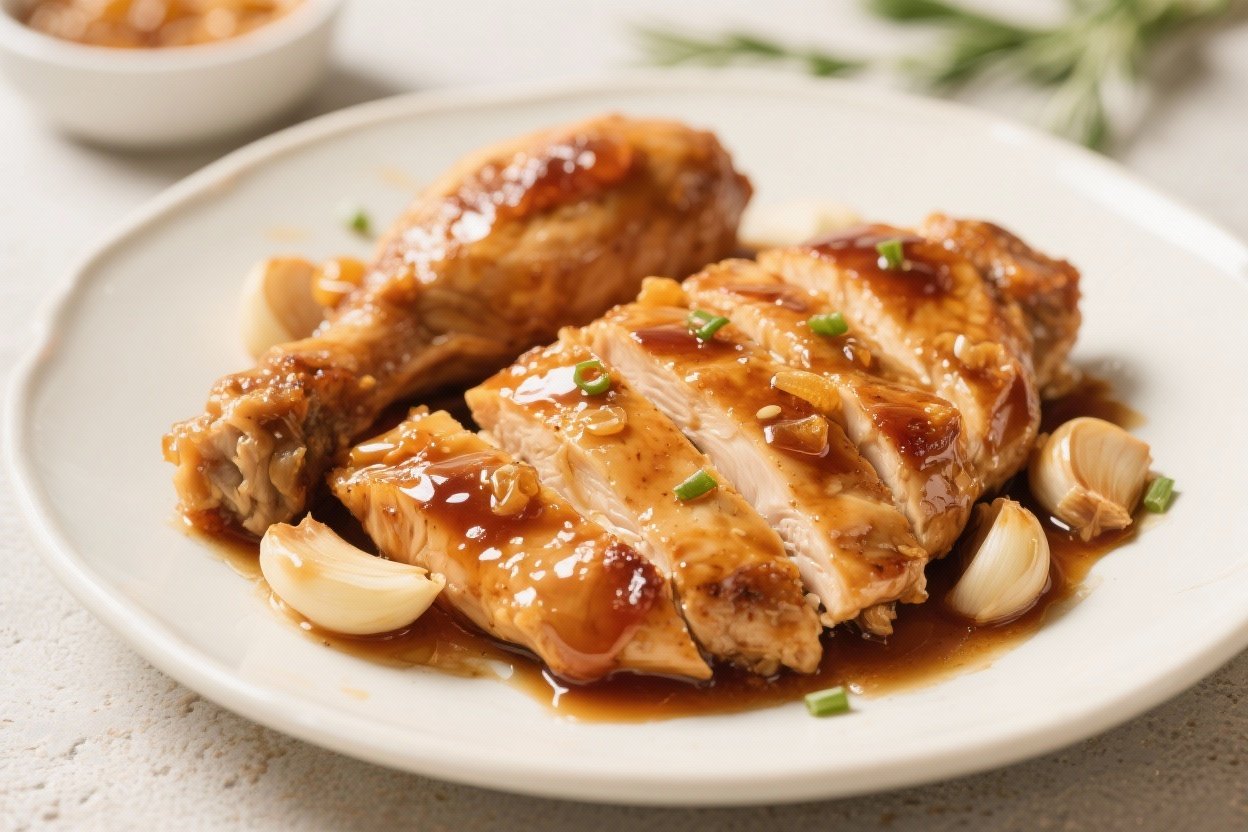
Sweet & Savory Honey Garlic Chicken (Easy, Healthy): The 20-Minute Weeknight Flex Your Taste Buds Deserve
You want dinner that tastes like takeout, cooks faster than your group chat can decide on a restaurant, and doesn’t wreck your macros. This is it. Sticky, garlicky, golden chicken with a glossy honey glaze that legit feels restaurant-level—minus the mystery oil.
It’s bold, balanced, and ridiculously simple. If you can stir a pan and not burn garlic (we’ll talk about that), you can make this. And yes, your family/partner/roommates will absolutely “accidentally” eat your leftovers.
What Makes This Recipe Awesome
- Fast and foolproof: 20–25 minutes from fridge to fork.
One pan. Minimal cleanup. Maximum hype.
- Healthy-ish by design: Lean protein, smart fats, and a sauce that hits sweet-salty without a sugar crash.
- Crisp edges, juicy middle: A quick sear gives you texture and flavor that roasted chicken can’t touch in this timeframe.
- Flexible: Works with chicken thighs or breasts, stovetop or air fryer, rice or veggies.
Your kitchen, your rules.
- Meal-prep friendly: The sauce reheats like a dream and clings to the chicken instead of turning watery. Bless.
Shopping List – Ingredients
- 1.5 lbs boneless, skinless chicken (thighs for juiciness, breasts for extra-lean; cut into 1.5-inch pieces or use whole fillets)
- 1.5 tablespoons avocado or olive oil
- 1/2 teaspoon kosher salt (plus more to taste)
- 1/2 teaspoon black pepper
- 1/2 teaspoon smoked paprika (optional, for depth)
- 4–5 cloves garlic, minced
- 1/3 cup honey
- 3 tablespoons low-sodium soy sauce or tamari
- 2 tablespoons rice vinegar (or apple cider vinegar)
- 1 tablespoon fresh lemon juice (optional but brightens everything)
- 1 teaspoon cornstarch mixed with 1 tablespoon water (slurry, optional for thicker glaze)
- 1–2 teaspoons toasted sesame oil (finish; optional)
- Garnish: sliced green onions, sesame seeds, red pepper flakes (optional)
- Serve with: steamed rice or cauliflower rice, and quick veggies (broccoli, green beans, snap peas)
Step-by-Step Instructions
- Prep the chicken: Pat chicken dry with paper towels. Cut into bite-sized pieces if desired.
Season with salt, pepper, and smoked paprika. Dry chicken equals better browning—moisture is the enemy of crisp.
- Make the sauce base: In a small bowl, whisk honey, soy/tamari, rice vinegar, and lemon juice. Set aside.
Keep the cornstarch slurry ready if you want a thick, sticky finish.
- Heat the pan: Add oil to a large skillet over medium-high heat. When it shimmers, it’s go time. Crowding the pan?
Don’t. Work in batches for proper browning.
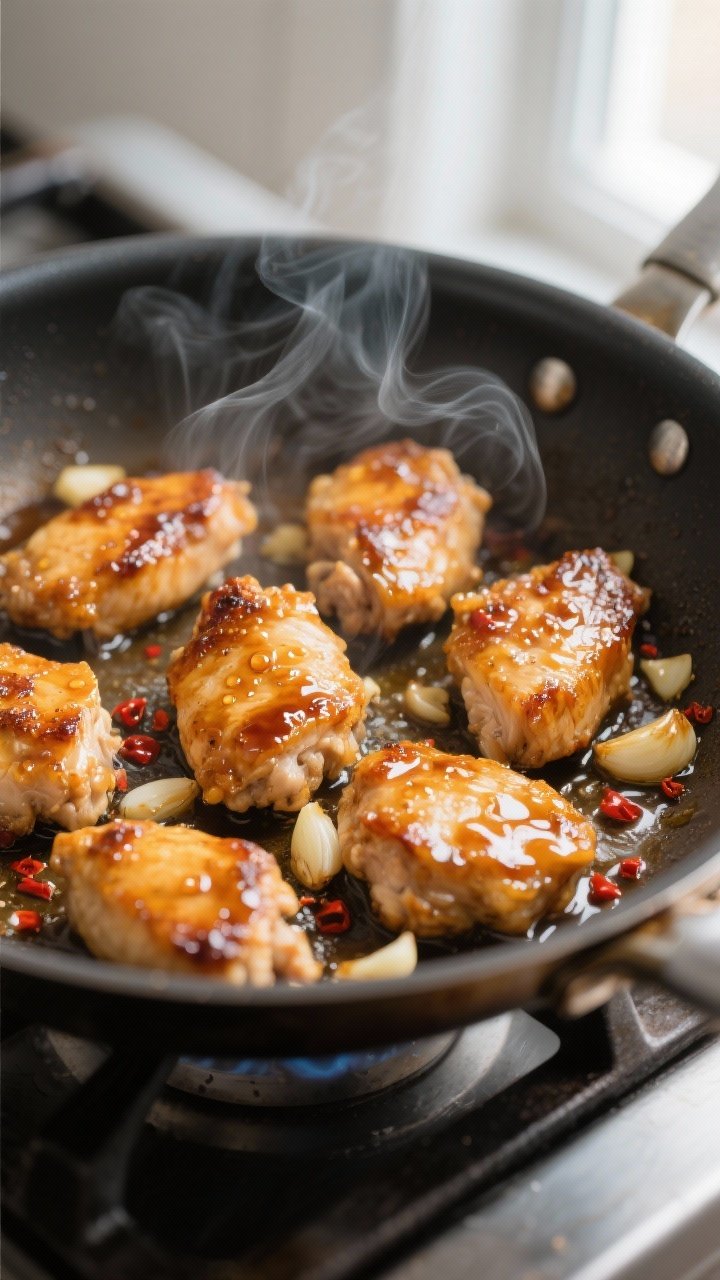
- Sear the chicken: Add chicken in a single layer. Cook 4–6 minutes total, flipping once, until golden and almost cooked through.
Thighs need slightly longer. Remove to a plate.
- Sauté the garlic: Reduce heat to medium. Add a tiny splash of oil if needed.
Toss in minced garlic, stir 20–30 seconds until fragrant. Do not let it burn—burnt garlic equals instant regret.
- Build the glaze: Pour in the honey-soy mixture. Let it bubble 1–2 minutes.
If using, stir in the cornstarch slurry and simmer until glossy and slightly thickened.
- Coat and finish: Return chicken (and juices) to the pan. Toss to coat. Simmer 1–2 minutes until the chicken is cooked through and the sauce clings.
Finish with sesame oil for a nutty aroma.
- Taste and adjust: Need more tang? Add a splash of vinegar. More salt?
A dash of soy. A little heat? Red pepper flakes.
You’re the chef here.
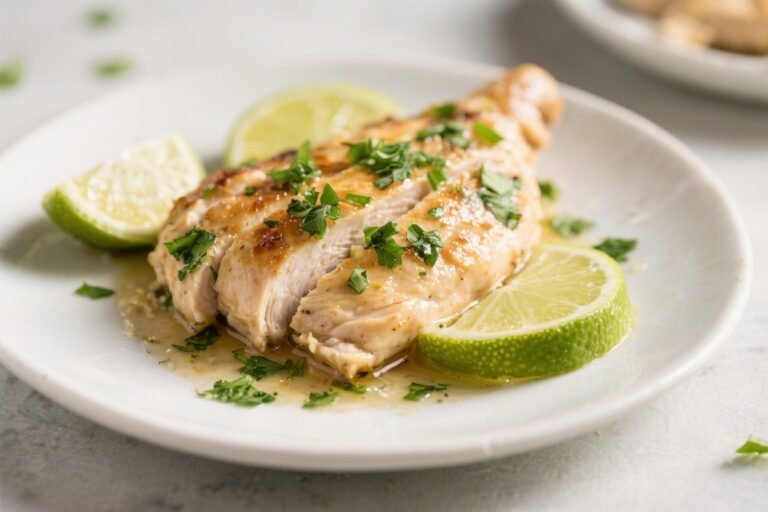
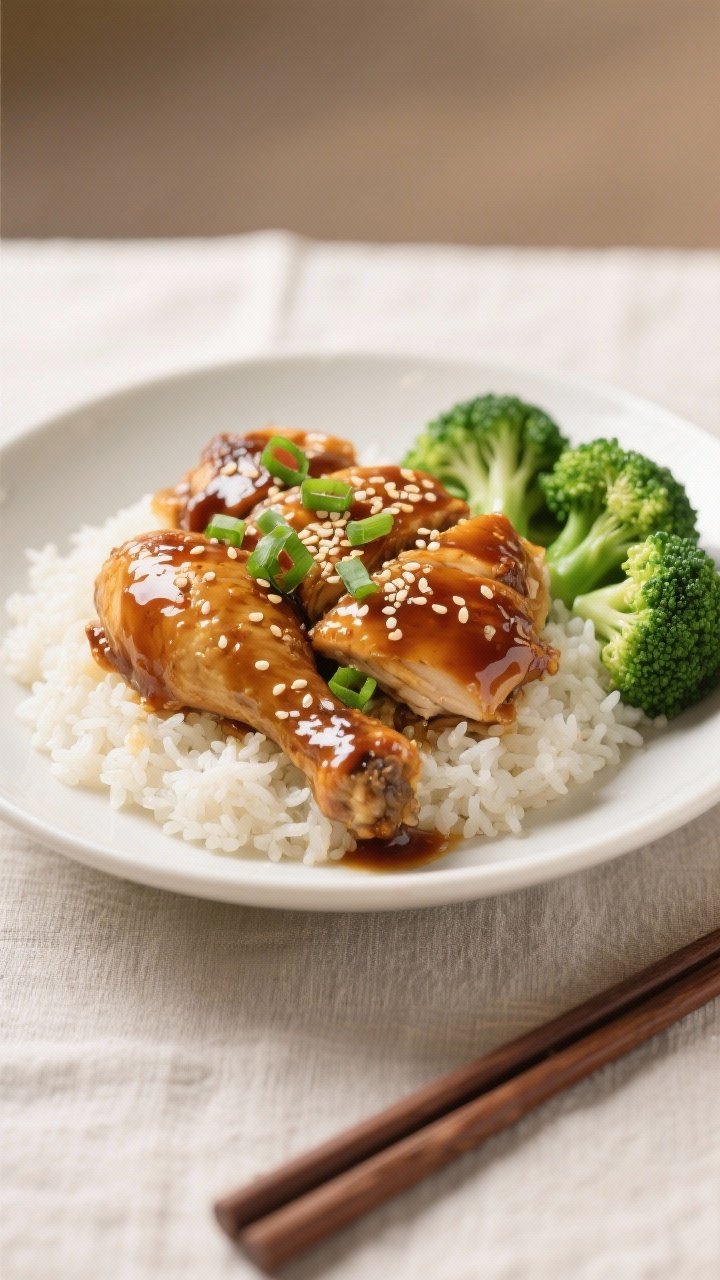
- Serve like a pro: Plate over rice with steamed greens. Shower with green onions and sesame seeds. Take a victory photo.
You earned it.
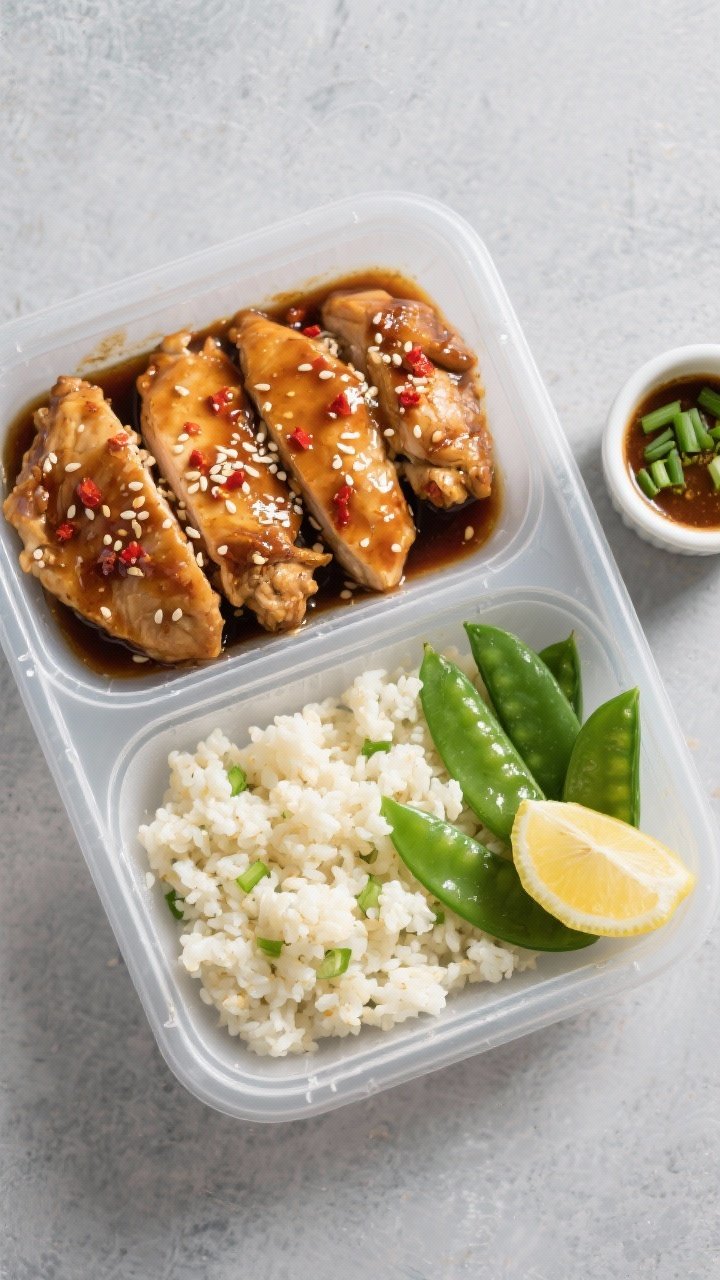
Storage Tips
- Fridge: Store in an airtight container up to 4 days. Keep rice and veggies separate so nothing gets soggy.
- Reheat: Skillet over low heat with a splash of water to re-loosen the sauce. Microwave works—cover and stir halfway.
Avoid nuking to oblivion.
- Freezer: Freeze cooked chicken and sauce (no rice) up to 2 months. Thaw overnight and reheat gently. Sauce may need a teaspoon of water to revive.
- Meal prep tip: Add fresh garnish (green onions, sesame) after reheating for best texture.
Health Benefits
- Lean protein: Chicken provides high-quality protein for muscle repair and satiety.
Thighs offer a bit more iron and flavor; breasts keep calories lower.
- Smarter sweetness: Honey brings antioxidants and natural sweetness. Paired with vinegar and soy, you get flavor impact without dumping sugar.
- Heart-friendly fats: Avocado or olive oil adds monounsaturated fats, while sesame oil (used sparingly) delivers aroma with minimal calories.
- Lower sodium potential: Using low-sodium soy/tamari and controlling the salt beats most takeout by a mile, IMO.
- Balanced plate: Serve with fiber-rich veggies and whole grains to improve blood sugar control and keep you full longer.
What Not to Do
- Don’t overcrowd the pan: Steam is the enemy of browning. Work in batches for that golden crust.
- Don’t torch the garlic: Add it after searing and keep heat moderate.
Burnt garlic = bitter sauce.
- Don’t skip drying the chicken: Water on the surface kills sear and turns the sauce watery. Paper towels are your friend.
- Don’t drown it in soy: Start with the recipe amounts. You can always add; you can’t subtract.
FYI, salty sauce also tightens the chicken.
- Don’t boil after finishing: Once the chicken is cooked and sauced, keep heat gentle to avoid toughness.
Alternatives
- Protein swaps: Use turkey tenderloins, shrimp (cook fast—2 minutes per side), or extra-firm tofu (press well, pan-sear for crust).
- Honey substitutes: Maple syrup works. For lower sugar, use 2 tablespoons honey plus 1–2 teaspoons monk fruit or allulose to taste.
- Gluten-free: Use tamari or coconut aminos. Note: coconut aminos are sweeter—reduce honey slightly.
- Spice it up: Add 1–2 teaspoons sriracha, gochujang, or chili crisp to the sauce for a sweet-heat vibe.
- Citrus twist: Swap lemon for orange juice and zest for an orange-chicken moment, minus the deep fryer.
- Air fryer option: Toss seasoned chicken with 1 teaspoon oil and air-fry at 390°F (200°C) for 8–12 minutes, shaking once.
Warm sauce in a pan and toss cooked chicken to coat.
- Veg add-ins: Stir-fry broccoli, bell peppers, or snap peas right after the garlic, then add sauce and chicken back in. One pan, done.
FAQ
Can I use whole chicken breasts instead of pieces?
Yes. Sear 4–5 minutes per side, lower heat, cover, and cook until the internal temperature hits 165°F.
Slice and toss in the sauce to coat.
How do I keep the sauce from getting too sweet?
Balance is key. Increase vinegar by 1 teaspoon and add a squeeze of lemon. A pinch of chili flakes or ginger also cuts sweetness without adding salt.
What if my sauce is too thin?
Simmer 1–2 more minutes to reduce, or whisk in the cornstarch slurry and cook until glossy.
If it gets too thick, loosen with a tablespoon of water.
Is this recipe kid-friendly?
Absolutely. Keep the heat mild, and serve sauce on the side for picky eaters. You can also reduce garlic slightly if your tiny food critic prefers it mellow.
Can I make this ahead?
Yes.
Cook the chicken and sauce, cool, and store separately from grains/veggies. Reheat gently and combine just before serving for best texture.
What sides pair best?
Steamed jasmine or brown rice, quinoa, or cauliflower rice are great bases. Add quick-steamed broccoli, roasted green beans, or a crunchy slaw for contrast.
Do I need a nonstick pan?
Nonstick or well-seasoned stainless both work.
For stainless, preheat properly and don’t move the chicken too soon—release happens after browning.
Can I add ginger?
Yes—1 teaspoon freshly grated ginger added with the garlic gives it a bright, tingly edge. Highly recommended if you like a takeout-style profile.
Wrapping Up
This Sweet & Savory Honey Garlic Chicken checks all the boxes: fast, flavorful, and healthy without tasting like “diet food.” It’s the kind of dish you’ll cook once and then flex every week because it just works. Crisp edges, sticky glaze, minimal effort—what more do you want, a standing ovation?
Plate it, post it, and enjoy the applause at your table.
Printable Recipe Card
Want just the essential recipe details without scrolling through the article? Get our printable recipe card with just the ingredients and instructions.