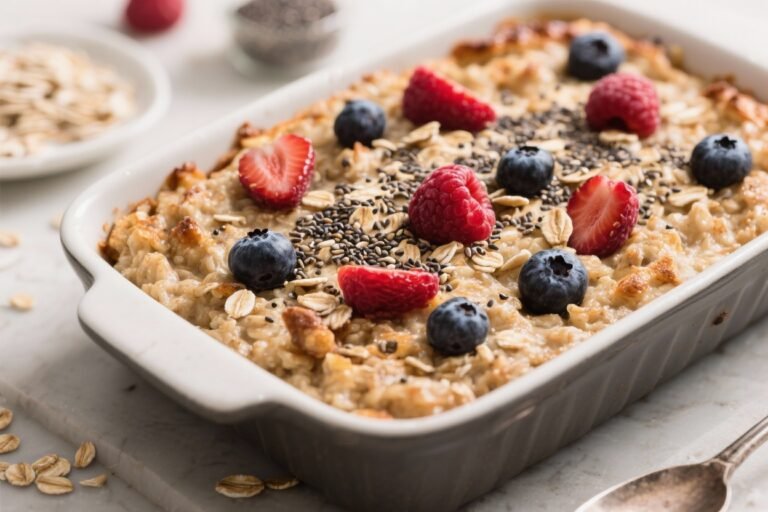
Sourdough Discard Oatmeal Bread – Cozy, Hearty, and Easy to Love
Sourdough discard oatmeal bread is the kind of loaf that makes your kitchen smell like comfort. It’s hearty, mildly tangy, and just sweet enough to pair with butter, jam, or a savory topping. If you’ve ever wondered what to do with extra sourdough starter, this is a great answer.
The oats make the crumb soft and moist, while the discard adds depth without a strong sour punch. It’s simple enough for a weekday bake and special enough for a weekend brunch board.
What Makes This Special

This bread brings together three things home bakers love: flavor, texture, and practicality. The sourdough discard adds a gentle tang and boosts complexity without the time commitment of a full sourdough loaf.
Oats create a tender crumb and keep the bread moist for days. And because this recipe uses commercial yeast, it’s reliable and forgiving—perfect for beginners and busy bakers.
- Great for using up discard: No waste, just better bread.
- Soft and hearty: A sliceable sandwich loaf with a cozy oat chew.
- Quick rise: Yeast does the heavy lifting, so you don’t need a long fermentation.
- Adaptable: Works with rolled oats, milk or water, and a mix of flours.
What You’ll Need
- 1 cup (240 g) active or inactive sourdough discard (100% hydration, straight from the fridge is fine)
- 1 cup (95 g) old-fashioned rolled oats (not quick-cooking)
- 1 1/4 cups (300 ml) warm milk (or water; around 100–110°F/38–43°C)
- 2 3/4 to 3 cups (330–360 g) bread flour (or all-purpose; start with less and add as needed)
- 2 tablespoons (25 g) sugar or honey
- 2 tablespoons (28 g) unsalted butter, melted (or neutral oil)
- 2 teaspoons (7 g) instant yeast (or 2 1/4 tsp active dry, bloomed in the warm liquid)
- 1 1/2 teaspoons (9 g) fine sea salt
- Optional toppings: extra oats for the crust, a brush of milk or egg wash
- Equipment: 9×5-inch loaf pan, mixing bowl, dough scraper, plastic wrap or towel, oven
Step-by-Step Instructions

- Soften the oats: In a bowl, combine the rolled oats and warm milk. Let sit for 10 minutes to hydrate.
If using water instead of milk, proceed the same way.
- Mix the wet ingredients: Add sourdough discard, sugar, and melted butter to the oat mixture. Stir until mostly smooth. If using active dry yeast, bloom it in a bit of the warm liquid first and add now.
- Add the dry ingredients: Sprinkle in 2 3/4 cups of flour, the instant yeast, and salt.
Stir with a spoon or dough whisk until a rough, sticky dough forms.
- Knead: Turn the dough onto a lightly floured surface and knead for 6–8 minutes, adding only as much of the remaining flour as needed to keep it from sticking. You’re looking for a soft, slightly tacky dough that holds together and springs back when pressed.
- First rise: Place the dough in a lightly oiled bowl, cover, and let rise in a warm spot until doubled, about 60–90 minutes. It should look puffy and smooth.
- Shape the loaf: Gently deflate the dough.
Press it into a rectangle, then roll it up tightly from the short end, pinching the seam. Tuck the ends under for a clean shape.
- Pan and top: Place the log seam-side down into a greased 9×5-inch loaf pan. Brush the top with milk or water and sprinkle with oats for a rustic finish, if you like.
- Second rise: Cover and let rise until the dough crests about 1 inch above the pan, 35–60 minutes depending on room temperature.
Preheat the oven to 350°F (175°C) during this time.
- Bake: Bake for 35–40 minutes, until the top is deep golden and the internal temp reads about 195–200°F (90–93°C). If the loaf browns too quickly, tent with foil for the last 10 minutes.
- Cool completely: Turn out onto a rack and let the bread cool for at least 1 hour before slicing. This helps set the crumb and keeps slices from squishing.
Storage Instructions
- Room temperature: Wrap the cooled loaf in a clean towel or store in a bread box for 2–3 days.
Avoid airtight containers if your kitchen is humid.
- Freezer: Slice, then freeze in a zip-top bag for up to 3 months. Toast straight from frozen or thaw at room temp.
- Refresh: If the crust softens, re-crisp slices in a toaster or the whole loaf in a 325°F (165°C) oven for 8–10 minutes.

Benefits of This Recipe
- Reduces waste: Uses leftover starter discard in a meaningful, delicious way.
- Nourishing: Oats add fiber, texture, and a gentle sweetness.
- Beginner-friendly: Yeast ensures a consistent rise, even if your discard isn’t super active.
- Versatile: Great for toast, sandwiches, and French toast. It stands up to both sweet and savory toppings.
What Not to Do
- Don’t add too much flour: The dough should be soft and slightly tacky.
Overflouring leads to a dense loaf.
- Don’t skip oat hydration: Dry oats can pull moisture from the dough during baking and make the crumb tough.
- Don’t slice too soon: Cutting while hot makes gummy slices. Let it cool fully.
- Don’t use very old, overly sour discard: If it smells harsh or boozy, feed your starter first and save that discard for pancakes.
Alternatives
- Dairy-free: Use water or oat milk. Swap butter for olive oil.
- Sweet touch: Add 1/2 cup raisins or chopped dates and 1 teaspoon cinnamon to the dough.
- Seeded loaf: Fold in 2–3 tablespoons each of sunflower seeds and pumpkin seeds.
Sprinkle seeds on top after brushing with milk.
- Partial whole wheat: Replace up to 1 cup of the white flour with whole wheat. Add an extra tablespoon or two of liquid if the dough feels stiff.
- No yeast (longer ferment): Use very active starter instead of commercial yeast and let the bulk rise and proof take longer (3–5 hours total, depending on temperature). Flavor will be tangier, and timing less predictable.
FAQ
Can I use quick oats?
You can, but rolled oats give better texture.
If using quick oats, reduce the soak time to 5 minutes and check dough hydration as they absorb faster.
Do I need to warm the milk or water?
Yes. Warm liquid helps the yeast wake up and hydrates the oats faster. Aim for about 100–110°F (38–43°C). If it’s too hot to touch, let it cool a bit.
What if my dough is very sticky?
Stickiness is normal with oats and discard. Use a light dusting of flour and a bench scraper to knead, adding just enough flour to handle the dough.
You want soft, not stiff.
Can I bake this in a Dutch oven?
You can, but it’s designed as a sandwich loaf. For a boule, shape into a round, proof in a lined bowl, and bake covered at 450°F (232°C) for 20 minutes, then uncovered for 20–25 minutes. The crumb will be slightly different.
How sour will it taste?
It’s gently tangy, not sharply sour. Older discard = more tang; fresher discard = milder flavor.
Honey also softens the acidity.
Can I knead in a stand mixer?
Yes. Mix on low to combine, then knead on medium-low for 5–7 minutes, scraping the bowl once or twice. Stop when the dough is smooth and slightly tacky.
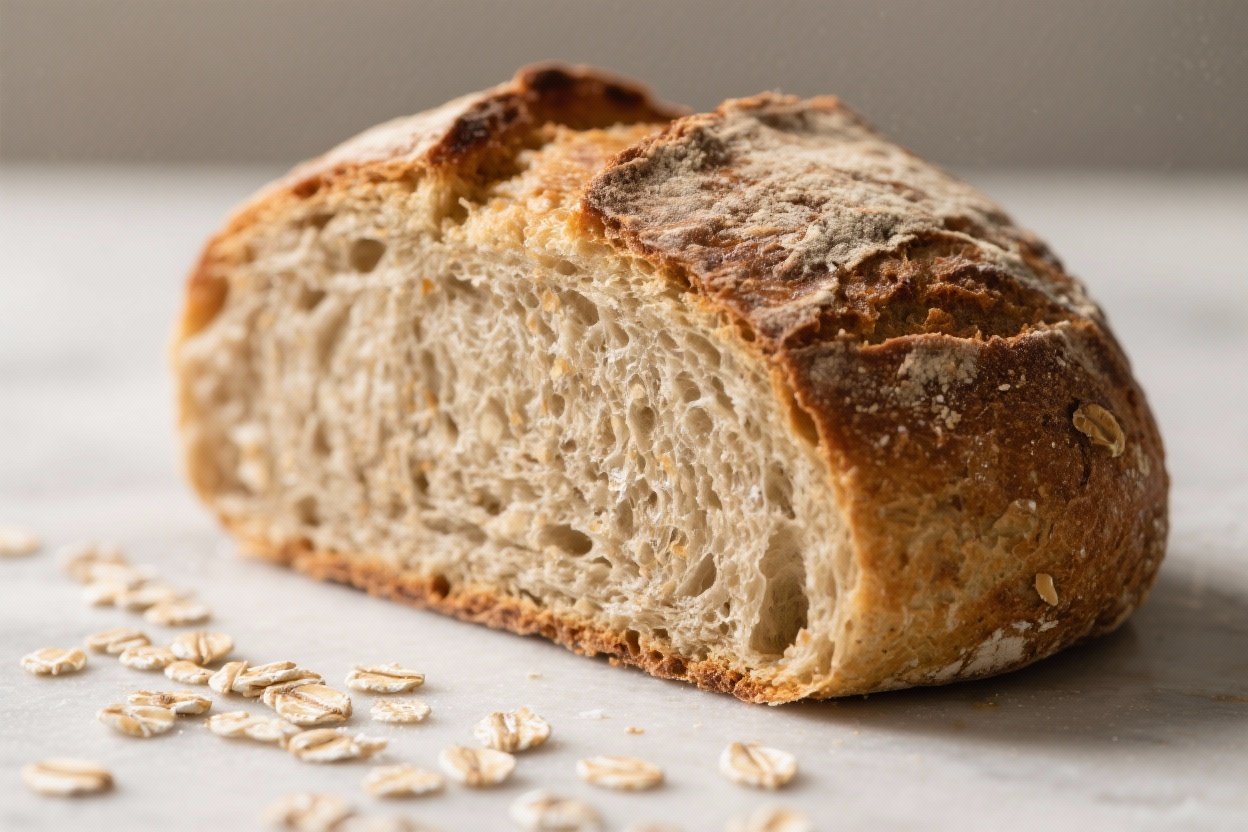
How do I know it’s fully baked?
Look for a deep golden top, a firm feel, and a hollow sound when tapped.
If you have a thermometer, 195–200°F (90–93°C) in the center is ideal.
Why did my loaf sink?
It likely overproofed. Next time, bake when the dough rises about an inch above the pan and still springs back slightly when gently pressed.
In Conclusion
Sourdough discard oatmeal bread is a comforting, reliable loaf with just enough character to keep things interesting. It’s a smart way to use starter, and the oats make every slice soft, sturdy, and satisfying.
Keep this one in your rotation for easy breakfasts, simple sandwiches, and the kind of toast that turns a morning around. Once you’ve tried it, you’ll want to save your discard on purpose.
Printable Recipe Card
Want just the essential recipe details without scrolling through the article? Get our printable recipe card with just the ingredients and instructions.